
Let’s admit it: Windows 11 is a pretty good operating system, but it has some major flaws. When the operating system was first introduced to the public, it used to be a complete mess with all new icons, bugs, glitches, etc. However, the operating system was improved, and the amount of bugs & glitches are greatly reduced.
In the earlier builds of Windows 11, you may have noticed a new feature that showed labels next to the icons on your taskbar, but Microsoft soon took the feature down. After the removal, Microsoft received many demands from the users and was forced to re-add the feature on Windows 11 version 23H2.
If you are using the latest builds of Windows 11 version 23H2, you have access to the taskbar ungrouping and labels. So, if you want to enable taskbar ungrouping and labels in Windows 11, continue reading the guide.
How to Ungroup Apps & Show Labels in Taskbar on Windows 11
In this article, we will share a step-by-step guide on enabling taskbar ungrouping and labels in Windows 11. The steps are easy to follow; make sure you are using the latest builds of Windows 11. Here’s what you need to do.
Update your Windows 11
The very first step includes installing the latest build of Windows 11. Follow some of the simple steps we have shared below to update your Windows 11.
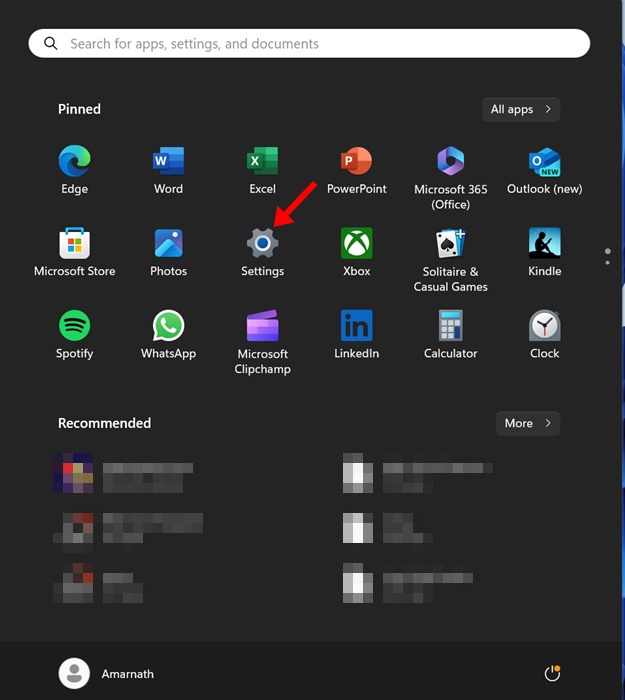
1. Open the Settings app on your Windows 11 computer.
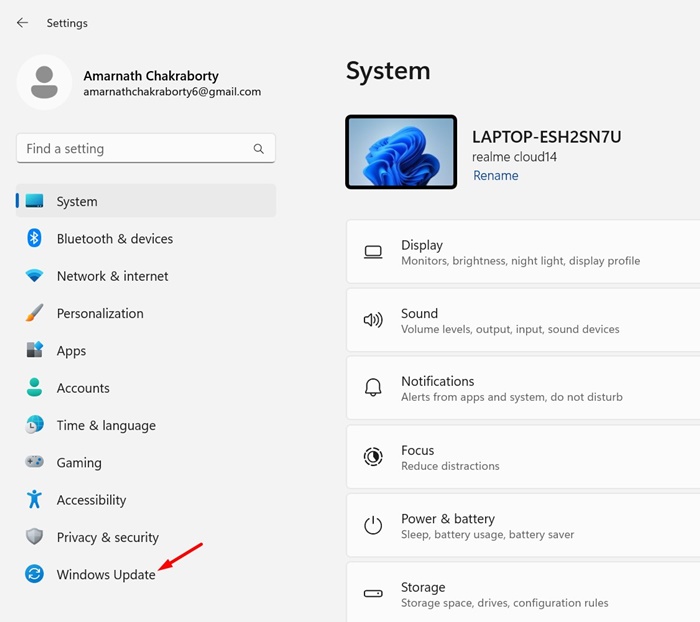
2. When the Settings app opens, switch to the Windows Update section on the left side.
3. On the right side, click on Check for updates.
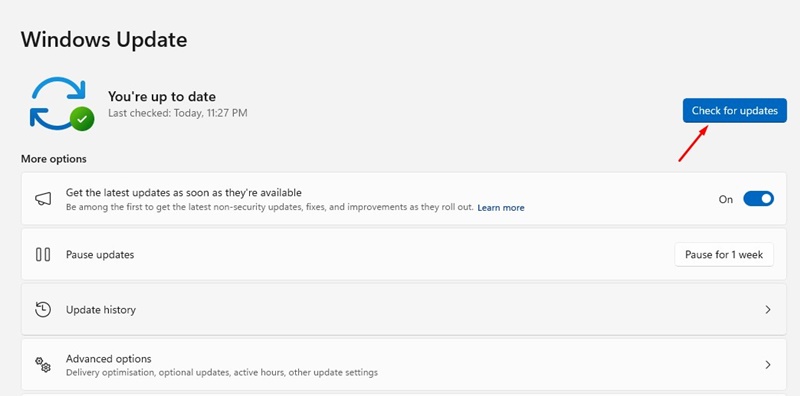
4. If any update is pending, download & install it.
That’s it! This is how you can enable the taskbar ungrouping and labels on a Windows 11 computer.
Enable Taskbar Ungrouping and Labels in Windows 11
Now that you have the latest builds of Windows 11, you are ready to enable the taskbar ungrouping and labels. Here’s what you need to do.
1. Click on the Windows 11 Start button and select Settings.
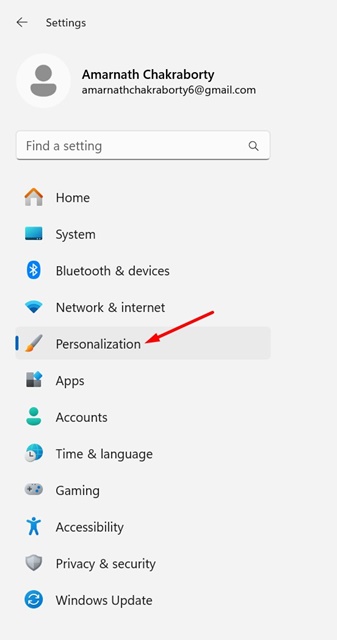
2. When the Settings app opens, switch to the Personalization.
3. On the right side, scroll down and click on Taskbar.

4. Now scroll down and expand the Taskbar behaviors.

5. Now click the drop-down beside Combine Taskbar buttons and hide labels, and set it to Never.
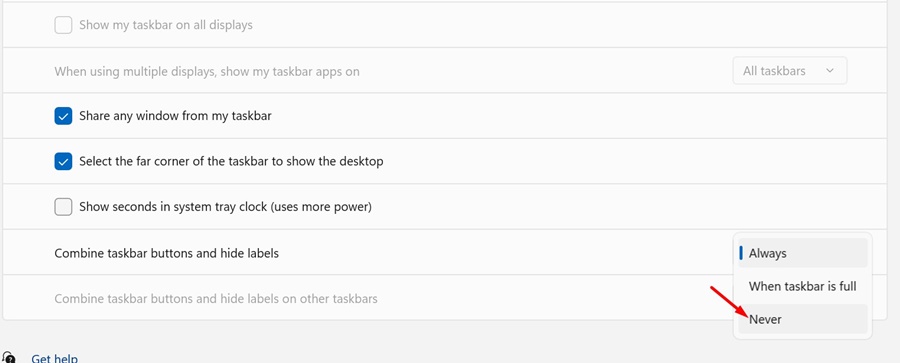
6. You will instantly see labels on the Windows 11 Taskbar.
7. If you have multiple monitors and wish to enable taskbar ungrouping & labels, select Never for Combine Taskbar buttons and hide labels on other taskbars options.
That’s it! This is how you can enable taskbar ungrouping and labels on a Windows 11 computer.
How to Hide Labels on Taskbar Icons
If you change your mind and plan to hide the labels, you need to follow these steps. Here’s how you can hide labels next to Taskbar icons on Windows 11.
1. Right-click on the Taskbar and select Taskbar Settings.

2. Next, expand the Taskbar behaviors.
3. Click on the drop-down next to the Combine taskbar buttons and hide labels, and select Always.

That’s it! This is how you can hide labels next to taskbar icons on a Windows 11 computer.
So, this guide is about showing labels next to taskbar icons on Windows 11 computers. Let us know if you need more help enabling taskbar ungrouping and labels in Windows 11. Also, if you find this guide helpful, don’t forget to share it with your friends.


