")
Smartphones are portable devices, and we often share it with others. While sharing smartphones is not for the security & privacy front, we still have to lend our phones to our close ones.
Sometimes, you may have to share your iPhone with your siblings, family members, or even your partner; and if you use Face ID protection, you must unlock the device before passing it to them.
And again, if the person you have shared your iPhone with hasn’t used it for 30-40 seconds, they will have to ask you to unlock the device again. To eliminate this irritating process, Apple allows you to add another Face ID on your iPhone.
So, if you often share your phone with someone trusted in your family, it’s best to add their Face ID to your iPhone. This way, you can both easily unlock, sign in, and make purchases on your iPhone.
How to Add Another Face ID on iPhone
Apple allows you to add multiple Face IDs to your iPhone in simple steps; you have to access the Face ID & Passcode settings and then add another Face ID for unlocking, signing in, and making purchases. Here’s what you need to do.
1. To get started, open the Settings app on your iPhone.
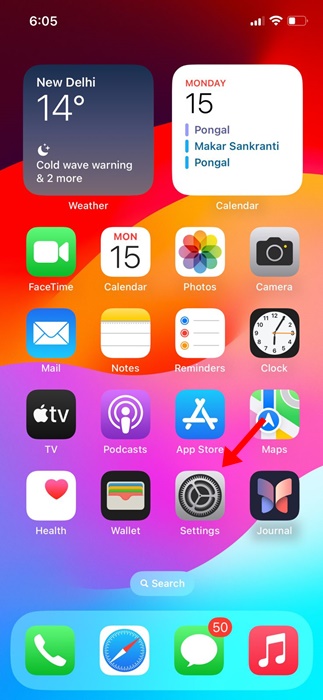
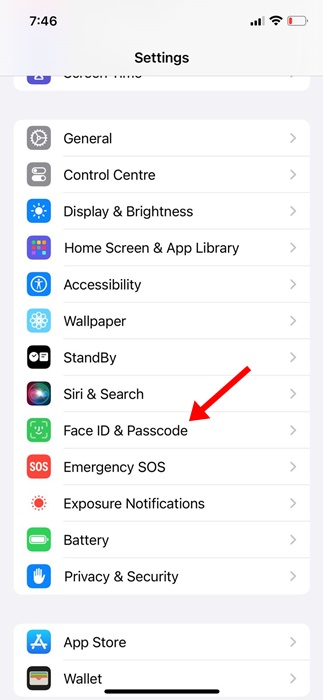
2. When the Settings app opens, scroll down and tap on Face ID & Passcode.
3. Now, you will be asked to enter your iPhone Passcode. Enter it.

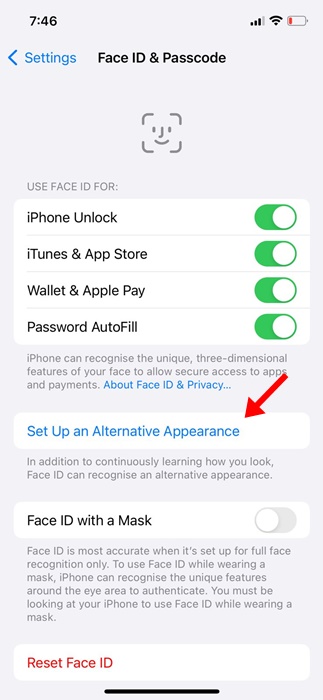
4. On the next screen, tap Set Up an Alternative Appearance.
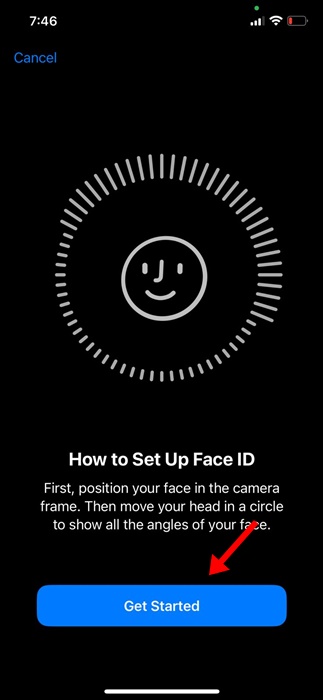
5. Now, you will see the How to Set Up Face ID screen. Tap on the Get Started button to continue.
6. Now, you need to position your face inside the frame. Basically, you will have to go through the same steps for setting up Face ID you have done before. For help, you can just follow the on-screen instructions.
That’s it! These are some simple steps to add another Face ID on your iPhone. Once you set up an alternative appearance, you and the other person you’ve set up the Face ID for can sign in to the Apple services.
How to Remove the New Face ID on iPhone?
As of now, there’s no option to remove just one face from the Face ID. So, if you plan to remove the Face ID of a second person you’ve already added, you need to reset the Face ID completely and start over.
Below are the steps to reset Face ID on your iPhone completely and start over. Here’s what you need to do.
1. Open the Settings app on your iPhone.
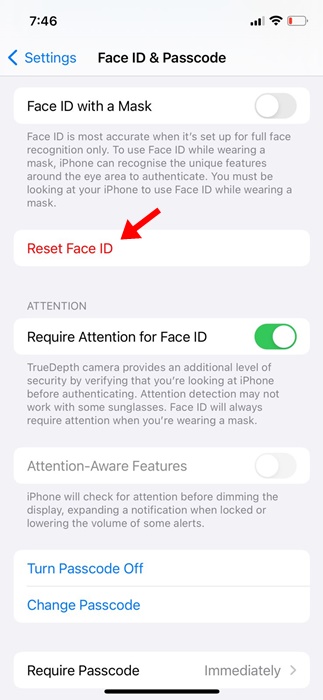
2. When the Settings app opens, tap on the Face ID & Passcode.
3. Now, you will be asked to enter your iPhone’s Passcode. Enter the passcode to open the Face ID settings.
4. On the Face ID & Passcode, tap on the Reset Face ID.
5. After resetting the Face ID, you must set up a new Face ID for yourself. If you want to add a second face ID, follow the steps shared in the above section.
That’s it! This is how you can reset Face ID on your iPhone in easy steps.
So, this guide is about adding another Face ID on your iPhone. Let us know if you need more help setting up a new Face ID. Also, if you find this guide helpful, don’t forget to share it with your friends.

