
Microsoft rolled out a new update a few days ago called KB5034204 (OS Builds 22621.3085 and 22631.3085) Preview. The update is available for Windows 11 22H2 and 23H2, and it’s been released to the insiders in the Release Preview Channel.
While the update didn’t bring any new features, it did bring some improvements and important bug fixes. We are talking about Windows 11 KB5034204 because many users are facing trouble downloading & installing it.
Many users on the Microsoft Forum claimed to face problems while downloading & installing the Windows 11 KB5034204 update. According to the users, the Windows 11 KB5034204 won’t download and install.
How to Fix Windows 11 KB5034204 Won’t Download & Install
So, if you are a Windows 11 user facing the same problem while downloading the KB5034204 update, continue reading the article. Below, we have shared a few of the best methods to fix Windows 11 KB5034204 won’t download. Let’s get started.
1. Restart your Windows 11 PC
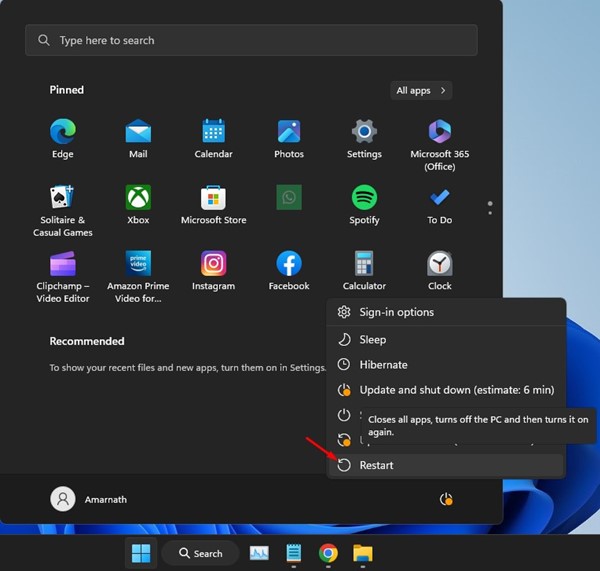
Before you follow the troubleshooting methods, it’s important to restart your PC first. Sometimes, the most complicated problems of Windows 11 get fixed with a simple restart.
Restarting will also remove bugs & glitches that may be conflicting with the Windows Update components. So, click on the Windows 11 Power Menu and select Restart. After the restart, try to download & install the KB5034204 update again.
2. Run the Windows Update Troubleshooter
On Windows 11, you have an Update Troubleshooter that automatically finds & fixes problems related to the Windows Update.
So, you can try running the Windows Update troubleshooter and see if it helps. Here’s what you need to do.
1. Click on the Windows 11 Start button and select Settings.
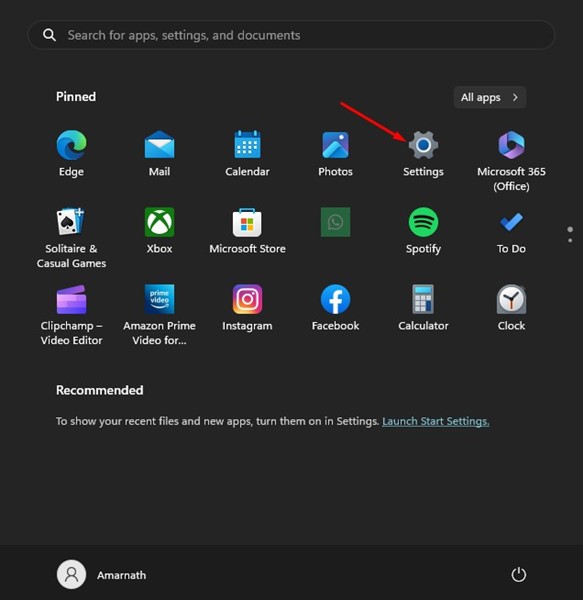
2. When the Settings app opens, switch to the System > Troubleshoot.
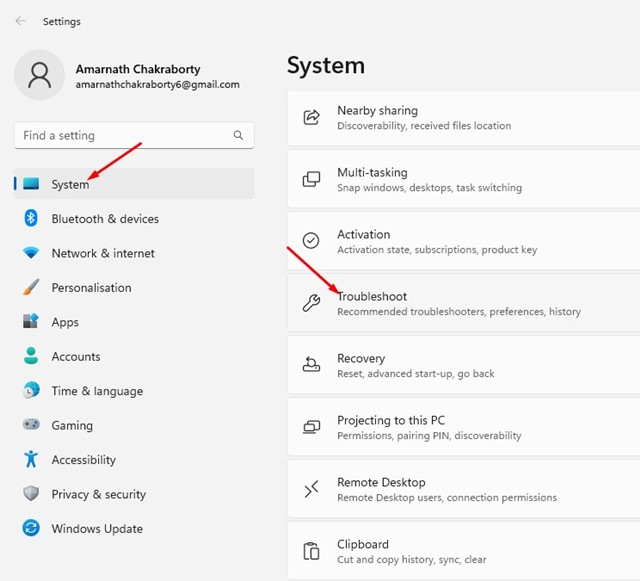
3. On the Troubleshoot screen, click on Other troubleshooters.
4. Next, find Windows Update. Once found, click on the Run button beside it.
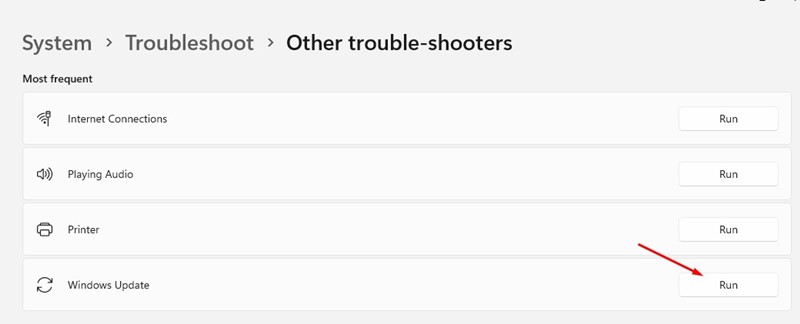
Now, you need to follow the on-screen instructions to complete the troubleshooting. Once the process is complete, restart your Windows 11 PC.
3. Make sure the Windows Update Services are enabled
If the Windows Update services are not enabled, Windows 11 won’t download & install the updates. So, if you cannot download Windows 11 KB5034204 update, you need to ensure that the Windows Update services are enabled.
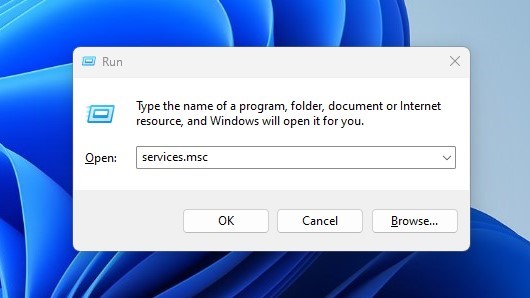
1. Press the Windows Key + R button on your keyboard. On the RUN dialog box, type services.msc and press Enter.
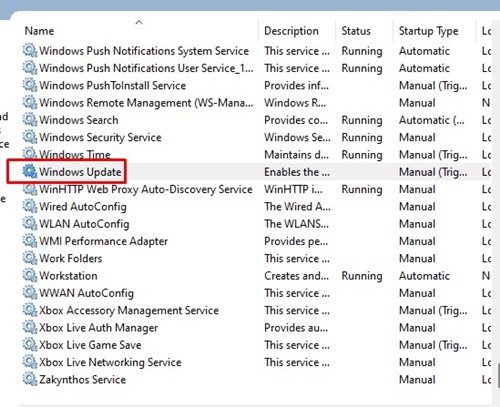
2. On the Services, find and double-click on Windows Update. On the Startup type, make sure the option is set to ‘Automatic’.
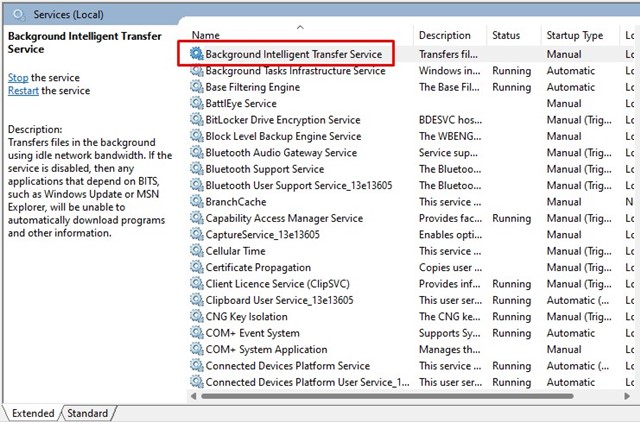
3. Next, find and double-click on the Background Intelligent Transfer Service.
4. Make sure the Startup type is set to Automatic. After making the changes, click Apply and close the Windows Services.
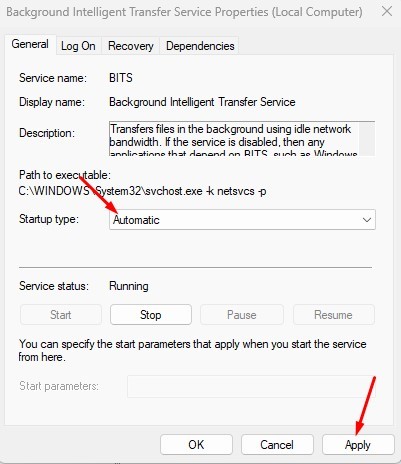
That’s it! Make sure to restart your computer to apply the changes. After the restart, try installing the Windows 11 KB5034204 update.
4. Reset the Windows Update Components
The next best thing you can do to resolve this issue is to reset the Windows Update Components. Here’s what you need to do.
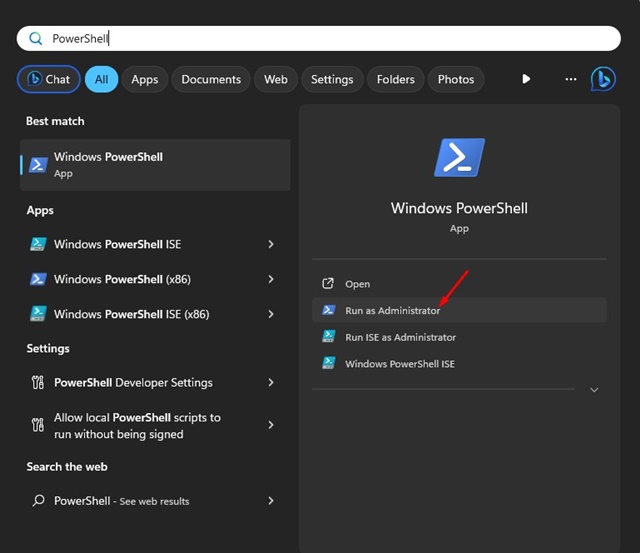
1. Type in PowerShell on the Windows 11 Search. Next, right-click on the PowerShell and select Run as administrator.
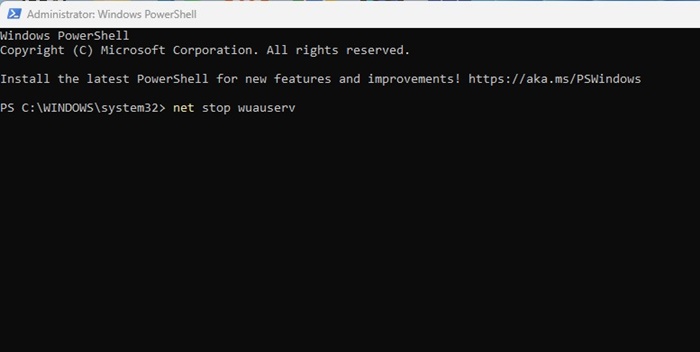
2. On the PowerShell, execute these commands one by one.
net stop wuauserv
net stop cryptSvc
net stop bits
net stop msiserver
ren C:\Windows\SoftwareDistribution SoftwareDistribution.old
ren C:\Windows\System32\catroot2 catroot2.old
net start wuauserv
net start cryptSvc
net start bits
net start msiserver
That’s it! After executing all these commands, close the command prompt and restart your Windows 11 PC. After the restart, try installing the update again.
5. Run the System File Checker Utility
System File Checker utility finds the corrupted system files & replaces them with a fresh one. It can easily fix problems like Windows 11 KB5034204 not installing. Here’s how to run the SFC command on Windows 11.
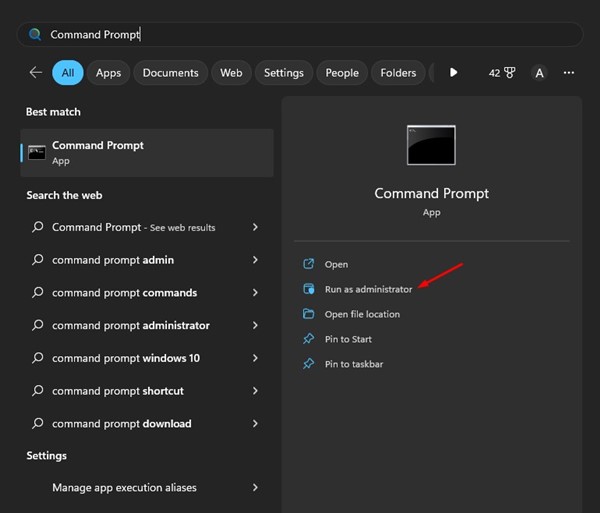
1. Type in CMD on the Windows 11 Search. Next, right-click on the Command Prompt and select Run as administrator.
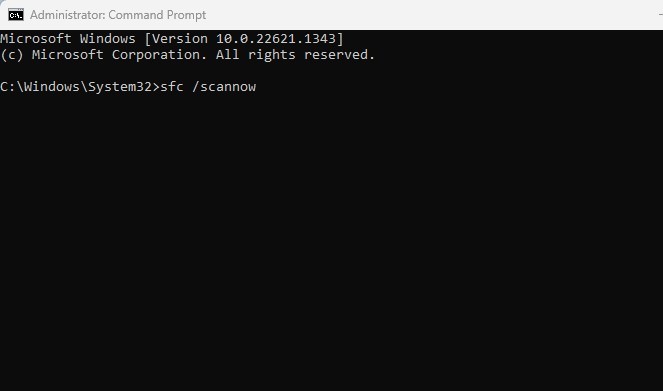
2. When the Command Prompt opens, execute the given command:
sfc /scannow
That’s it! Now, you need to wait until the scan is completed. Once the scan is complete, restart your PC and try installing the Windows 11 KB5034204 update again.
6. Download Windows 11 KB5034204 from Microsoft Update Catalog
If nothing worked in your favor, the next best option is to download the offline installer for Windows 11 KB5034204 and install it manually.
You can download the Windows 11 KB5034204 installer from the Microsoft Update Catalog page. Just download it and then install it manually. This should fix the problem you’re facing.
So, this guide is about fixing the Windows 11 KB5034204 won’t download issue. Let us know if you need more help resolving problems related to the Windows 11 updates. Also, if this guide helps you fix the problem, share it with your friends.
Also read: How to Fix Windows 11 Updates Not Downloading (9 Methods)


