")
Even though there’s no shortage of photo & video editing software for PCs, users still want to run mobile photo & video editing apps on their computer/laptop. Actually, on Windows 11, you have multiple ways to run the mobile photo & video editors on a PC.
You can use either the Android emulators or the Google Play Games for PC to run any mobile apps or games on your Windows PC. In this article, we will discuss the VSCO Photo & Video Editor and how you can run it on Windows 10/11.
What is VSCO Photo & Video Editor?
VSCO is a top-rated photo & video editing application available for Android smartphones. Compared to other photo & video editors, VSCO is easier to use and includes a library of 200+ premium-quality presets and tools.
The app provides a full-fledged photo editor, professional-grade presets, precise editing controls, unique photo filters, a GIF maker, a collage maker, and a few other features.
The editing features that VSCO offers & its simplicity is still unmatched, and that’s the reason users wants to run this mobile photo & video editing app on their computer/laptops.
So, if you are a photo or video editor and want to use the VSCO app on your PC, continue reading the guide.
Download VSCO for PC Latest Version
Now that you know what VSCO Photo & Video Editor is, you may want to experience the mobile app on your PC. It’s pretty easy to download & install VSCO on a PC, provided you know the right way of doing it.
You can download & install VSCO for PC directly from the Google Play Store via BlueStacks emulator or run the mobile app on your Windows 11 by setting up WSL. Below, we have shared a few simple ways to download & install VSCO for PC.
Download & Install VSCO for PC via BlueStacks
In this method, we will use the BlueStacks emulator to download & install the VSCO Photo & Video editor on PC. Here are some of the simple steps you need to follow.
1. Download & install the latest version of BlueStacks emulator on your Windows PC.
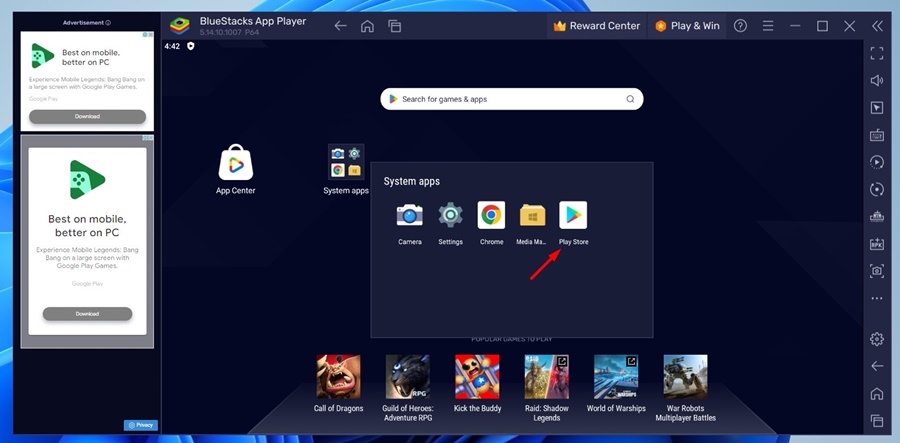
2. When the emulator is installed, open it and click on the Google Play Store.
3. Now login with your Google Account credentials and search for VSCO: Photo & Video Editor.

4. Open the relevant app listing and click on the Install button.

5. Wait until VSCO installs on your Windows 11 PC. Once installed, run the program.
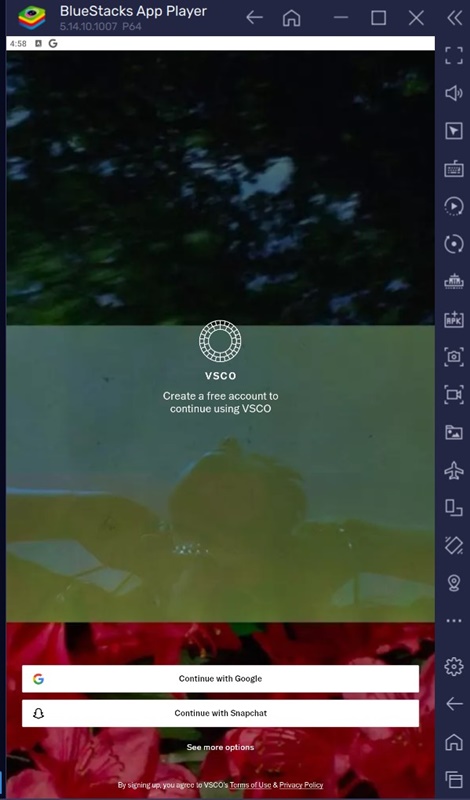
6. Now, you can use the VSCO Photo & Video editor on your PC.
That’s it! This is how you can download & install the VSCO Photo & Video editor on your PC via the BlueStacks emulator.
Download VSCO for PC Without BlueStacks
BlueStacks is not the only Android emulator available for PC; you can use other Android emulators like LDPlayer, BigNox, etc, to emulate any Android apps & games on PC. If you want to download VSCO for PC without BlueStacks, you can use LDPlayer. Here’s what you need to do.
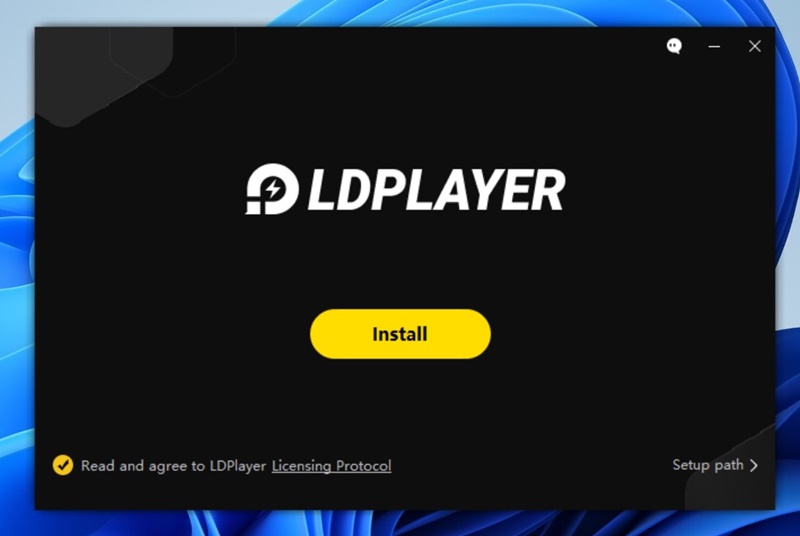
1. Download & install the latest version of LDPlayer on your computer.
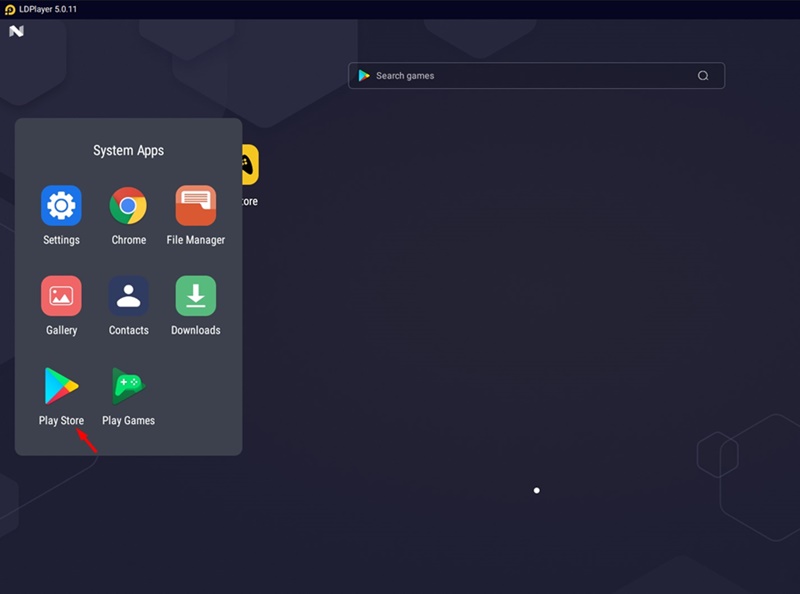
2. Once installed, open LDPlayer and click on the Google Play Store.
3. Now sign in with your Google account and search for VSCO: Photo & Video editor.
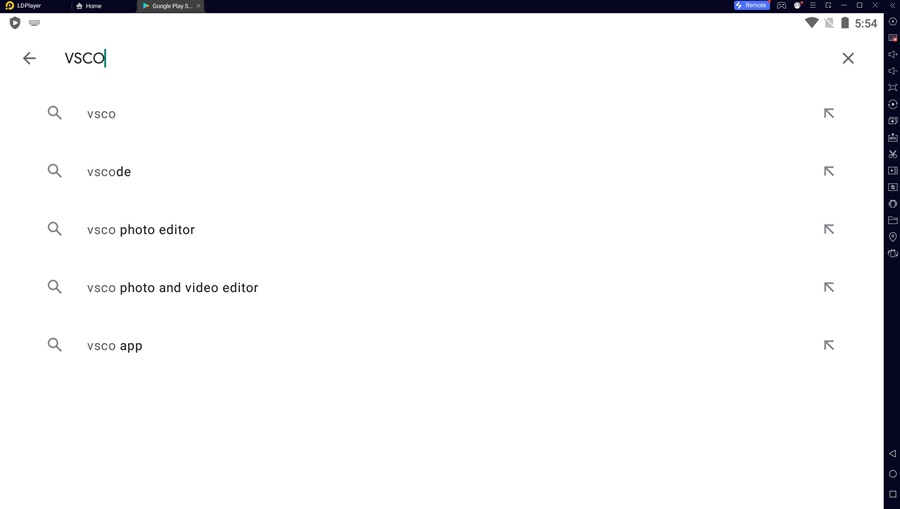
4. Next, open the relevant app from the list of best match results.
5. On the app page, click on the Install button.
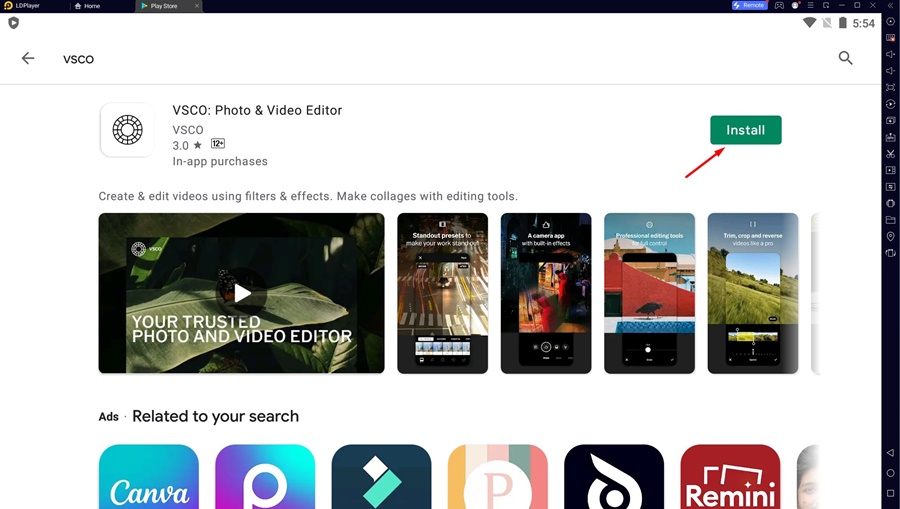
6. Now wait until LDPlayer installs the VSCO Photo & Video editor on your PC. Once installed, simply run the app.
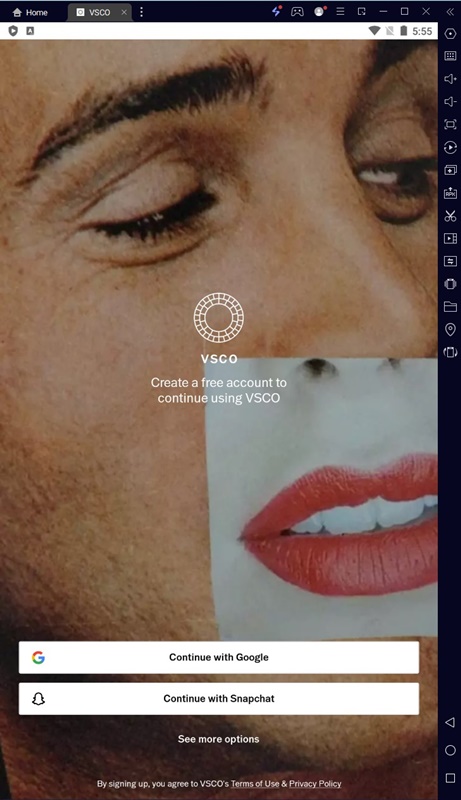
That’s how easy it is to download & install the VSCO Photo & Video editor on a PC using the LDPlayer app.
So, this guide is all about how to download & install the VSCO Photo & Video editor on a PC. If you have followed the steps mentioned, you can use the VSCO editor on your PC. Let us know if you need more help in downloading VSCO for PC.


