
Windows 11 has a native screen capture and a recording tool called Snipping Tool. You also have other screen capture programs on Windows 11, like an Xbox Game Bar, but the Snipping Tool is solely designed for taking screenshots.
The new Snipping tool of Windows 11 can even record your screen. Snipping tool is a great utility and it eliminates the need for a third-party screenshot tool, but sometimes it can run into problems.
Many Windows 11 users have recently reported problems while using the Snipping Tool utility. According to the users, the Snipping Tool isn’t working in the full-screen mode.
How to Fix Snipping Tool Not Working in Full Screen Mode
Whenever users press the Windows + Shift + S key while playing a game or browsing the web, it sends them to the desktop instead of capturing the full-screen screenshot. The problem appears after installing the latest Windows 11 update.
So, if you have been facing the same or similar issue, continue reading the article. Below, we have shared some simple methods to fix Snipping Tool not working in full screen mode. Let’s get started.
1. Restart the Windows 11 PC
The first thing you should do to resolve the Snipping tool isn’t working issue is restart your Windows 11 PC.
Restarting is an evergreen solution to various PC problems and it will possibly remove any bugs or glitches that may be preventing the Snipping Tool from functioning.
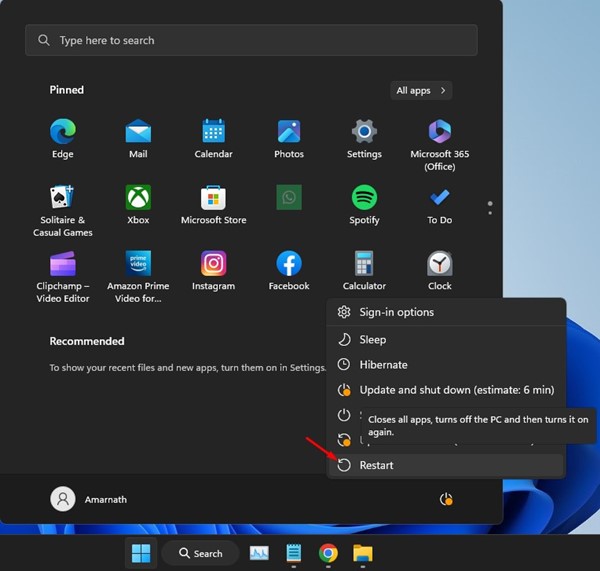
Click on the Windows 11 Start Button and select the Power option. On the Power Option, select restart.
2. Restart the Windows File Explorer
If you’re in the middle of the game and can’t afford to restart your PC, you can at least restart the Windows File Explorer.
It’s important to note that Snipping Tool is a subset of the File Explorer service and the problem will likely be triggered from the Windows File Explorer.
So, you can try restarting the Windows Explorer process from the Task Manager of Windows 11. Here’s what you need to do.
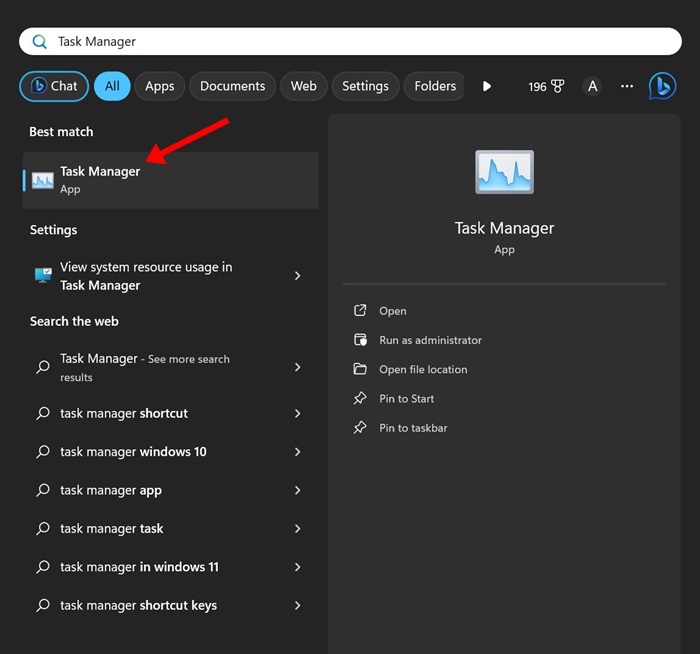
1. Type Task Manager on the Windows 11 Search. Next, open the Task Manager app from the list of best match results.
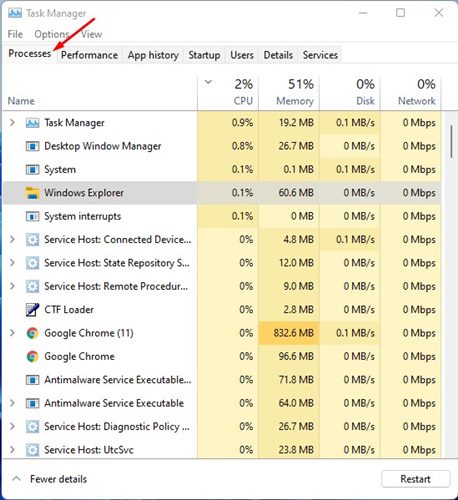
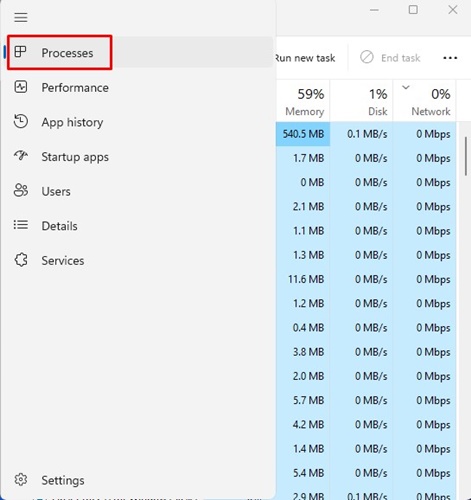
2. When the Task Manager opens, switch to the Processes tab.
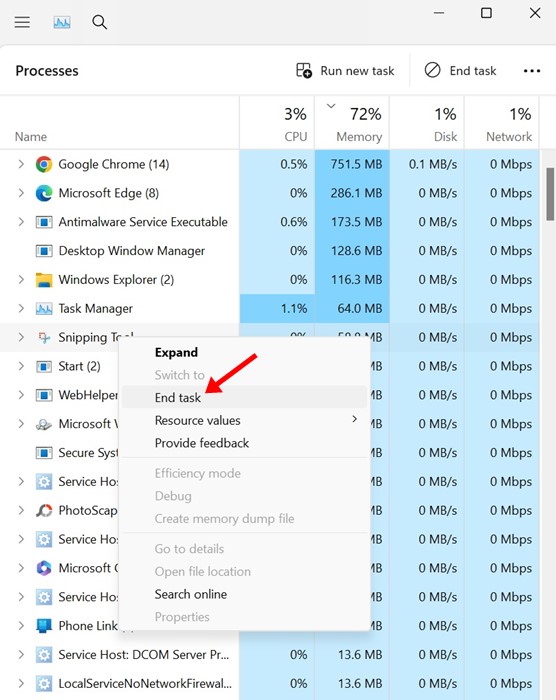
3. On the list of processes, find Windows Explorer. Right click on the Windows Explorer and select Restart.
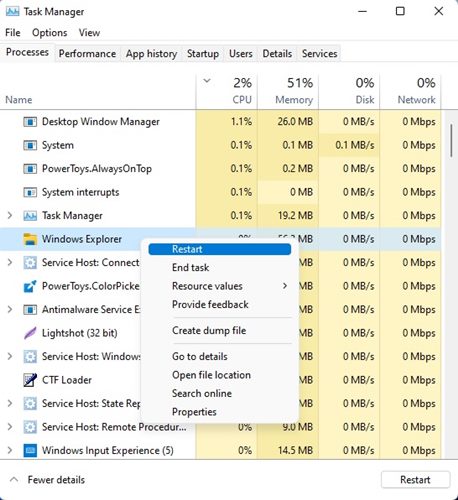
Once you click on Restart, your taskbar and desktop wallpaper will vanish for a few seconds. This confirms that the Windows Explorer process has been restarted.
3. Adjust the Scale Levels
A few independent advisors in the Microsoft Forum claim that incorrect scaling settings are the leading cause of the Snipping tool’s inability to capture the full screen.
You can rule out the scaling issues by changing the scaling settings on Windows 11. Here’s what you need to do.
- Press the Windows key + I button to open the Settings.
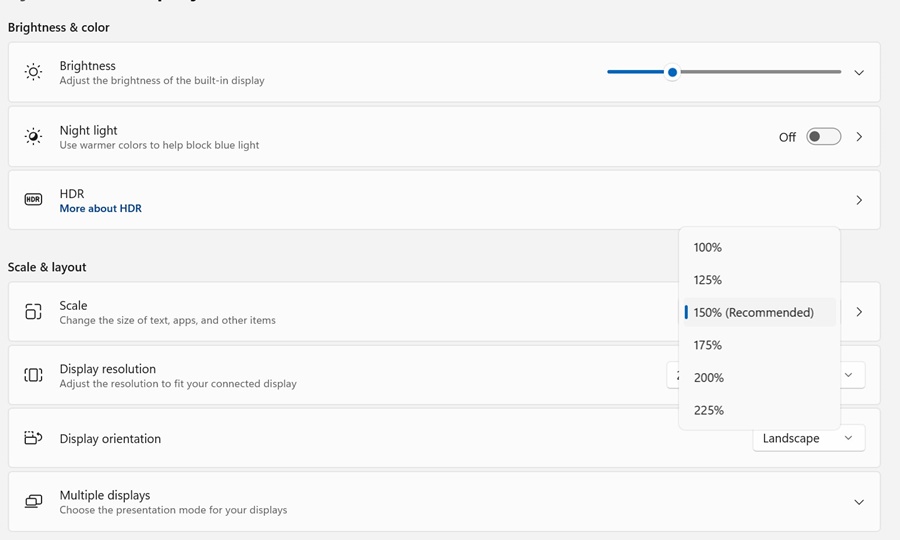
- In Settings, navigate to System > Display.
- Next, find the Scale & Layout section.
- Click on the drop-down next to Scale & Layout and select 100% or whatever is recommended.
After making the changes, make sure to restart your Windows 11 PC. After the restart, use the Snipping tool to capture full-screen screenshot again.
4. Force Close the Snipping Tool
It is possible that the Snipping Tool has run into problems while capturing a full page screenshot, hence it’s unable to do so. So, force closing the Snipping Tool from the Task Manager is important. Here’s what you need to do.
1. Open the Task Manager app from the Windows 11 Search.
2. When the Task Manager opens, switch to the Processes tab.
3. Now select the Snipping Tool process and select End task.
4. Once done, open the Snipping tool from the Windows 11 Search again.

After re-opening the Snipping tool, try to capture a full page screenshot again.
5. Reset the Snipping Tool
Sometimes, things can go wrong, especially while troubleshooting errors. Since nobody knows why Snipping tool failed to capture full screen screenshots, resetting may help.
Resetting the Snipping tool app will return the default settings and likely fix the issue. Here’s how to repair the Snipping tool in Windows 11.
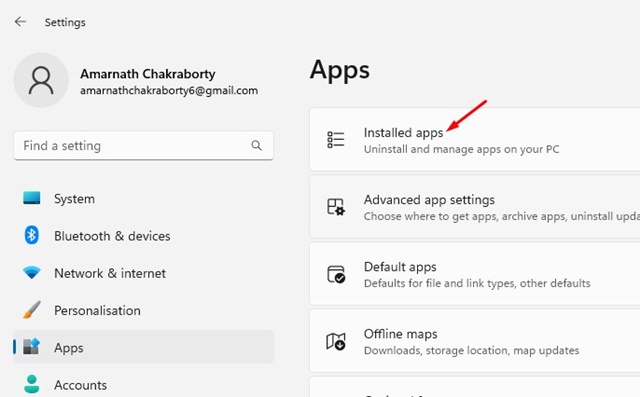
1. Launch the Settings app on your Windows 11. Next, switch to the Apps section.
![]()
![]()
![]()
2. On the right side, click on Installed apps.
3. Find the Snipping Tool. Click on the three dots next to it and select Advanced Options.
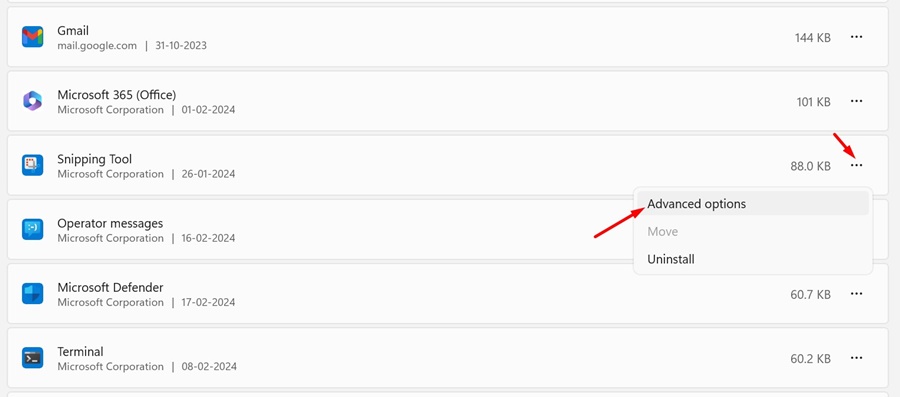
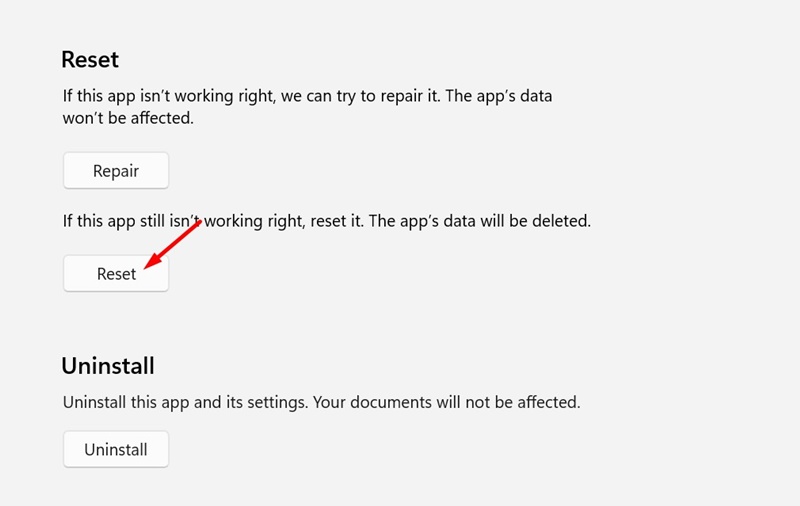
4. On the next screen, click on the Reset button.
5. On the confirmation prompt, tap on Reset again.
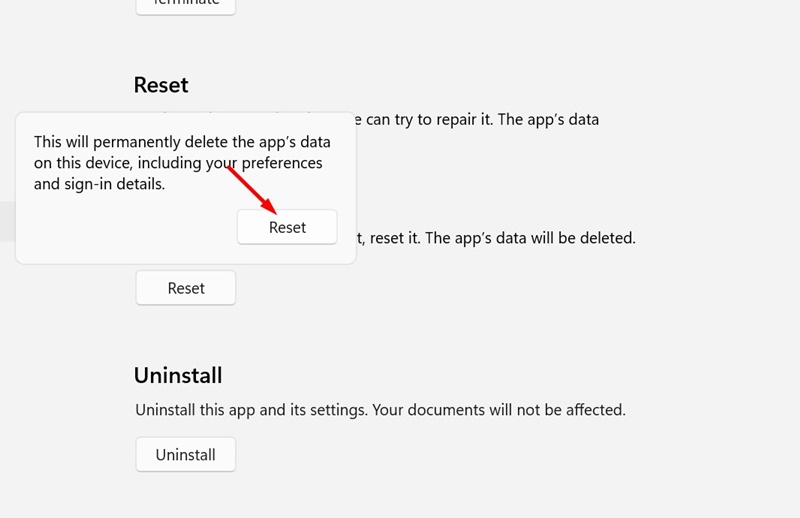
Once the reset process completes, restart your Windows 11 computer. After the restart, launch the Snipping tool and capture the full-screen screenshot again.
6. Update Windows 11
Operating system bugs & glitches can sometimes interfere with the functionality of the Snipping tool. When this happens, the Snipping tool can start to act weird.
So, updating Windows 11 is recommended as it will likely rule out compatibility issues.
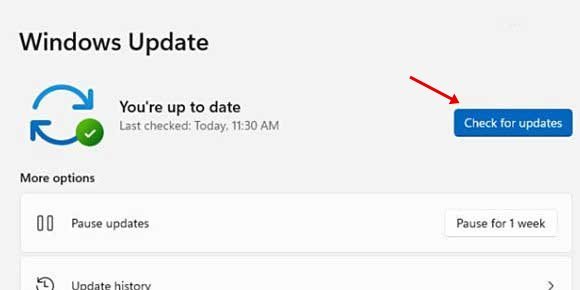
To update your Windows 11, head to Settings > Windows Updates. On the right side, click on the Check for Updates button. From here, Windows 11 will find the available updates and install them automatically.
7. Reinstall the Snipping Tool
If the Snipping Tool isn’t functioning as it should, it’s time to reinstall it. Follow the steps mentioned below to reinstall the Snipping tool on Windows 11.
1. Type in Snipping Tool on Windows 11 Search.
2. Right click on the Snipping tool and select App Settings.
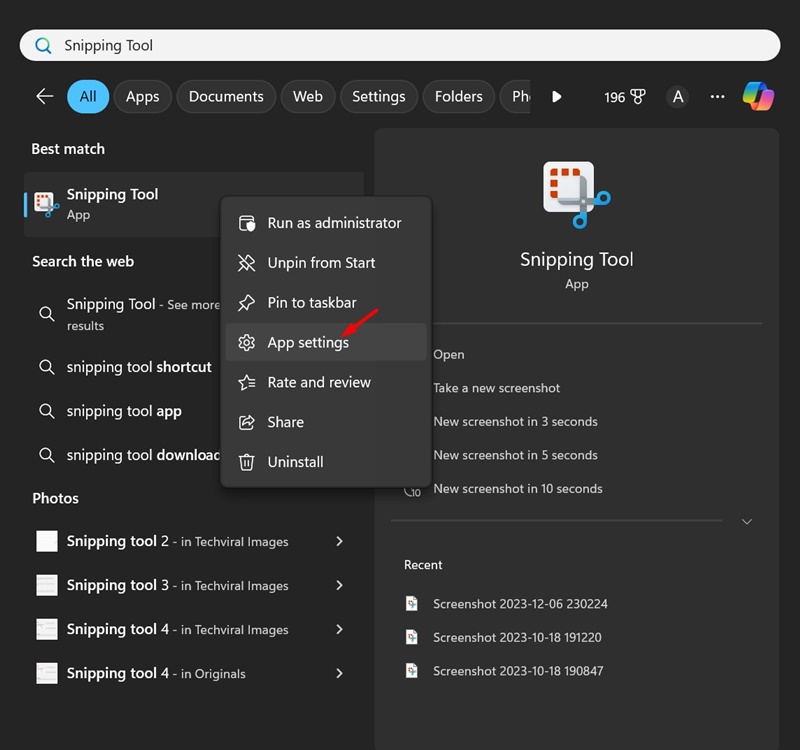
3. On the App Settings, click on the Uninstall button.

4. Once uninstalled, open the Microsoft Store on your PC. Next, search & open the Snipping Tool app listing. Simply click the Get button to download the Snipping tool from the Microsoft Store.
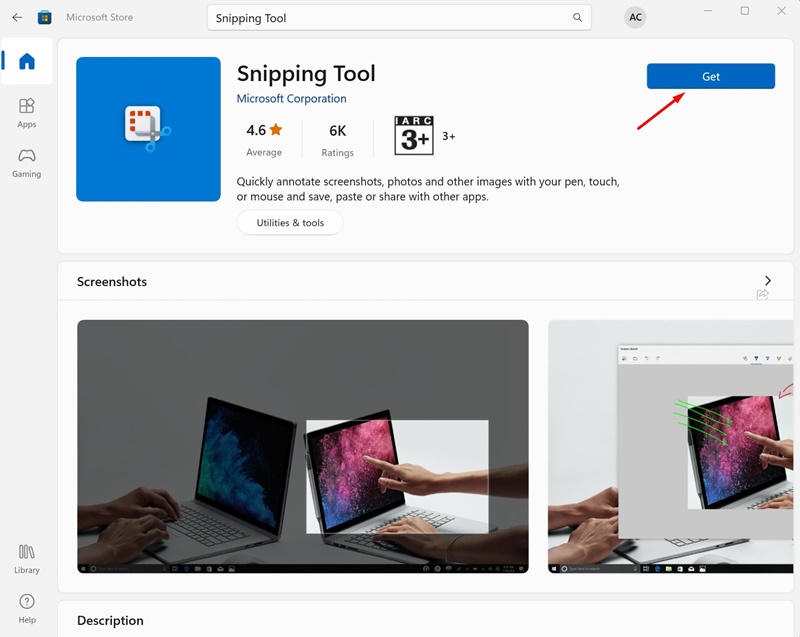
Once the download & install completes, launch Snipping tool and capture a full screen screenshot. Things should work now.
8. Use Greeenshot to Capture Full Screen screenshot
Greenshot is a third-party screenshot tool for Windows that can be used instead of the Snipping Tool.
The third-party screenshot tool is free to download & use and provides you with more features than the Snipping tool. Here’s how to use Greeenshot to capture full screen screenshots on Windows.
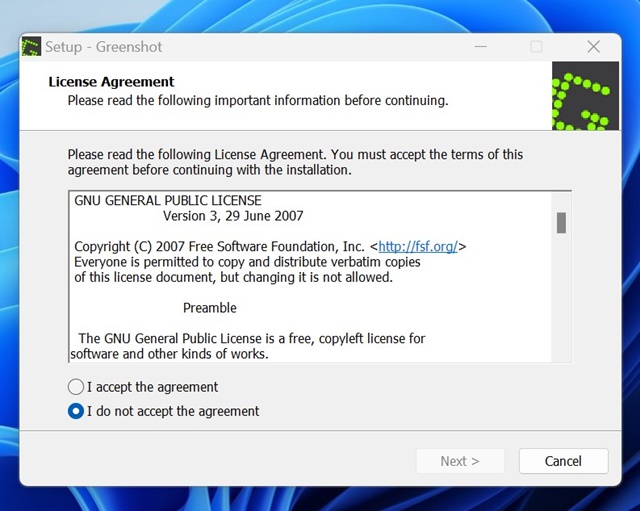
1. Download the latest stable build of Greenshot from this link.
2. Once downloaded, run the installer and complete the installation part.
3. Once installed, the greenshot will sit in the system tray.
4. Simply click on the Greenshot icon and select Capture Full Screen.
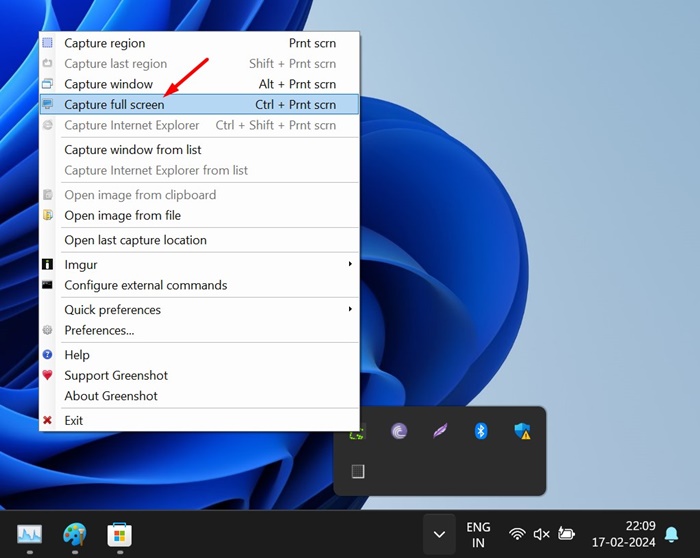
5. You can also use the CTRL + Prnt Scrn shortcut to capture full screen.
That’s it! Greenshot is by far the best Snipping Tool alternative. It can also capture full-screen screenshots, just like the Snipping Tool.
These are some of the best ways to fix Snipping Tool can’t capture full screen. Let us know if you need more help capturing screenshots in full-screen mode in Windows 11.


