
If you have kids, you may have to hand your laptop to them to play games or watch some kid-themed videos on YouTube. It won’t be a problem to monitor what your kids do with your laptop, but what if you have no time to monitor your kid’s computer usage?
If you’re worried that your kids spend too much time playing PC games or they may sometimes come across inappropriate content on the web, you can consider setting up Parental controls on Windows 11.
How to Set Up Parental Controls on Windows 11
You won’t have to install any dedicated app to set up parental control on your Windows 11 computer. You must create a Child account and set up the parental control features. Here’s what you need to do.
1. Create an account for your Child
The first step for setting up Parental Controls is creating an account for your Child. Here’s how to create an account for your Child on Windows 11.
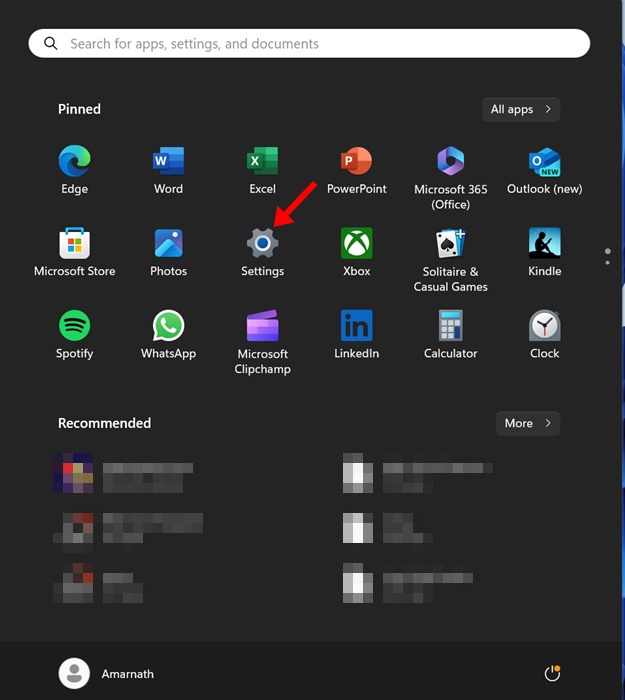
1. Launch the Settings app on your Windows 11.
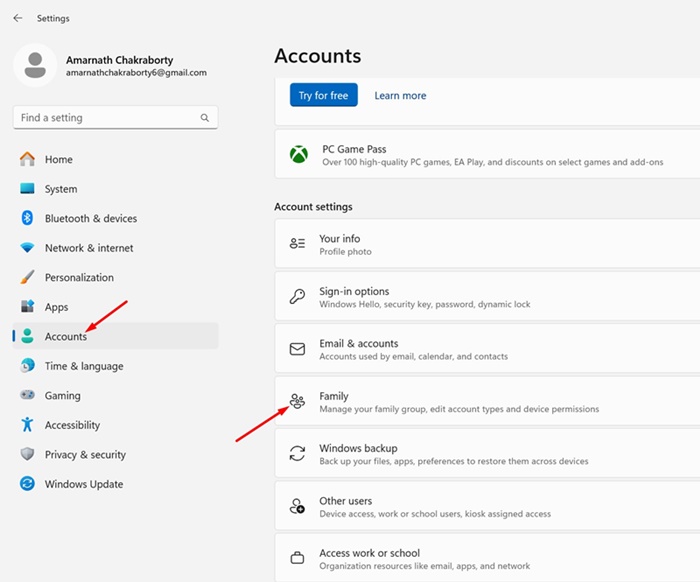
2. Next, navigate to the Accounts > Family.
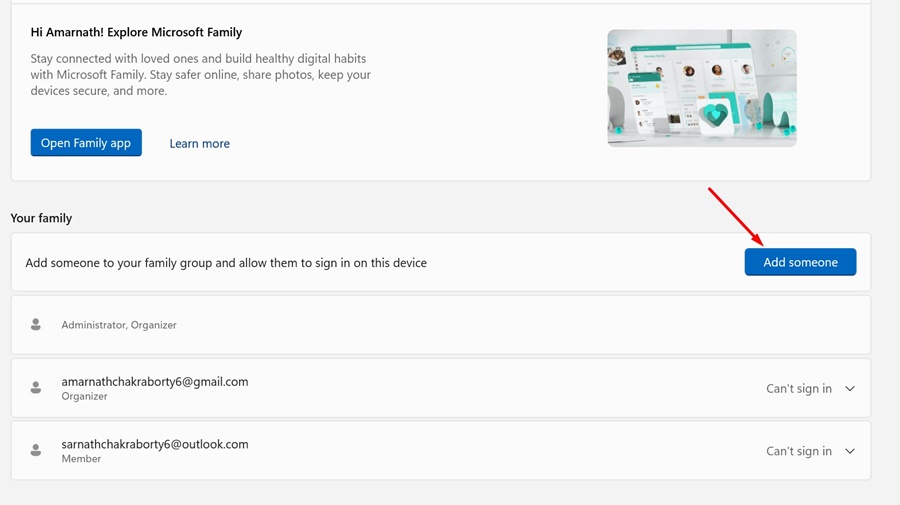
3. On the next screen, click Add Someone.
4. In the window that appears, select Create One for a Child.
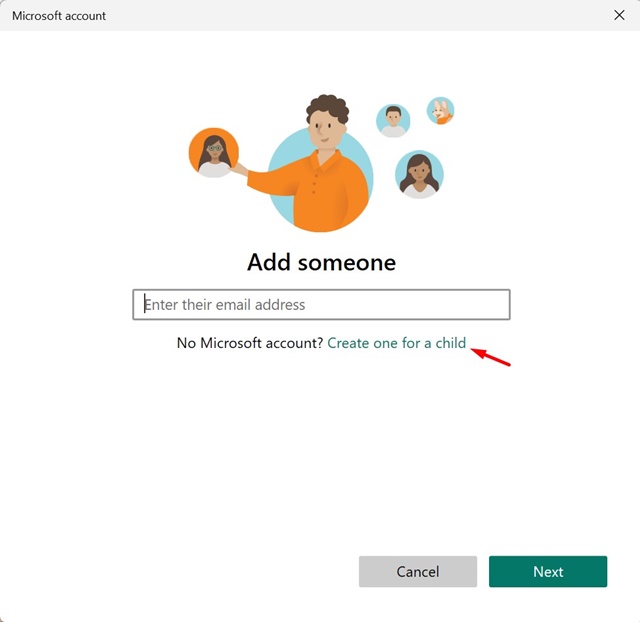
5. Now, enter the email address and password for the new account.
That’s it! This ends the steps to create an account for your Child on Windows 11.
2. Set up Windows 11 Parental Controls
Once you’ve finished creating an account for your child, it’s time to set up the Parental Control features. Here’s what you need to do.
1. Launch the Settings app on your Windows 11.
2. When the Settings app opens, navigate to the Accounts > Family.
3. On the Family & other users, click on Manage Family Settings Online or remove an account. Or else, visit this webpage. If you are using the latest builds of Windows 11, open the Family Safety app.
4. Next, click on the Sign in to Family Safety and enter your Microsoft account details.
3. How to Configure the Parental Control Options
Now that you have signed in to the Family Safety account; you can configure the parental control options. Make sure that your Child’s account is connected to a device.
If you want to monitor your kid’s account from your computer, sign in using its credential. Now navigate to Settings > Accounts > Family & other users and click on Manage Family Settings online or remove an account. Next, follow the steps mentioned below.
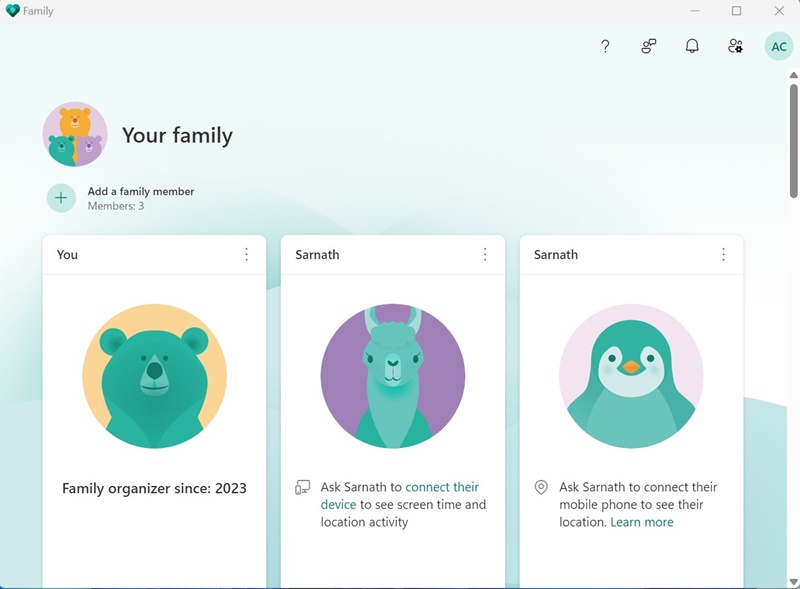
1. Switch to your child’s account, which you want to control.
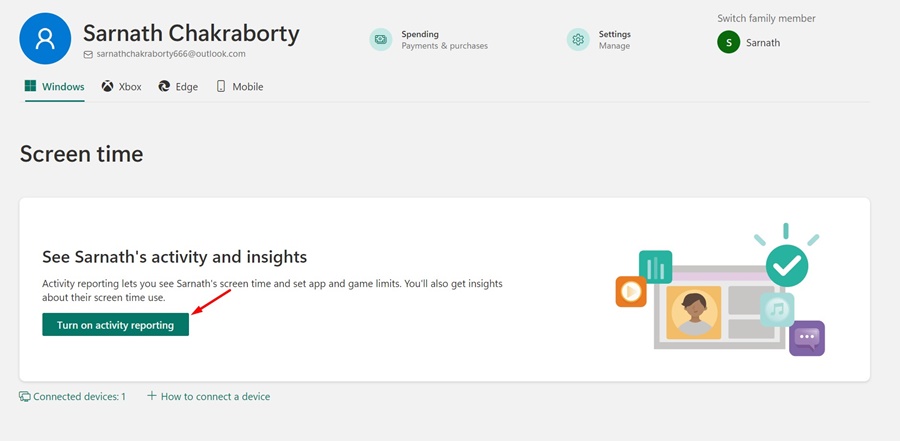
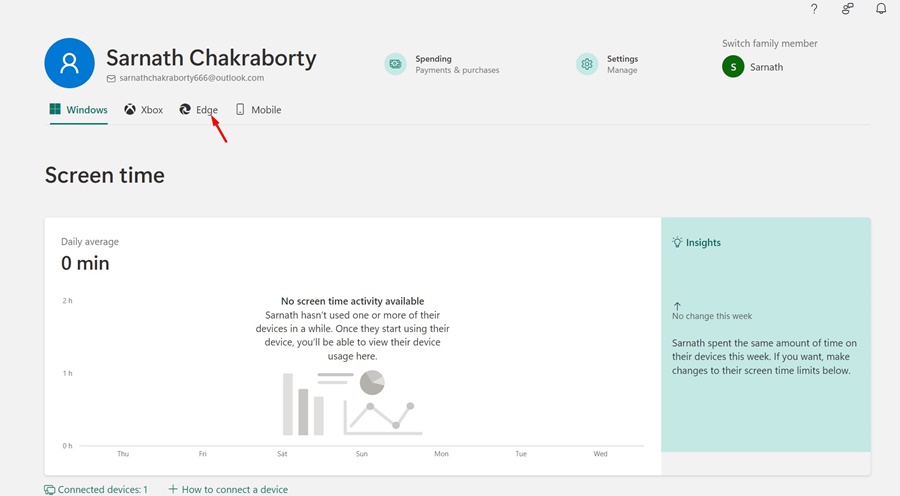
2. The Overview tab will show you the general information about your child’s account. You can see the screen time, which games your child is playing, and so on. To enable screen time monitoring, tap on the Turn on Activity Reporting.
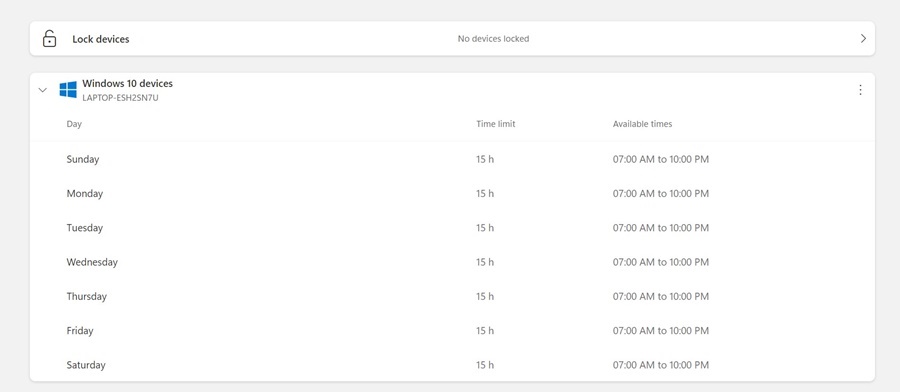
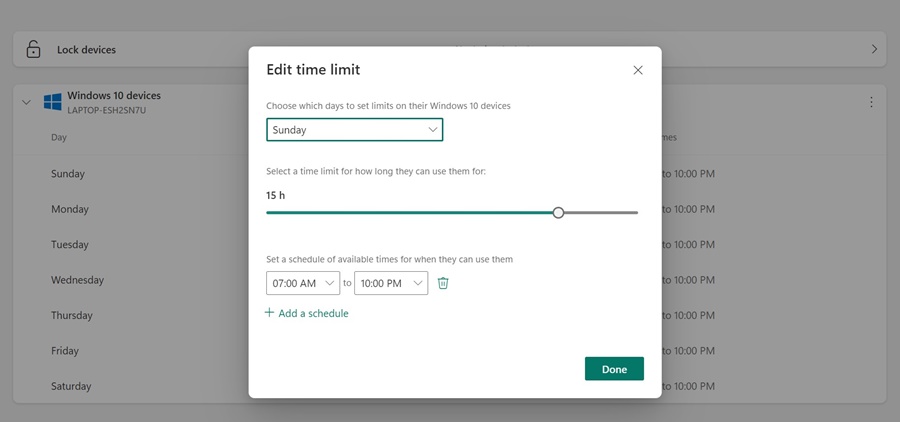
3. If you want to limit the screen time, scroll down a bit and click on the Day. Next, set the screen time as per your need. You need to set how much time your kid can spend using a device.
5. After setting up Screen Time, you can move to the Content Filters (Edge) section. Content filtering will work only if your kid uses the Edge browser.
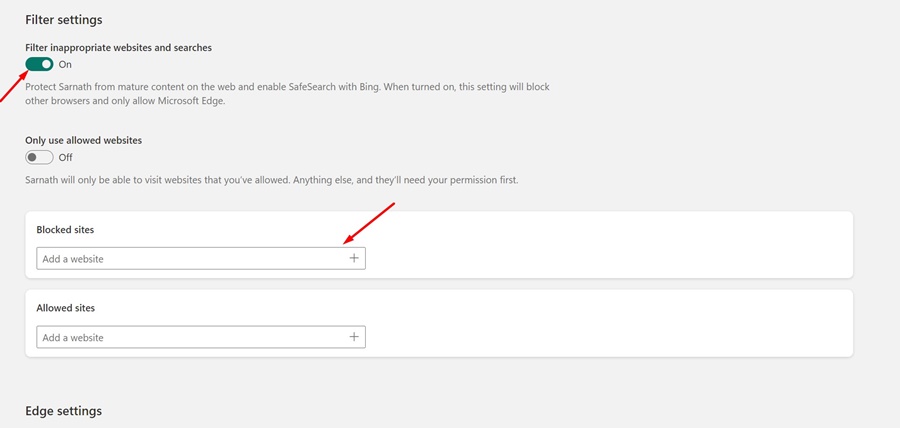
6. In the Content Filters section, you can restrict which websites & apps your kids can access. You can enable the toggle to Filter inappropriate websites and searches. If you don’t want your kid to visit specific website, simply enter the URL on the Blocked sites list.
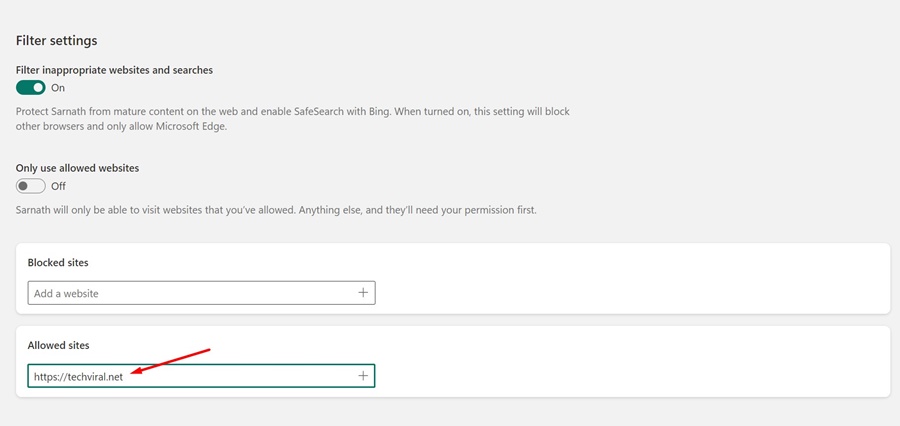
7. Next, move down to the Allowed Sites section and add the websites you think are safe for your kids to view. You can configure this only if you want your kids to view selected websites.
So, this guide is about setting up Parental Controls on Windows 11. You can set up Parental controls to keep your kids safe on Windows 11. Let us know in the comments below if you need more help on this topic.


