
The recycle bin on Windows is one of the most important tools; it saves the files you accidentally delete and lets you recover them in need. However, many Windows 10/11 users have recently faced problems while accessing the Recycle Bin folder.
According to the user, opening the Recycle Bin on Windows 11 shows an error that reads, “The Recycle Bin on C:\ is corrupted. Do you want to empty the Recycle Bin for this drive”. This error message prevents users from accessing the Recycle bin and restoring the files.
How to Fix Recycle Bin Corrupted Error on Windows
So, if you have been getting the same or similar error while opening the Recycle Bin on Windows 11, continue reading the guide. Below, we have shared some simple methods to fix the Recycle Bin Corrupted error in Windows 11. Let’s get started.
1. Restart your Windows PC
The first thing you should do to fix the Recycle Bin Corrupted error is restart your PC. A simple restart can go a long way in fixing problems related to the Recycle Bin.
There are chances that you’re getting the error just because of an operating system bug or glitch. You can eliminate any such bugs or glitches by restarting your PC.
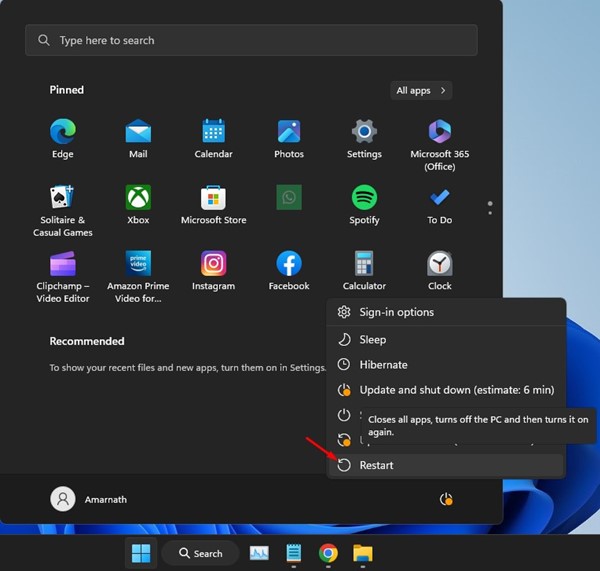
So, click on the Windows Start button and select Power Menu. On the Power Menu, select Restart to restart your PC.
2. Reset the Recycle Bin
You can utilize the Command Prompt utility to reset the Recycle Bin on Windows. Here’s how to reset the Recycle Bin on Windows 11 using the Command Prompt.
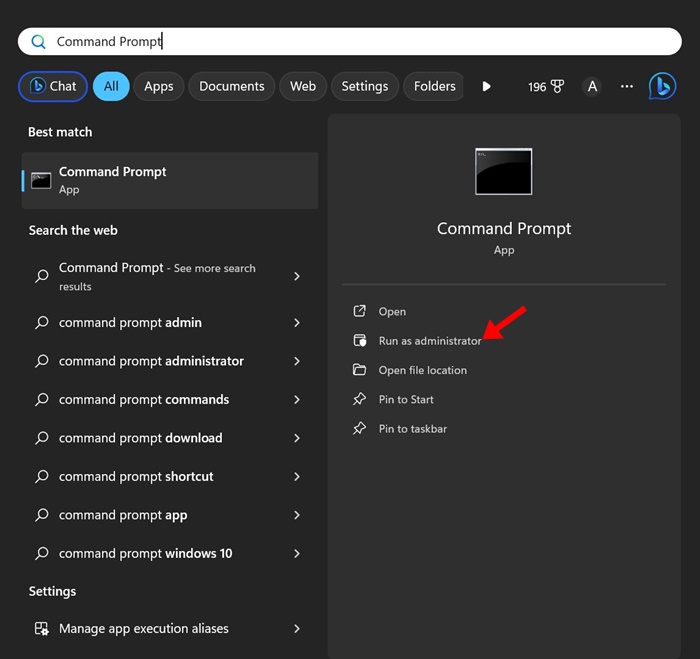
1. Type in Command Prompt on the Windows 11 search. Next, right click on the CMD and select Run as administrator.
2. When the Command Prompt opens, execute the given command:
rd /s /q C:\$Recycle.bin
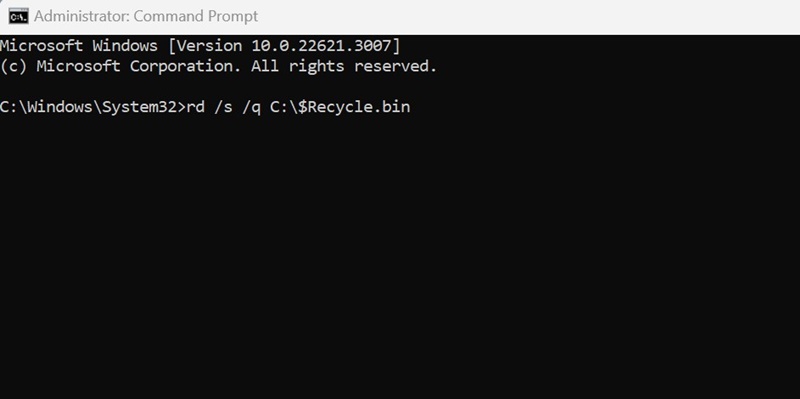
Important: You can replace the letter ‘C’ in the above command with the letter of the drive causing the error.
Please note that the above command will delete all files & folders present in the Recycle Bin; it won’t even ask you for confirmation.
3. Run the CHKDSK Command
If you still get the Recycle Bin Corrupted error on Windows, it’s best to run the CHKDSK Command. Here’s what you need to do.
1. Type in Command Prompt on the Windows 11 search. Next, right click on the CMD and select Run as administrator.
2. When the Command Prompt opens, execute the given command:
chkdsk /r e:
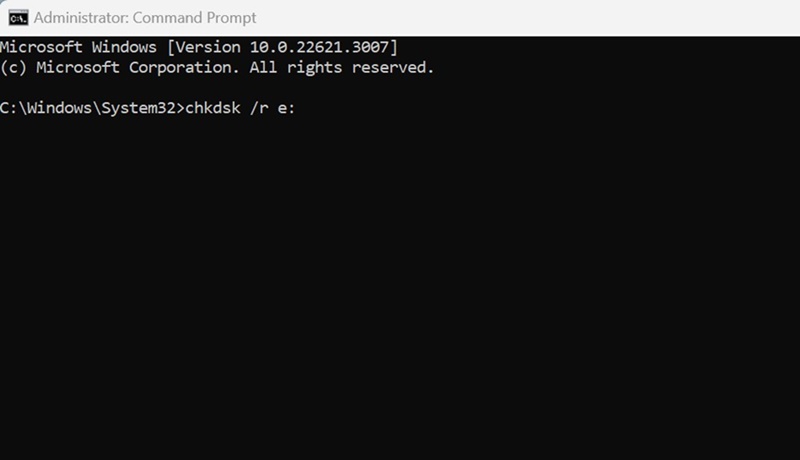
The command will take time to complete. So, be patient and don’t close the Command Prompt until the scan is complete.
Once the scan is completed, restart your computer. This will possibly fix the Recycle Bin corrupted error in Windows.
4. Run the SFC and DISM Commands
If you still get the Recycle Bin corrupted error message, it’s best to run the SFC and DISM Commands as well. SFC and DISM commands will find and fix corrupted system files. Here’s how to run the scans.
1. Type in CMD on the Windows 11 Search. Next, right click on the CMD and select Run as administrator.
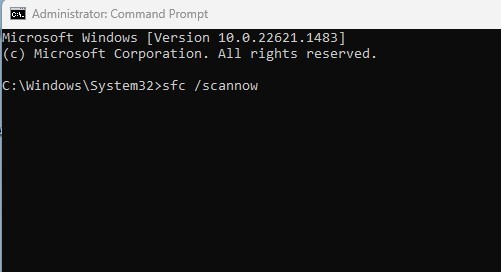
2. When the Command Prompt opens, run the System File Checker tool with this command:
sfc /scannow
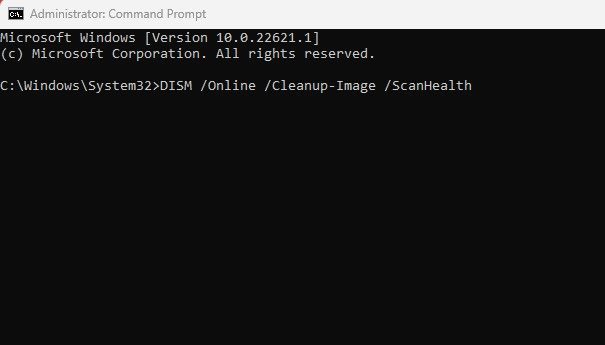
3. Once the scan is complete, or if it returns with an error, execute the DISM command:
Dism /Online /Cleanup-Image /ScanHealth

Dism /Online /Cleanup-Image /RestoreHealth
That’s it! After executing both commands, restart your Windows 11 PC. This should fix the Recycle Bin problems you’re facing.
5. Perform a System Restore
If nothing has worked until now, the next best option is to perform a system restore. System Restore rolls back your PC to the date the restore point was created.
So, you can roll back to when the Recycle Bin was functioning properly. Here’s how to perform a system restore on Windows.
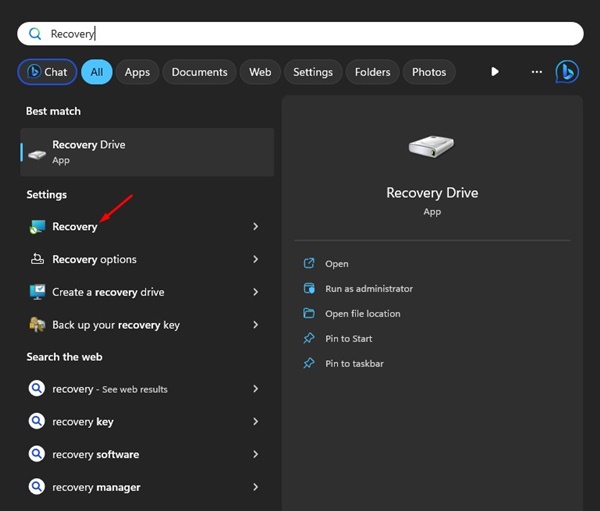
1. Type in Recovery on the Windows Search. Next, open the Recovery app from the list of best-match results.
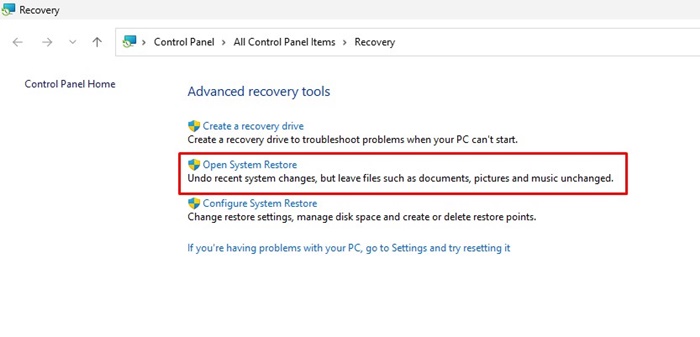
2. On the Recovery screen, click on Open System Restore.
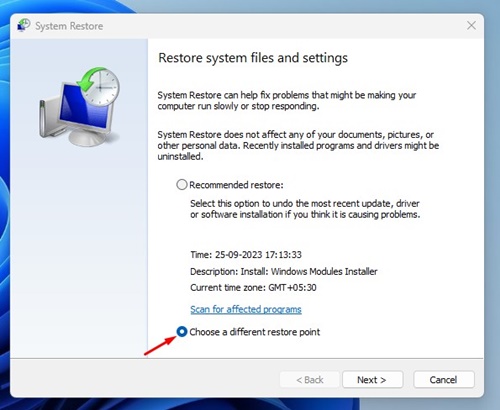
3. On the next screen, select Choose a different restore point.
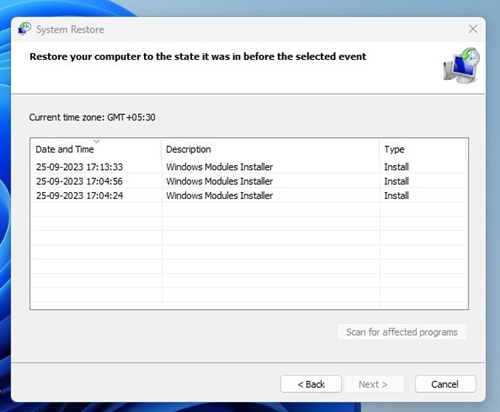
4. Select the Restore point of a back date and click Next.
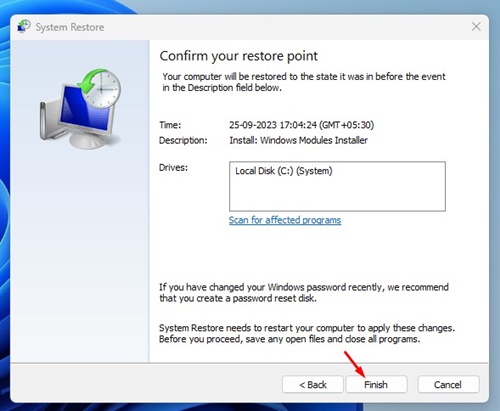
5. On the confirmation prompt, click Finish.
That’s it! This will roll back your Windows PC to the date when the Recycle Bin was fully functional & without any error.
6. Run a Full Antivirus Scan
Sometimes malware & viruses can prevent the Recycle Bin from opening. So, if virus & malware is the issue, you must perform a full antivirus scan. Here’s what you need to do.
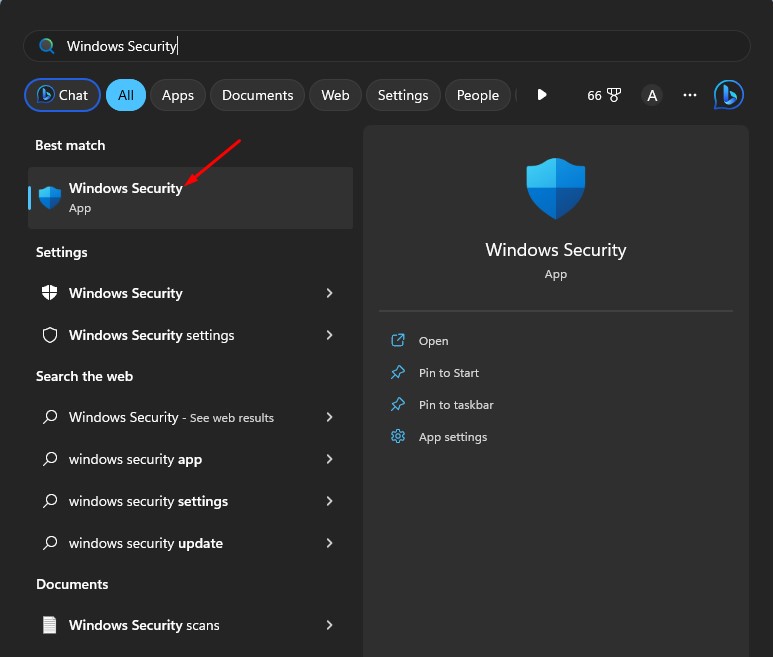
1. Type in Windows Security on the Search. Next, open the Windows Security app from the list of best-match results.
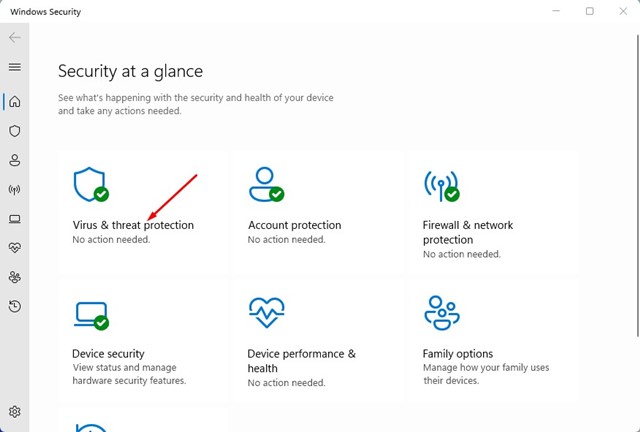
2. When the Windows Security app opens, select Virus & Threat Protection.
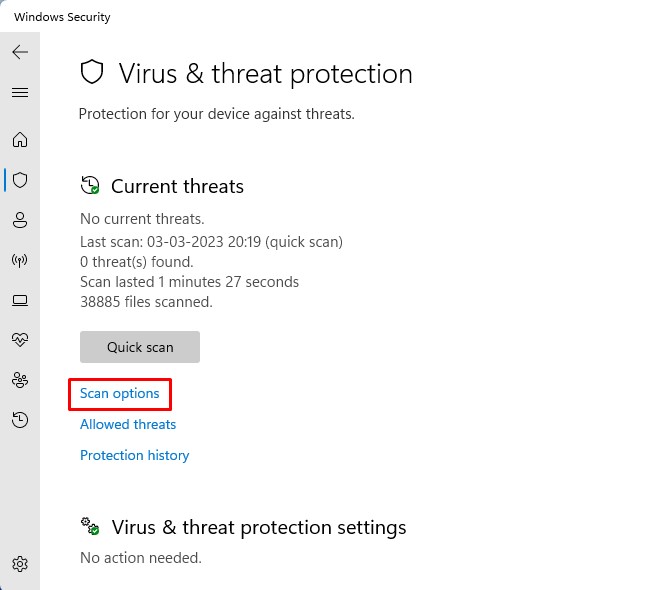
3. On the next screen, click on Scan Options.
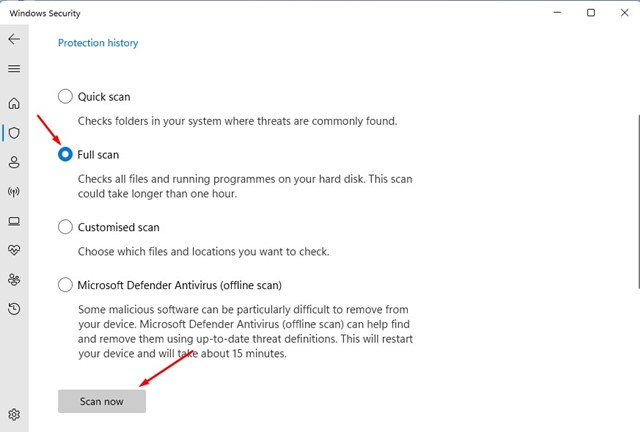
4. Now select Full Scan and click the Scan Now button.
That’s it! This is how you can perform a full virus scan on a Windows 11 computer. After the scan is complete, try accessing the recycle bin again.
So, these are the few simple & effective methods to fix the Recycle Bin Corrupted error on Windows 11 computers. Let us know if you need more help resolving Recycle Bin problems.


