Apple released iOS 17 in September 2023, but many iPhone users still don’t have it. It’s not that iOS 17 is available to limited users; it’s just that users are late installing the update.
Anyways, after installing the iOS 17 or iOS 17.0.3 update, many iPhone users have been found facing problems with their cellular service. According to users, the iPhone doesn’t show any cellular service, and it’s not the fault of the cellular provider.
If you are an iPhone user and recently faced the same problem, continue reading the guide. Below, we have shared some simple steps to fix the cellular service not available problem.
Why Cellular Data No Service Problem Appears?
Well, the Cellular Data No Service or Cellular Service Unavailable after updating to iOS 17 usually appears due to bugs and glitches.
It may also have to do with your cellular provider. Chances are that the cellular networks are not available in your region, and you’re blaming it all on the iOS update.
Incorrect network settings are another reason for no cellular services after the iOS 17 update. Whatever the problem is, most cellular service problems can be easily fixed.
How to Fix No Celullar Service After iOS 17 Update
Since we don’t know why Cellular Services is unavailable, we need to find and troubleshoot the problem manually. Here’s what you can do if your iPhone won’t connect to the cellular network after the iOS update.
1. Restart your iPhone
Cellular services not available after iOS update is usually a result of an existing network glitch which can be fixed by a simple restart.
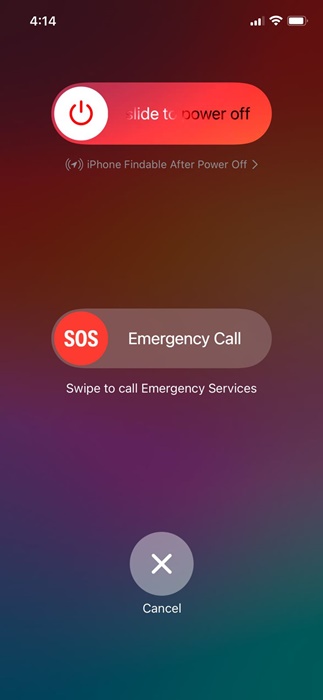
So, before trying the advanced solutions, it’s recommended to restart your iPhone. To restart your iPhone, press and hold the side and volume down buttons.
This will open the Power screen; select the Slide to Restart option to restart your iPhone.
2. Turn On/Off the Airplane Mode
When turned on, airplane mode disconnects all network connectivity, giving a change to your iPhone to reconnect to your cellular network.
So, if cellular services are still unavailable, you can try turning on/off the Airplane mode.
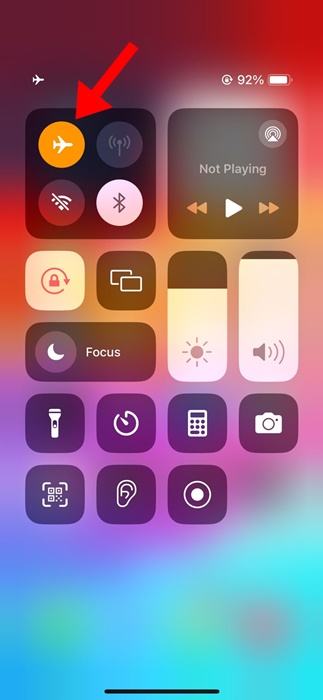
Open the Control Center on your iPhone and tap Airplane mode. This will enable the Airplane mode on your iPhone. Once enabled, please wait a few seconds and tap the Airplane mode icon again to disable it.
3. Check Your Network Connection
Before troubleshooting the network issues, it’s important to ensure your iPhone has cellular coverage.
You need to open the Control Center on your iPhone and see how many bars are there for your cellular network.
If the bars for cellular networks are one or zero, you must move to a different location with better coverage.
4. Update the Carrier Settings
According to a few iPhone users, Cellular services being unavailable after an iOS update isn’t a bug; it happens after an update if your carrier still has older settings.
You can resolve this issue by updating your carrier settings. Here’s what you need to do.
1. To get started, ensure your iPhone is connected to WiFi or cellular networks.
2. Next, open the Settings app on your iPhone.

3. When the Settings app opens, tap on General.

4. On the General screen, tap About.

That’s it! You must follow the on-screen instructions to install all pending carrier updates.
4. Remove & Reinsert the SIM card
Removing and reinserting the SIM card will fetch fresh carrier settings, which may fix the issue you’re facing.
While this isn’t a sure-shot fix, there’s no harm in trying it. Also, when you turn on your iPhone, the device will attempt to connect to the nearest cell phone tower.
So, turn off your iPhone and remove the SIM card. Once ejected, reinsert it and turn on your iPhone.
5. Manually Search for Networks
If Cellular data is still not available after the iOS Update, it’s time to manually connect to the mobile networks. To do that, follow the simple steps we have mentioned below.
1. Launch the Settings app on your iPhone.
2. When the Settings app opens, tap on Mobile Service.

3. On the Mobile Service, tap on Network Selection.

4. On the next screen, turn off the toggle for Automatic.

5. Now, your iPhone will return with all the networks you can connect with. Pick the relevant one.
That’s it! This is how you can manually connect to a mobile network on your iPhone.
6. Make sure the Date & Time are correct on your iPhone
If you can make calls but can’t connect to the internet, you need to check your iPhone’s date and time settings.
Internet may not work if the time and date are incorrect. Follow the steps shared below to correct it.
1. Launch the Settings app on your iPhone.
2. When the Settings app opens, tap on General.

3. On the General screen, tap on the Date & Time.
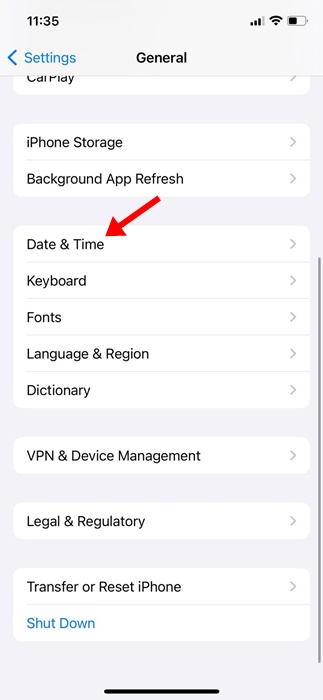
4. On the next screen, enable the toggle for ‘Set Automatically’.
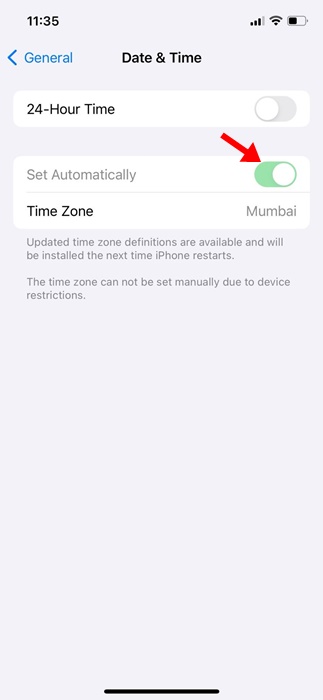
That’s it! After making the change, restart your iPhone. This should fix the incorrect date & time on your iPhone and restore the internet connectivity.
7. Delete your Existing VPN & APN Settings
If the issue is still not fixed, you can delete your existing VPN and APN entries. If your telecom operator allows you to view your APN settings, head to Settings > Cellular > Cellular Data Networks.
Or else, head to Settings > Mobile Data > Mobile Data Options > Mobile Data Network. If your iPhone has neither option, you must contact your telecom operator and ask them to send the new APN settings.
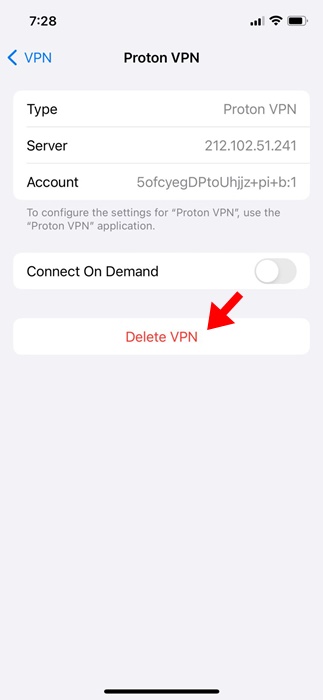
Similarly, you can remove the VPN profile via Settings > General > VPN & Device Management > VPN. On the next screen, tap the (i) next to the VPN profile and delete it.
8. Reset your Network Settings on iPhone
If nothing works for you, the only thing left is to reset your iPhone’s network settings. Here are simple steps for doing so.
1. Launch the Settings app on your iPhone.
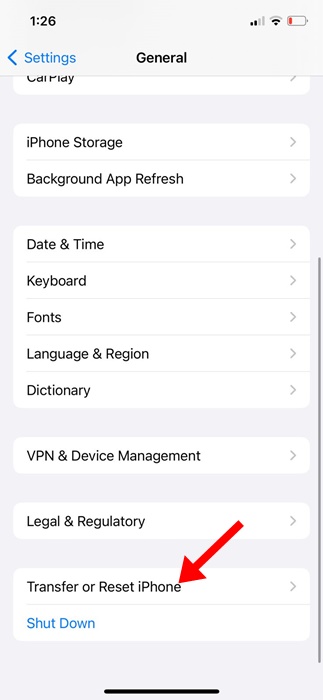
2. When the Settings app opens, tap on General.
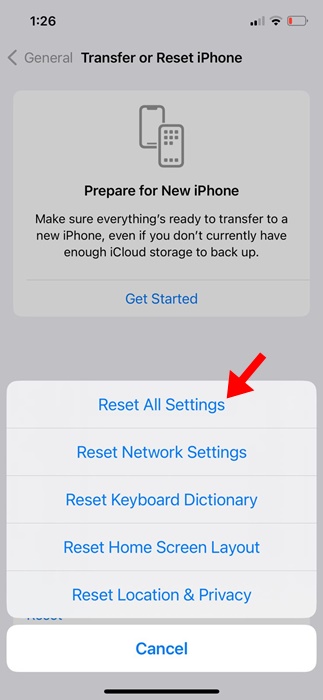
3. On the General screen, tap on Transfer or Reset iPhone.
4. On the Transfer or Reset iPhone screen, tap Reset.
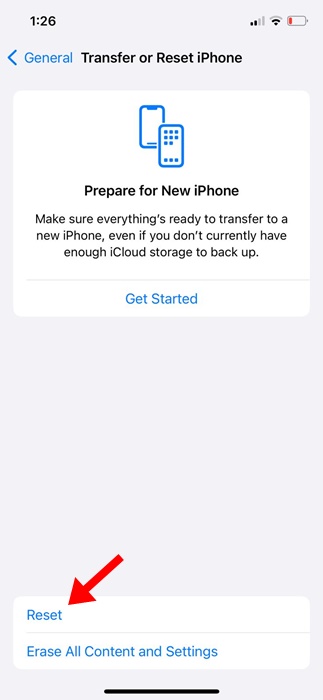
5. On the Reset Prompt, tap on Reset Network Settings.
That’s it! This is how you can reset your iPhone’s network settings.
So, these are a few simple methods to fix cellular services that are not available after the iOS update issue. Let us know if you need more help with this topic. Also, if you find this guide helpful, don’t forget to share it with your friends.


