
")
Home windows 11 is the brand new working system from Microsoft that ships with many new options and a brand new design. The very first thing you’d discover after switching to Home windows 11 is the brand new Begin Menu, Fast Settings panel, and new file explorer icons.
Not solely that, however Microsoft additionally revamped the audio customization interface on its Home windows 11. As a result of new design change, many customers couldn’t discover the Audio choice to normalize the quantity on Home windows 11.
Home windows 11 has a Loudness Equalization function, which normalizes the quantity output. Loudness Equalization on Home windows 11 makes use of an understanding of human listening to to scale back perceived quantity variations.
Additionally Learn: Windows 11 Free Download Full Version
2 Greatest Strategies to Normalize Quantity on Home windows 11
You possibly can allow the ‘Loudness Equalization’ on Home windows 11 to have a constant sound quantity stage throughout all apps and internet browsers. Under, we now have shared a step-by-step information on normalizing quantity on Home windows 11. Let’s take a look at.
1) Normalize Quantity on Home windows 11 through Settings
This technique will use Home windows 11’s Settings app to normalize the quantity. Right here’s what it’s essential to do.
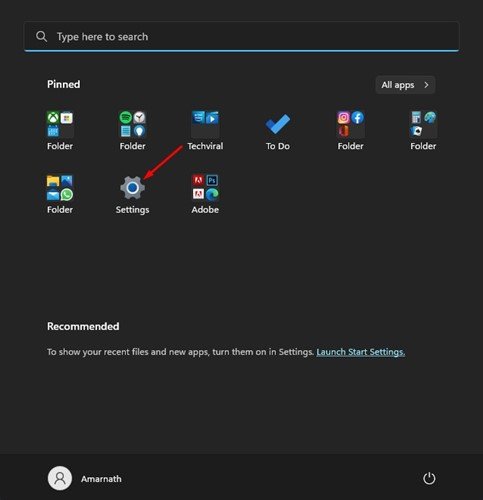
1. First, click on on the Home windows 11 Begin button and choose Settings.
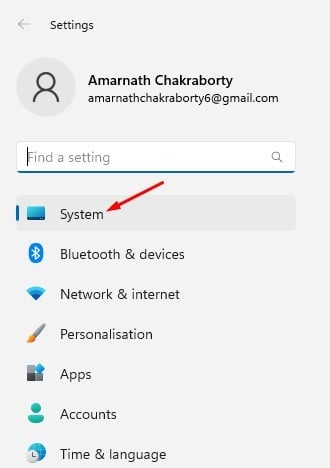
2. On the Settings app, click on on the System tab on the left pane.
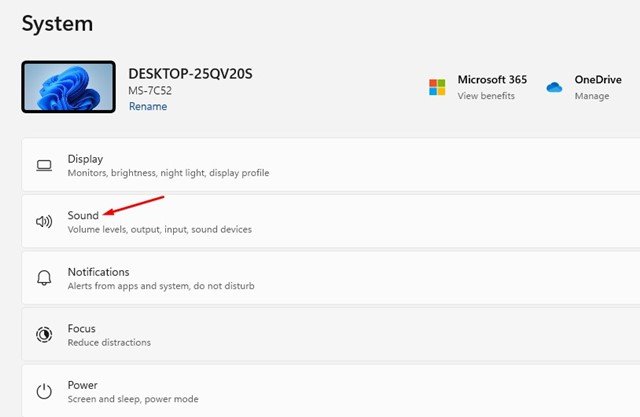
3. On the correct pane, click on on the Sound possibility.
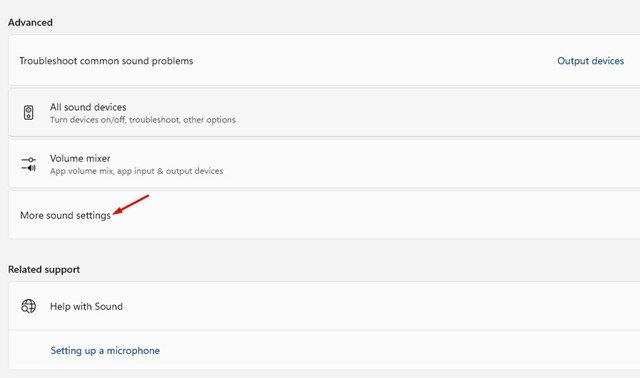
4. Scroll down and click on on the Extra sound settings possibility.
5. Now, choose the playback machine and click on on Properties.

6. On the Properties, change to the Enhancement tab.
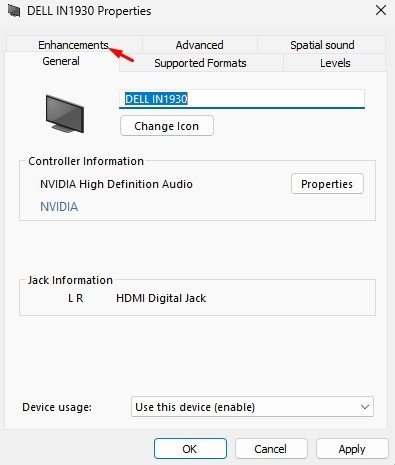
7. Subsequent, verify the ‘Loudness Equalisation’ possibility and click on on the Okay button.

That’s it! That is how one can Normalize quantity on Home windows 11 pc.
2) Normalize Quantity on Home windows 11 through Management Panel
You possibly can even use the Management Panel utility to normalize the quantity in your Home windows 11 pc. You could comply with a few of the easy steps we now have shared beneath.
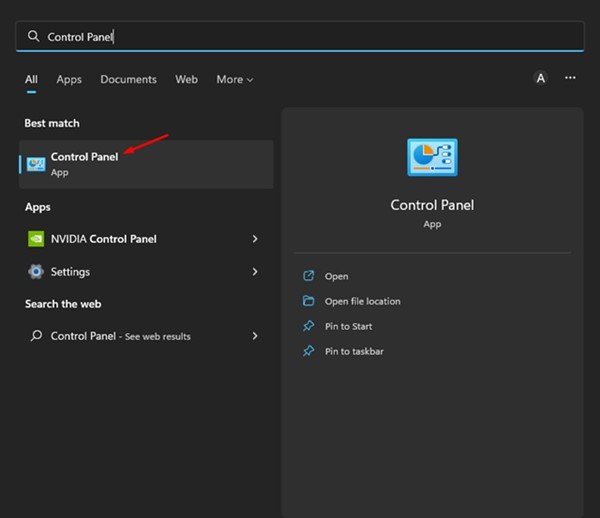
1. First, click on the Home windows 11 search and kind in Management Panel. Subsequent, open the Management Panel app from the record of choices.
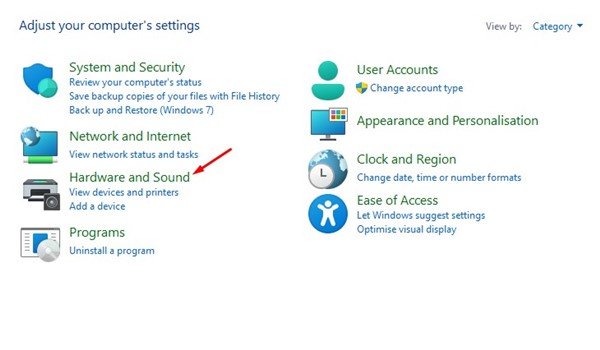
2. Click on on the {Hardware} and Sound possibility on the Management Panel.
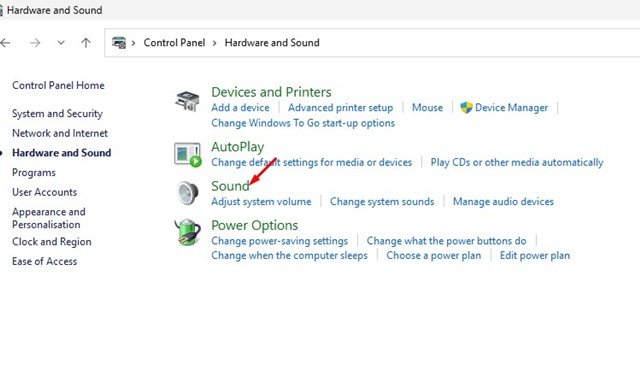
3. On the {Hardware} and Sound web page, click on on the Sound.
4. On the Sound window, choose your playback machine and click on on the Properties.
5. On the Sound Properties, change to the Enhancements possibility.
6. Subsequent, verify the ‘Loudness Equalization’ choice to allow the audio enhancement function.
That’s it! You possibly can allow loudness equalization on Home windows 11 pc through Management Panel.
Additionally learn: How to Update Drivers on Windows 11
So, that’s all about normalizing quantity on Home windows 11 computer systems. The function will enhance your audio high quality on Home windows 11 PC. If you happen to want extra assist associated to Loudness Equalization, tell us within the feedback beneath.

