")
On Windows 11, there’s no need for manual driver installation since the operating system automatically installs all required drivers during the system updates. This is a pretty good feature as it eliminates lots of manual work.
However, while installing the Windows 11 updates, users can sometimes run into trouble. Windows 11 is prone to errors and can show you an error while installing an update that has just been downloaded.
A Windows update error has recently troubled many users, impacting all available updates and displaying the ‘Install Error’ text. Several Windows 11 users have reported getting an error that reads ‘Install error 0x80070103’ while trying to update their device.
If you get the same ‘Install error 0x80070103’ while updating your Windows 11, continue reading the guide until the end. Below, we have listed a few methods to fix the error ‘0x80070103’. Let’s get started.
Why the Error 0x80070103 Appears?
The error usually appears while downloading or installing a Windows 11 update. Since multiple issues could trigger the error, it’s difficult to pinpoint any one reason.
Below, we have listed a few common reasons that trigger the 0x80070103 error on the Windows 11 update. Let’s check out the reasons.
- Internet Problems while downloading the updates.
- Corrupted/damaged system files.
- The driver is in use during the update.
- The Update service is not functioning properly.
- Windows 11 trying to install a non-compatible version of driver.
How to Fix Windows 11 Error 0x80070103?
Since the actual reason for the error is still not known, we have to follow some general troubleshooting tips to get it fixed. Here are some of the best things you can do to resolve Windows 11 error 0x80070103.
1. Pause & Resume the Windows Update
The first thing you need to do to fix Windows install error ‘0x80070103’ is pause and resume the Windows updates.
Pausing the resuming the Update tool has helped many Windows 11 users fix the ‘0x80070103’ error message. So, you can try doing it as well. Here’s what you need to do.
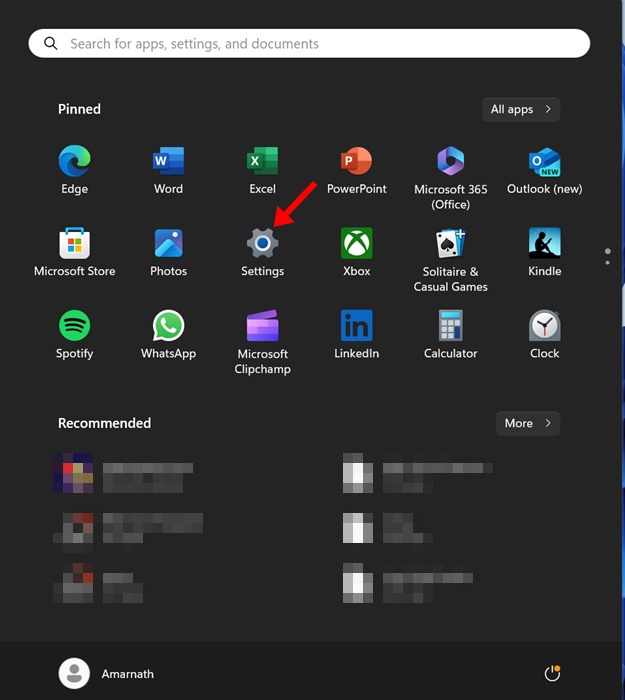
1. Press the Windows Key + I button on your keyboard to open Settings. Alternatively, click on the Windows 11 Start button and select Settings.
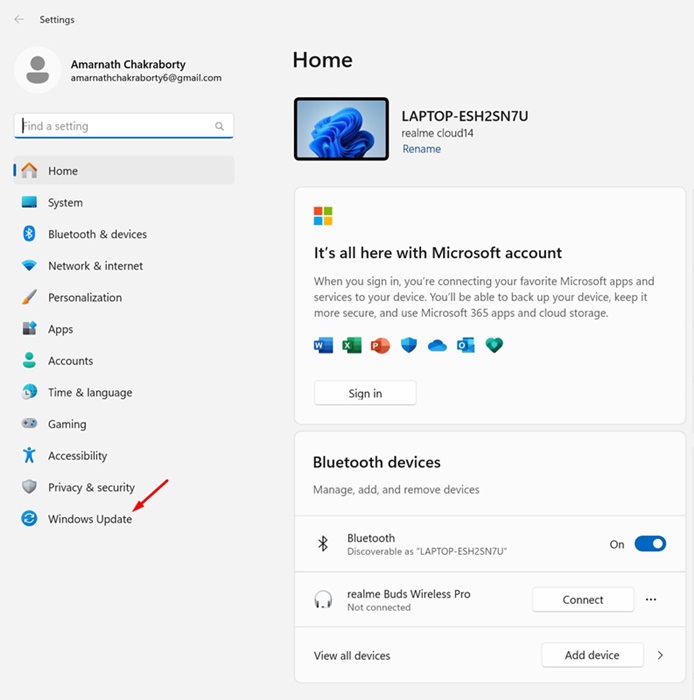
2. When the Settings app opens, switch to the Windows Update tab.
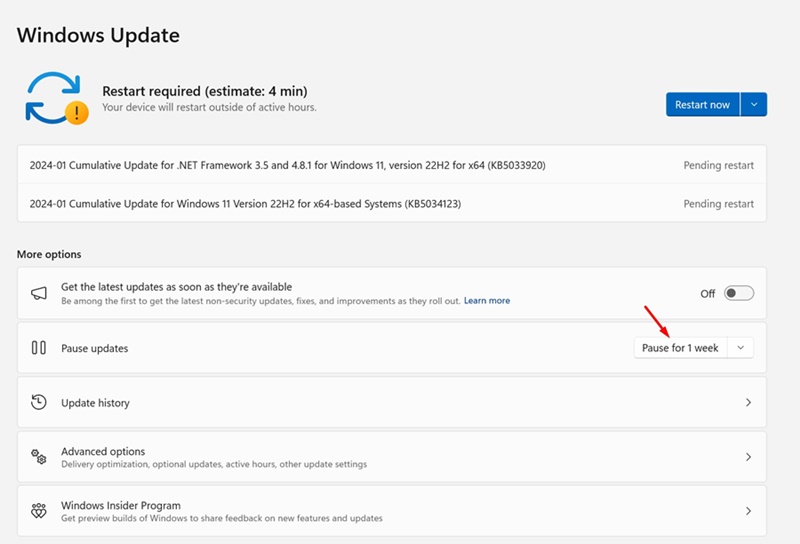
3. On the right side, click the Pause for 1 Week button.
4. Once paused, click on the Resume updates button.
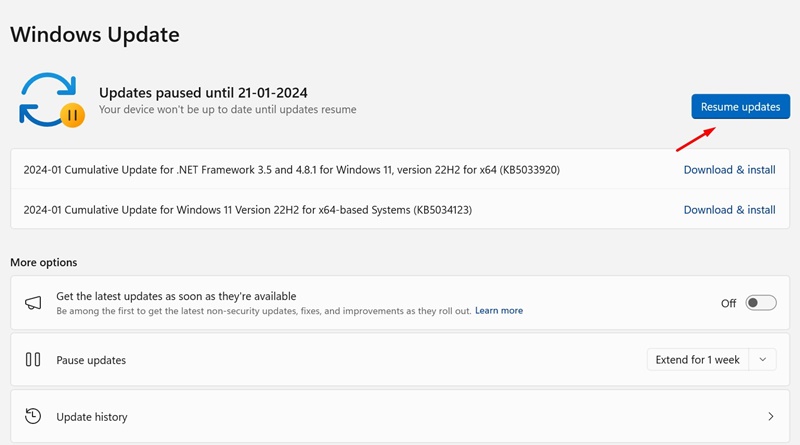
That’s it! Now, Windows 11 will again check for all available updates. If any update is available, Windows 11 will download & install it automatically.
2. Restart your Windows 11 computer
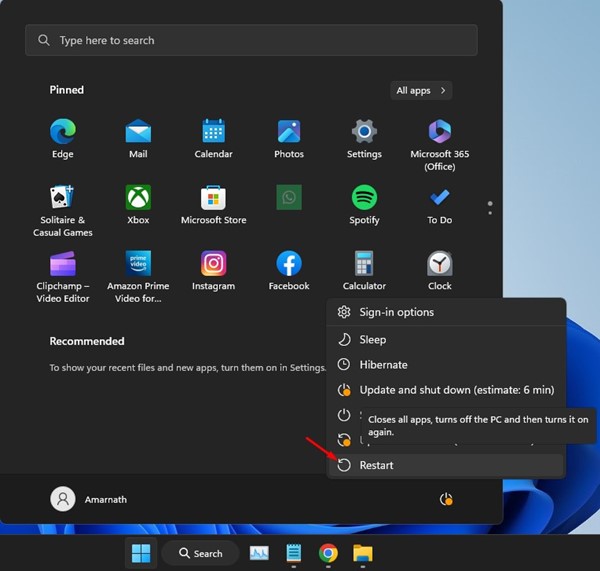
If pausing & resuming the Windows 11 updates didn’t help, you need to restart your Windows 11 computer.
Restarting will possibly remove all bugs & glitches that may be conflicting with the Windows 11 update services.
So, before you try the next methods, make sure to click on the Windows 11 power menu and select Restart. After the restart, run the Windows 11 update tool again by going through Settings > Updates > Check for Updates.
3. Run the Windows Update Troubleshooter
For those who don’t know, Windows 11 has a dedicated troubleshooter to deal with problems related to Updates. If you are still getting the install error 0x80070103, it’s time to run the Windows Update Troubleshooter. Here’s how to run it.
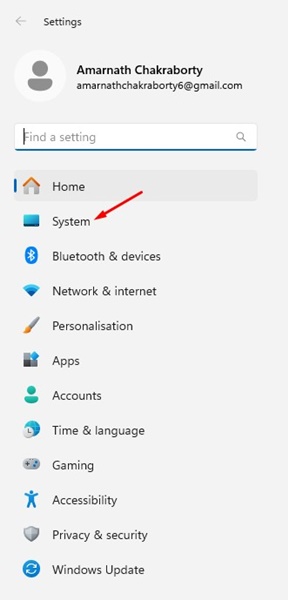
1. Click on the Windows 11 Start menu and select Settings.
2. When the Settings app opens, switch to the System tab.
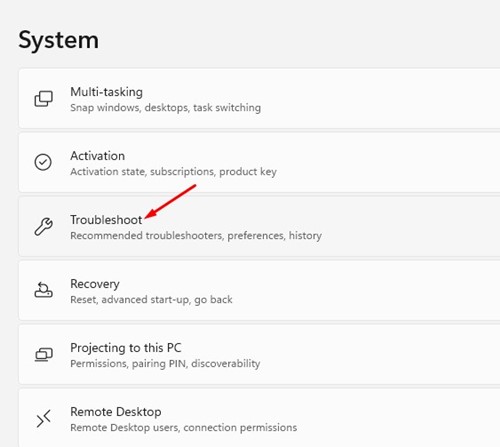
3. On the right side, click on Troubleshoot.
4. On the next screen, click on Other Troubleshooters.
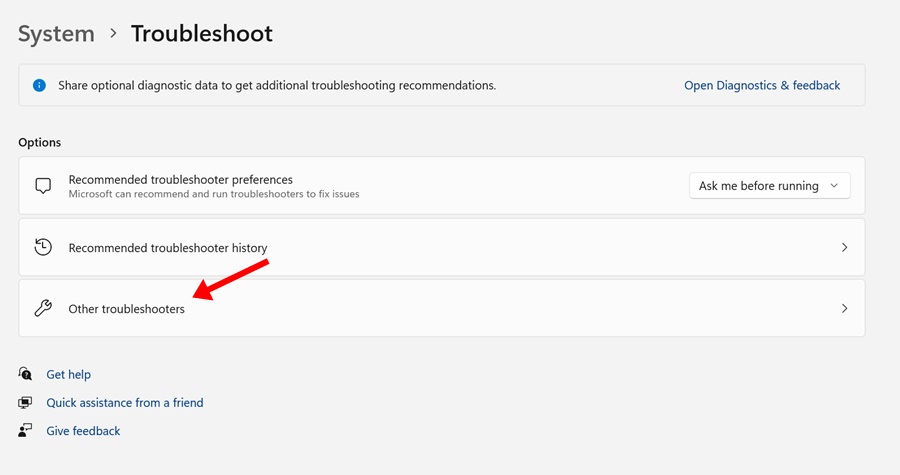
5. On the Most frequent section, find Windows Update and click the Run button beside it.
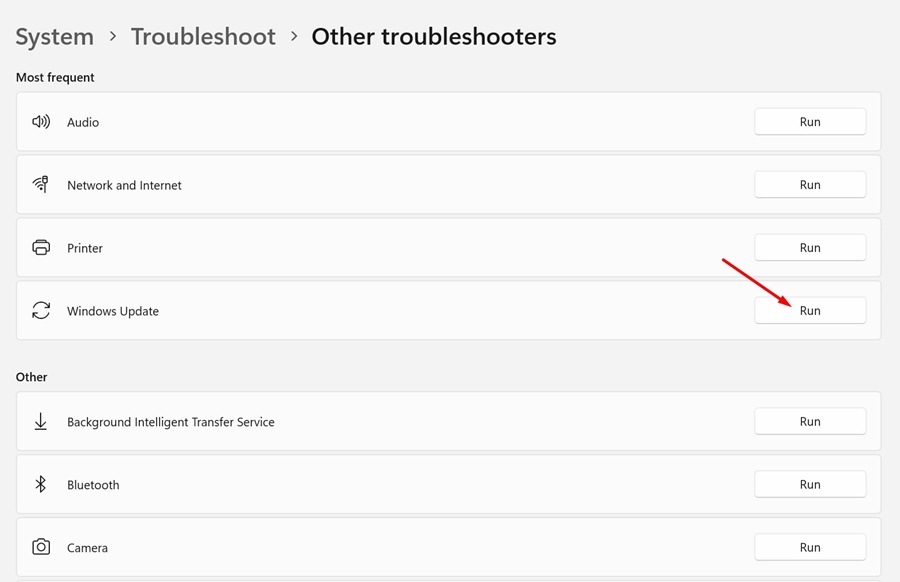
6. This will launch the Windows 11 update troubleshooter. Follow the on-screen instructions to complete the troubleshooting process.
That’s it! Once the process completes, make sure to restart your Windows 11 computer.
4. Reset the Windows Update Components
Another best thing you can do to resolve the Windows 11 install error 0x80070103 is to reset the Windows Update Components. Here’s how you can reset the Windows update components in easy steps.
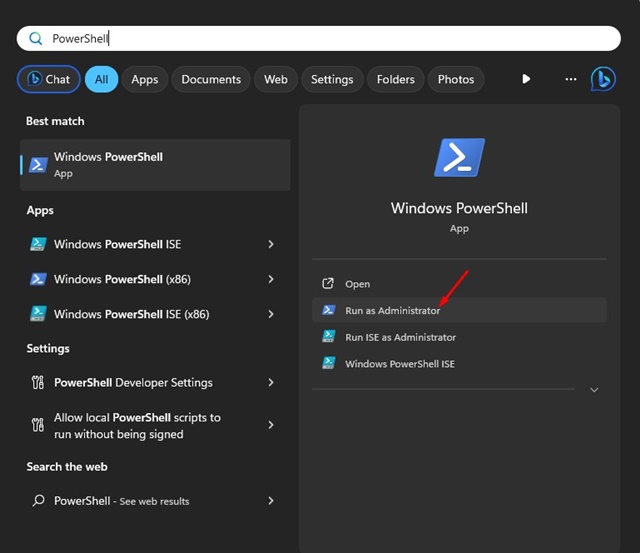
1. Type PowerShell on Windows 11 search. Next, right-click on the PowerShell app and select Run as administrator.
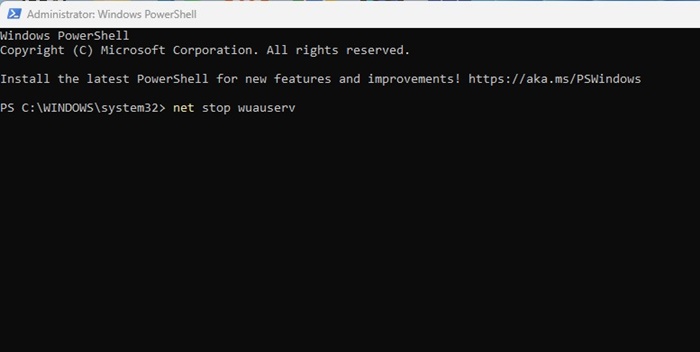
2. When the PowerShell utility opens, execute these commands one by one and press Enter.
net stop wuauserv

net stop cryptSvc

net stop bits

net stop msiserver

ren C:\Windows\SoftwareDistribution SoftwareDistribution.old

ren C:\Windows\System32\catroot2 catroot2.old

net start wuauserv

net start cryptSvc

net start bits

net start msiserver
That’s it! After executing all these given commands, restart your Windows 11 computer. After the restart, run the Windows 11 update tool again. This time, you won’t get the error.
5. Hide the Problematic Update
Many Windows 11 users have found hiding the problematic update helpful. However, to hide the problematic update, you need to use Microsoft’s Show or Hide Updates tool. Here’s how to use it.
1. Download the latest version of Show or Hide Update tools on your PC.
2. Once the tool is downloaded, launch the program and click Next.
3. On the next screen, select Hide Updates.
4. Select the update giving you the 0x80070103 error and click Next.
5. Now, wait until the tool hides the problematic update.
That’s it! Once the tool completes the hiding process, you can run the update tool. The hidden update won’t show up on your computer.
6. Try Basic Troubleshooting
Apart from the things we have mentioned, you can try other generic fixes as well. Here are some of the best things you can try to fix Windows Install error 0x80070103.
Manually download the update & install it
If you can detect the download failing to install on your computer through the update tool, you can try installing that update manually. You can visit the Microsoft Update Catalog and download the file.
Install the Optional Windows Updates
Installing the optional Windows updates has helped many users fix the 0x80070103 Windows 11 error. To install the optional updates, head to Settings > Windows Update > Advanced Options > Additional Updates > Optional Updates.
Fix the Corrputed System Files
You can run the System File Checker utility to get rid of all corrupted Windows installation files. You can run the System File Checker utility on Windows 11 via the Command prompt by running the SFC Command.
Reset Windows 11
If nothing worked for you to resolve the Windows 11 error 0x80070103, the best you can do next is to reset the Windows 11 computer. It’s pretty easy to reset Windows 11; for that, follow our guide –
So, this guide is all about how to fix Windows 11 error 0x80070103 in easy steps. Let us know if you need more help in resolving the update error. Also, if you find this guide helpful, don’t forget to share it with your friends.


