
In 2023, internet bandwidth isn’t an issue because we have internet providers providing high-speed internet & unlimited bandwidth at affordable prices. However, there are still some cities where internet bandwidth & speed is an issue.
People still message us asking how to manage internet consumption while using a laptop or computer. If you’re reading this guide, chances are you’re already struggling with internet bandwidth management and looking for a solution. Don’t worry- we are here to help!
Certain Windows apps run in the background and connect to the internet. Such apps can consume your bandwidth, slow down your internet speed, and drain your battery life.
4 Methods to Check Apps Using Internet on Windows 11
So, if you are using Windows 11 and have limited internet bandwidth, it’s of utmost importance to check apps using the internet. Below, we have shared a few of the best ways to check apps using the internet on Windows 11. Let’s get started.
1. Check Apps Using Internet using Task Manager
Task Manager is an ultimate utility that allows you to track all apps & services running in the background. With the Task Manager, you can easily determine which apps use internet data in real-time. Here’s how to find apps using the internet using the Task Manager utility.
1. Type in Task Manager on the Windows 11 Search. Next, open the Task Manager app from the list of best match results.
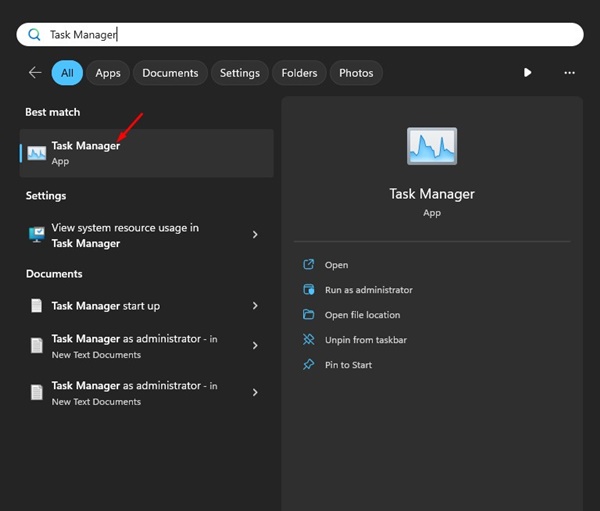
2. When the Task Manager opens, click on the Network Colum.

3. Now, you will see all apps running in the background and connecting to your internet.
4. If you don’t want a specific app to connect to the internet, right-click on the App name and select End Task.

That’s it! This is how you can check apps using the internet on your Windows 11 computer.
2. Check Apps Using the Internet Using Resource Monitor
Resource Monitor is an advanced version of the Task Manager app available for Windows. You can use it to check which apps are using the internet. Here’s what you need to do.
1. Type Resource Monitor on the Windows 11 search. Next, open the Resource Monitor app from the list of best match results.

2. When the Resource Monitor opens, switch to the Network tab.

3. Now, you need to take a brief look at the Network Activity. You can see which apps are running in the background and connecting to the internet.

4. The Send on the Network Activity indicates the upload speed, the Receive is the download speed, and the Total is the sum of both speeds.
That’s it! This is how you can use the Resource Monitor to check apps using the internet on a Windows 11 computer.
3. Check Total App Using on Windows 11 via Settings
In this method, we will use the Windows 11 Settings app to check the total data usage of apps. Here’s how to check the total data usage via Settings on Windows 11.
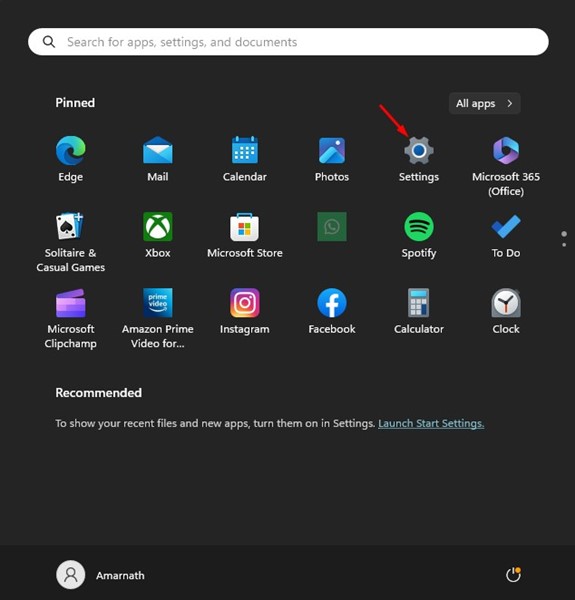
1. Click on the Windows 11 Search and select Settings.
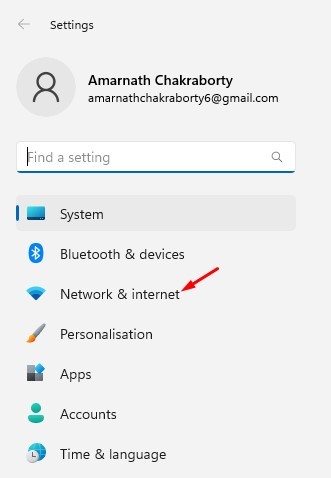
2. When the Settings app opens, switch to the Network & Internet.

3. On the right side, click on the Data Usage.

4. Set the time frame of the Filter by drop-down. Now, on the Usage Statistics, you can see the total data usage of apps on your Windows 11.

That’s it! This is how you can check the total data usage of apps on a Windows 11 computer. The only thing is that you won’t be able to see the real-time data usage with this method.
How to Limit Data Usage on Windows 11?
If you have limited internet bandwidth, it’s best to limit data usage to avoid the extra charges. On Windows 11, you get an option to limit data usage.
When the data usage limit reaches, Windows 11 stops the internet consumption. So, if you can’t track which apps are using the internet in the background, it’s best to set up a data usage limit.
This way, you won’t have to worry about excess background data usage. Here’s how to set the data limit on Windows 11.
1. Click on the Windows 11 Start Button and select Settings.
2. When the Settings app opens, switch to the Network & Internet.
3. Now select your network and click on Set a data limit to help control data usage on this network.

4. On the next screen, click the Enter limit button at the top right.

5. Now, set the Limit Type, Reset Data, and the Data Limit. Once done, click on Save.

That’s it! Now, Windows 11 will notify you when the data limit is about to be reached. The data limit counter will be reset after the number of days you’ve selected.
This guide is about how to check which apps are using the internet on Windows 11. You can follow these methods to easily find apps that silently steal your internet bandwidth. Let us know if you need more help managing internet bandwidth on Windows 11.


