")
Windows 11 is indeed an excellent operating system ever made, which is far better than its predecessor and has many interesting features. Yes, Windows 11 is never known for its stability, but its features set and visuals are enough to convince users to give it a try.
On Windows 11, you have a variety of ways to back up your important files and folders. Back up files & folders on Windows 11 isn’t complicated; you won’t even have to use any third-party apps.
The built-in file backup utilities of Windows 11 are enough to fulfill all your data backup needs. So, if you keep resetting Windows 11 for some reason, it’s best to have a proper backup plan.
How to Backup Windows 11 (5 Methods)
This article will share different ways to back up Windows 11 computers along with the steps for using those backup to restore the operating system in problems.
1. Create a Full Backup Using Backup & Restore Utility
Windows 11’s Backup & Restore utility can back up all important files & folders on your PC as it uses the ‘shadow copy’ feature to create a full system image. With the full system image, you get identical copy of all apps, files & settings that had been backed up.
With this backup method, you can quickly backup your EFI System Partition, C Drive folders, Windows Recovery Environment, etc. You can even backup other drives of your PC as well. Here’s what you need to do.
1. Click on the Windows 11 search and type in Control Panel. Now open the Control Panel app from the list.

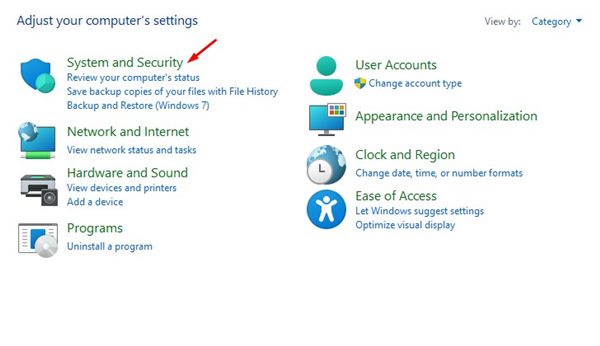
2. When the Control Panel opens, select the System and Security section.
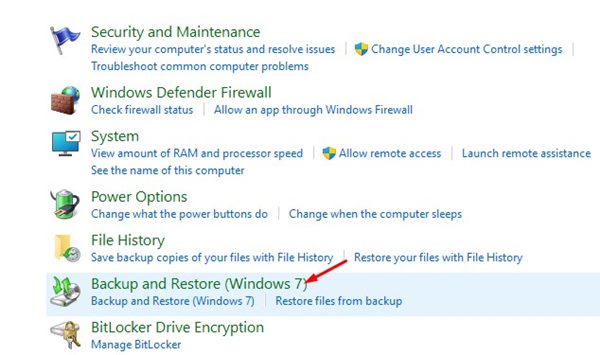
3. On System and Security, click on Backup and Restore (Windows 7).
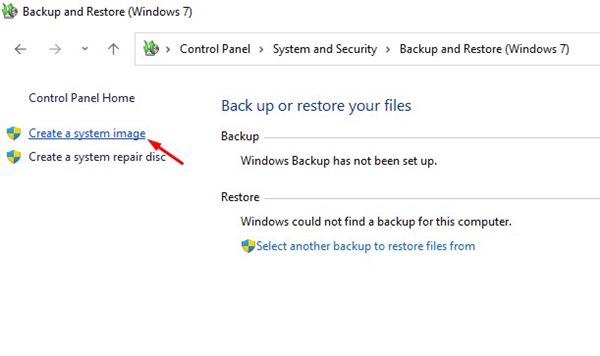
4. On the left side, click the Create a System image link.
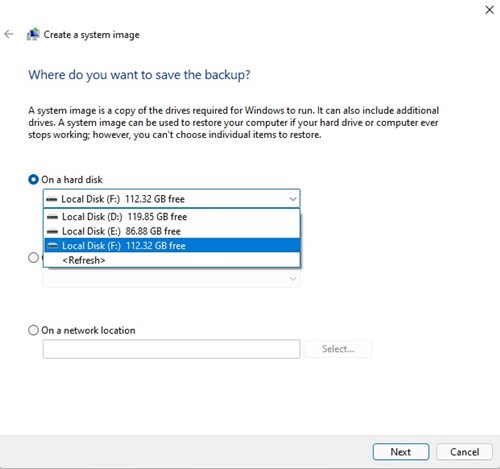
5. Now, on the Where do you want to save the backup? Screen, select On a hard disk, and click on Next.
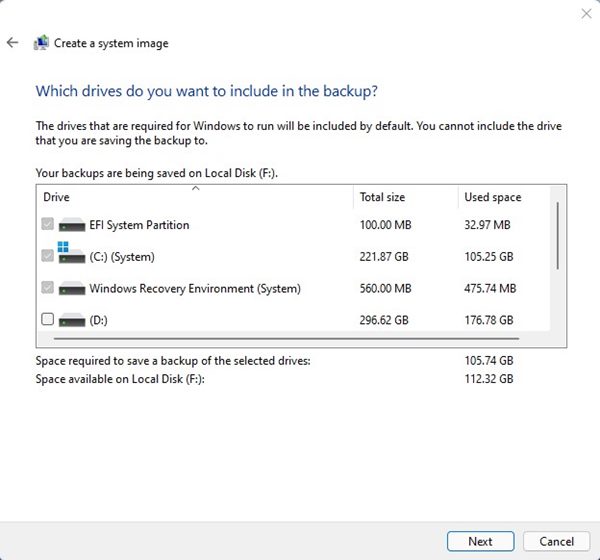
6. On Which drives do you want to include in the backup? screen, select the drives you want to backup, and click on the Next button.
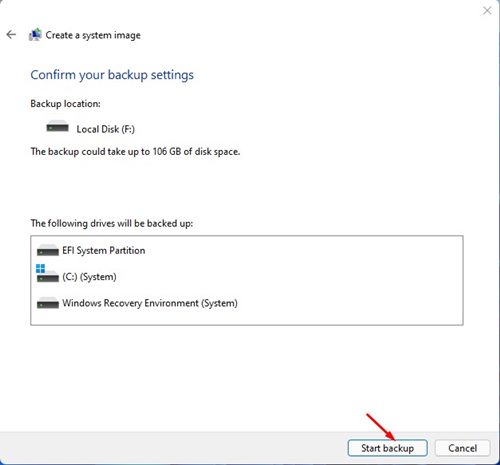
7. Now confirm your backup settings and click on Start Backup.
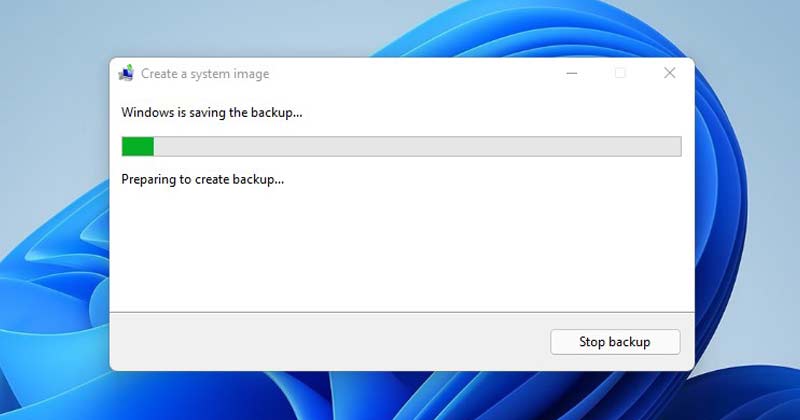
8. You must wait patiently until Windows 11 creates a backup file.
That’s it! This is how you can use the Backup & Restore utility of Windows 11 to create a full system image backup.
How to Restore the Backup?
After creating the backup file, you can use it whenever needed. You can follow the steps mentioned below to restore your PC with the backup you’ve created.
1. Insert the Windows 11 Bootable USB Drive and boot from it.
2. On the Windows Setup page, select all things and click Next.

3. On the next screen, select Repair your computer option.

4. Now select Troubleshoot > Advanced Options > System Image Recovery.

5. Select a system image backup window, select Use the latest available system image and click Next.

6. Confirm your selection and finally click the Finish button to restore your Windows 11.

That’s it! This is how you can restore a backup on Windows 11 computer.
2. Backup Windows 11 with File History
The File History feature of Windows 11 allows you to back up your essential folders such as documents, music, pictures, videos, desktop folder. It’s not a full fledged backup tool but great for backing up important folders. Here’s how to use the File History tool on Windows 11.
1. Type Control Panel on the Windows 11 search and select Control Panel app.
2. On the Control Panel, select System and Security.
3. On the next screen, select File History.

4. Now click on the Advanced settings located on the right side.

5. Now set a schedule to run the File history.

6. Click on the Keep Saved Version drop down and select the time frame as per your preference.
7. After making the changes, click on the Turn on button.

That’s it! This will enable the File History backup on your Windows 11 computer.
How to Restore Files with File History?
After backing up the files & folders, follow these steps to restore your files with the file history.

Open Windows 11 search, type in File History. Select the Restore your files with File History option. Now you will see a snapshot of folders that you can retrieve. Select the items and click on the green back circle arrow to restore them.
3. Backup Windows 11 with System Restore Point
The System Restore point differs slightly from the other two methods we have shared. You can use System Restore to make a restore point when you install a new driver, app, or Windows update.
Once created, you can use a restore point to revert the system state to resolve the problem. This won’t affect your files but will remove all settings, apps, drivers, updates installed after the restore point was made.
1. Click on Windows 11 search and type in Restore Point. Now open the Create a Restore point app from the list.

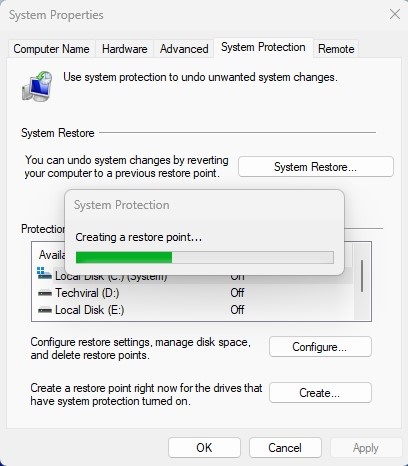
2. On the System Properties, switch to the System Protection tab.

3. Now, on the Protection Settings, select the drives you want to create a system restore point.

4. Once selected, click the Create button at the bottom right.
5. Now, type a description for the restore point and click Create.

6. Now wait until the System Protection creates a restore point for you.
7. Once created, you will see a success message like this. Click on the Close button to close it.

How to Use the Restore Point?
After creating a restore point, you can use it to undo system changes by reverting your computer to the previous restore point. Here’s what you need to do.
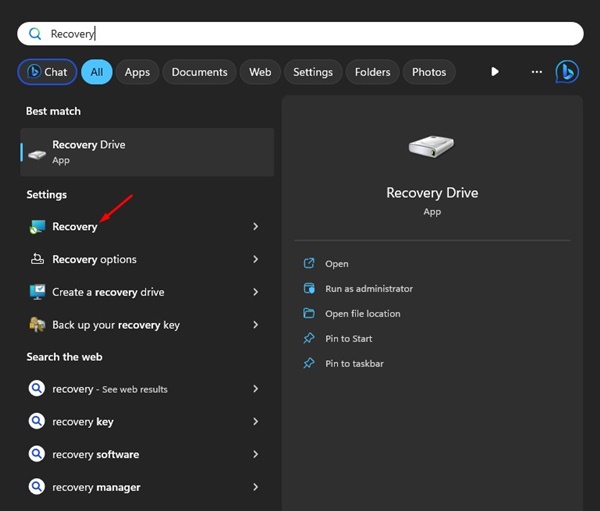
1. Click on Windows 11 Search and type Recovery. Open the Recovery app from the list.
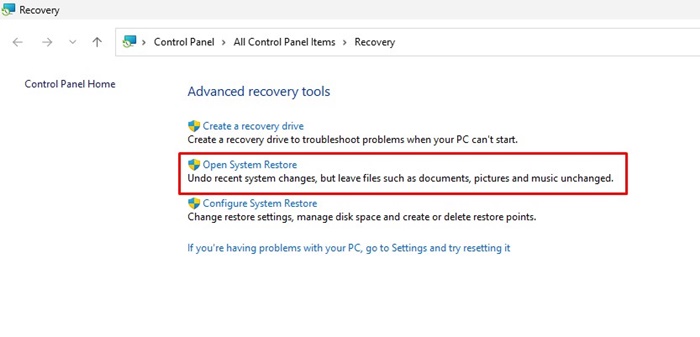
2. On the Advanced Recovery tools screen, select Open System Restore.
3. Now select the Recommended restore. If you want to pick a different restore point, select Choose a different restore point and make your selection.

4. After selecting the restore point, click on the Next button.
5. Confirm your restore point and click on the Finish button.

That’s it! This is how you can use the System Restore point on Windows 11 computer.
4. How to Backup Windows 11 to an External Drive
The Backup & Restore tool of Windows 11 can back up important files to external drive. The steps are very similar; you just need to select your external drive on the backup drive selection screen.
Here’s a detailed guide on how to back up Windows 11 to external drive. Go through the article to know the steps.
5. Other Ways to Backup Windows 11
Several PC Migration software for Windows provides you with backup & restore, disk cloning features. You can use them even when you don’t have any plan to migrate.
The drawback of PC Migration softwares is that they are often very expensive, and the backup features are not the key highlights. Still, they allow you to backup your important files to an external drive or any cloud storage.
Cloud file storage services are great for storing important files/folders and reducing storage usage on PC. Doing so also helps you free up the hassle of manual backup.
Windows 11’s built in OneDrive can also be configured to backup important folders to the cloud. These are some of the best & working methods to backup Windows 11. Let us know if you are stuck somewhere and need help.


