
While browsing the web, sometimes a few websites show us error messages like ‘Your Connection is not private.’ It was not the website that shows you the error message. Your security tool or the web browser tells you about the potential security risks.
If you are using the Google Chrome web browser, you might know that the web browser also blocks downloading from malicious websites. The same thing goes for the Microsoft Edge browser as well.
The thing is that modern web browser blocks websites based on what it thinks to be unsafe. That doesn’t mean every website it blocks is unsafe to visit or download. If you think the website you are about to visit is safe but forcibly blocked by the web browser, you need to set up trusted sites in Windows.
Also Read: How to Open Multiple Websites Using a Desktop Shortcut in Windows 10
How to Add Trusted Sites in Windows 10/11
Setting up trusted sites in Windows 10 is pretty easy. You must head to the Control Panel and make a few changes there. Below, we have shared a step-by-step guide on adding trusted sites to the Windows 10/11. Let’s check out.
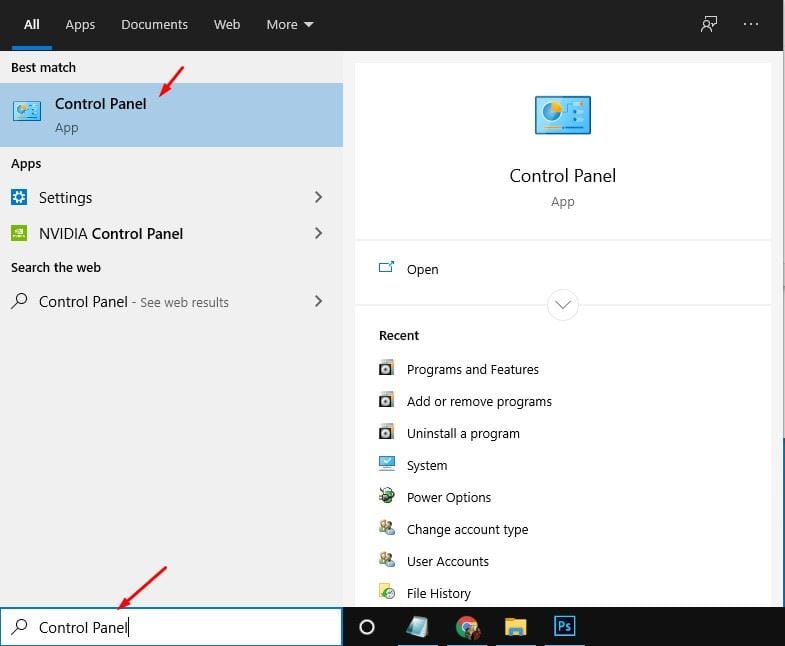
1. First, search for Control Panel on the Windows search. Open the Control Panel from the list.
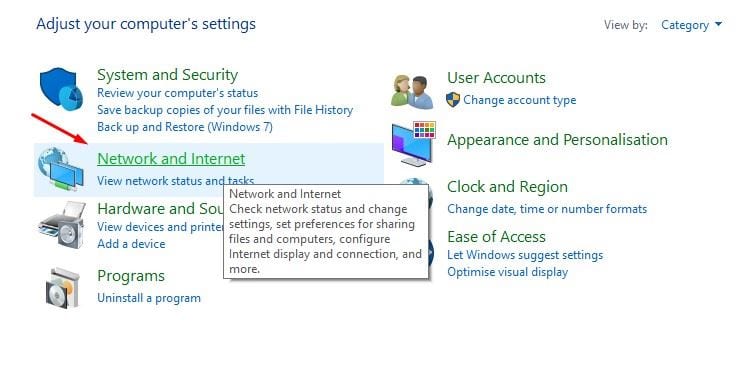
2. On the control panel, click on the Network and Internet.
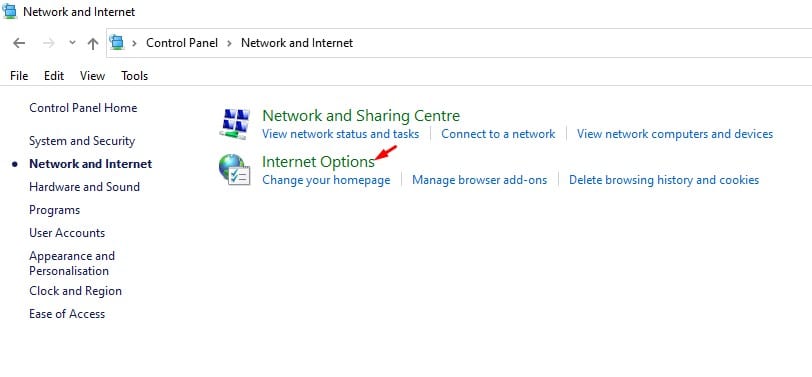
 3. Under the Network and Internet, click on Internet Options.
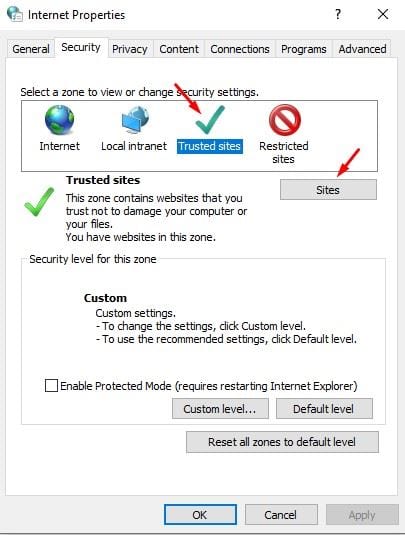
4. In the next pop-up, click on the Security tab.
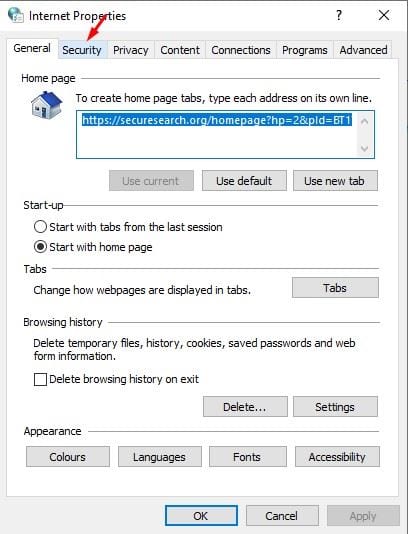
5. Under the Trusted sites, click on the Sites button.
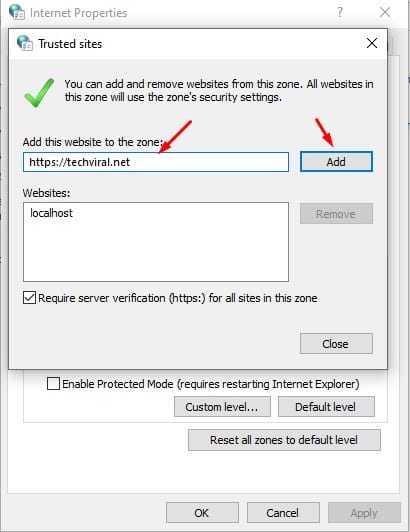
6. Now, you need to enter the full URL of the website that you think is safe to visit and click on the Add button.
7. Make sure to uncheck the box at the bottom for the Require server verification for all sites in this zone option.
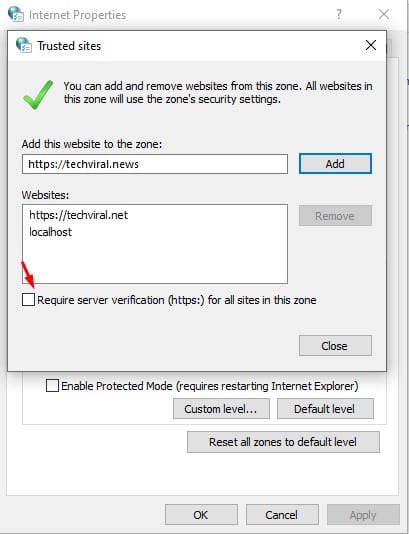
8. Once done, click the Close button and then on Ok.
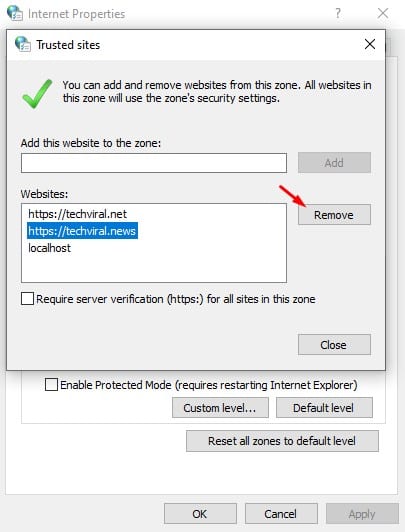
9. To remove any trusted site, select the website and click the Remove button.
That’s it! You are done. This is how you can add trusted sites in the Windows 10 computer Panel.
How to Add a Website to Google Chrome Trusted List
Google Chrome sometimes blocks websites when it detects something malicious. However, the block can sometimes be false positive. Hence, if you trust a website, you can add it to the Google Chrome Trusted list.
Once you add a website to the Chrome trusted list, Google Chrome won’t prevent you from accessing the website again. Here’s how to add a website to the Chrome Trusted List.
1. Open the Google Chrome browser.
2. When the Chrome browser opens, visit the site you want to add to the Trusted list.
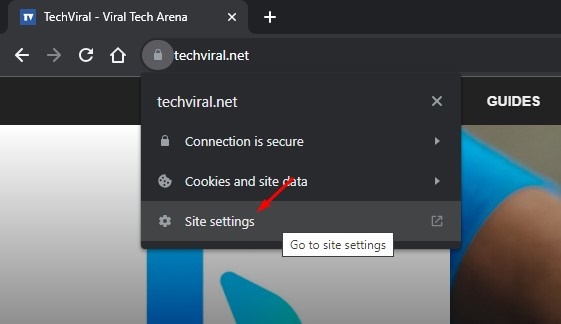
3. Now click on the padlock icon before the URL.
4. On the menu that appears, select Site Settings.
5. Now scroll down to the Insecure Content. Click on the drop-down and select Allow.
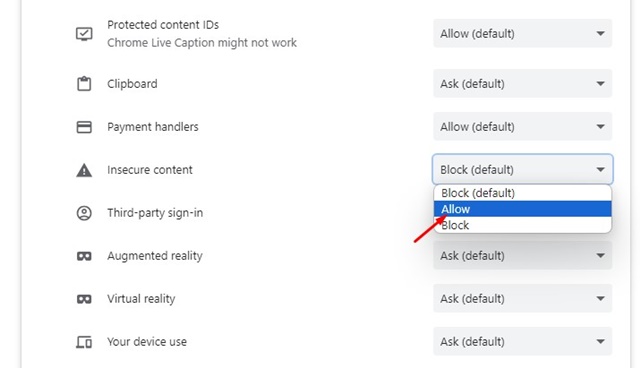
6. If you wish to remove the site from the trusted list, choose Block (default) on the Insecure Content drop-down.

That’s it! This is how you can add trusted websites to the Google Chrome browser.
So, this article is about adding trusted sites to the Windows 10 control panel. I hope this article helped you! Please share it with your friends also. If you have any doubts, let us know in the comment box below.


