One of the most frustrating problems Windows users often face after booting their computer is finding their Numeric lock key disabled. The numeric lock key is very important since it lets you type the numerals.
If you’re an office worker or use your PC for accounting purposes, you may want the NUM Lock key to be always enabled. To keep the Num Lock key enabled all the time, you will have to make a few changes to the registry. Here’s how we can achieve this.
1. Turn Off the Fast Startup
You should turn off Windows 11’s Fast Startup feature to retain your Num Lock Preference. Disabling Fast Startup will ensure that your Num Lock Preference won’t change after restart or shutdown.
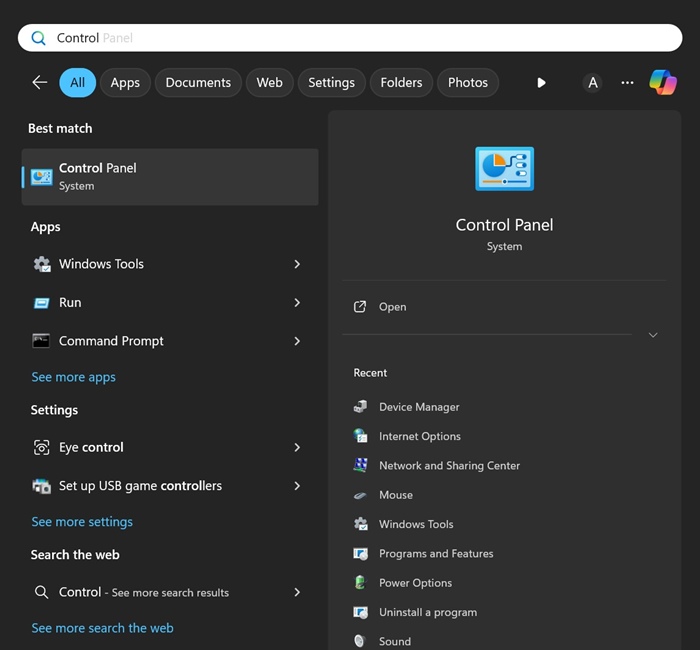
1. Type in Control Panel on the Windows 11 Search. Next, open the Control Panel app from the list of bet match results.
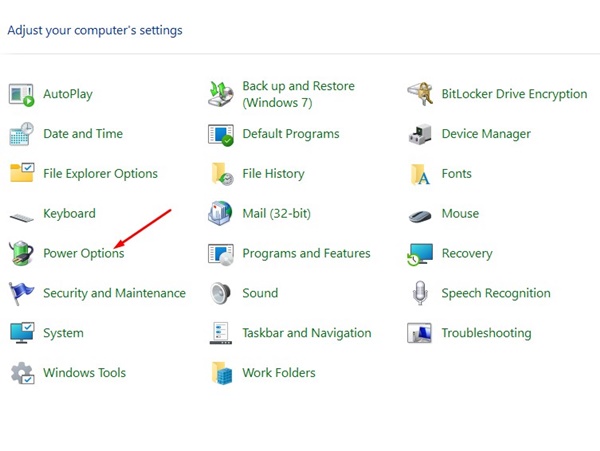
2. On the All Control Panel items screen, click Power Options.
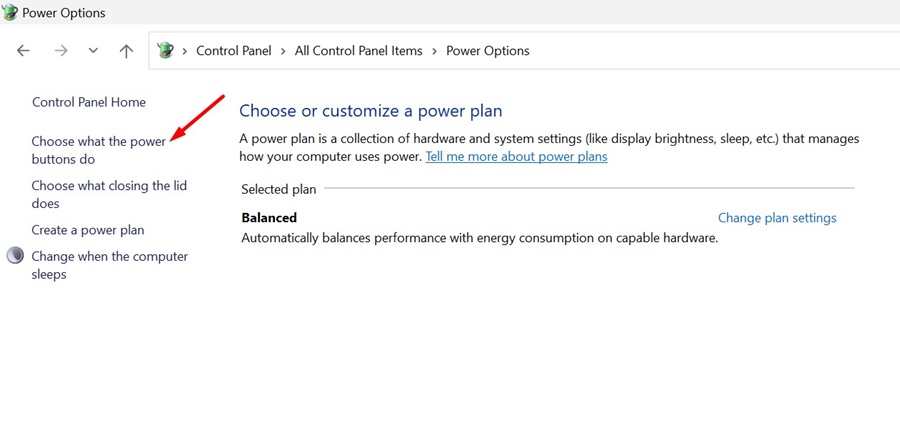
3. Next, click Choose what the power buttons do.
4. On the next screen, click Change Settings that are currently unavailable.
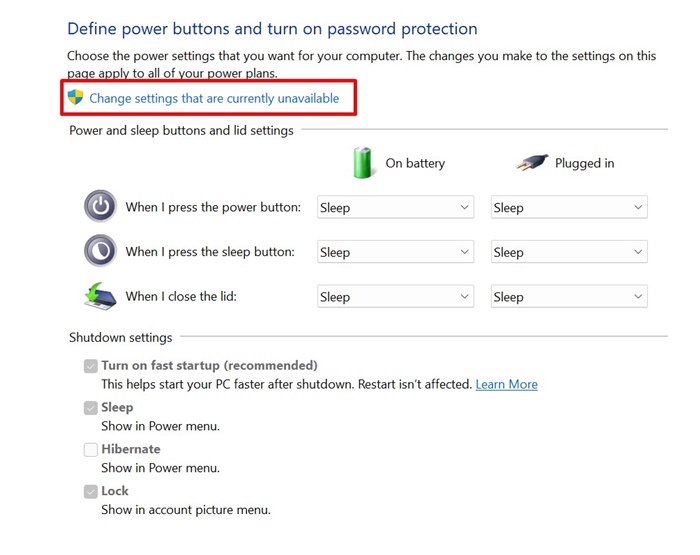
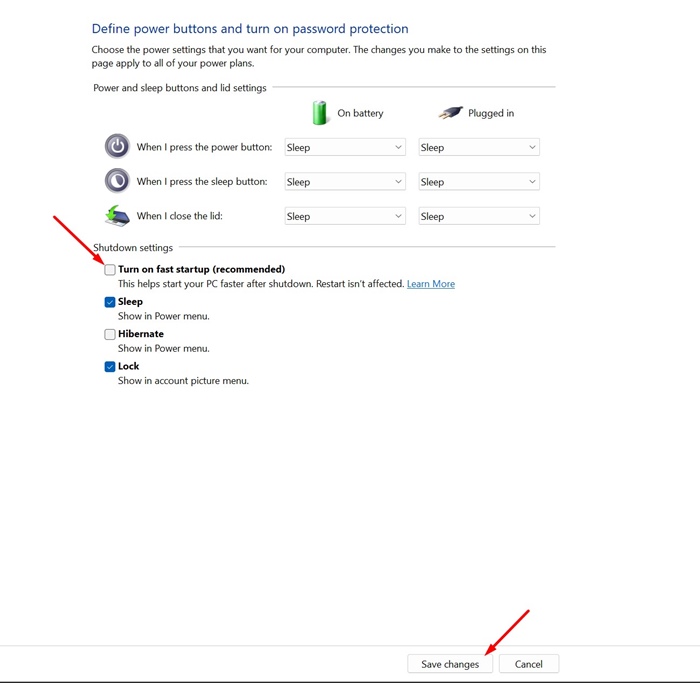
5. On the Shutdown settings, uncheck the Turn on fast startup (recommended) option and click Save Changes.
2. Modify the Registry to Keep NUM Lock Enabled
If you don’t want to turn off the Fast Startup option, you can permanently enable Num Lock by modifying the Registry file. Here’s what you need to do.
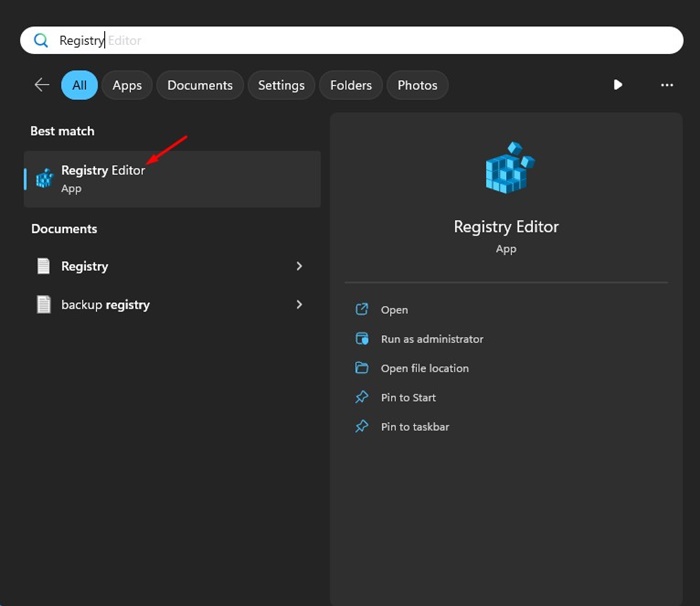
1. Type in Registry on the Windows 11 Search. Next, open the Registry Editor from the list of best match results.
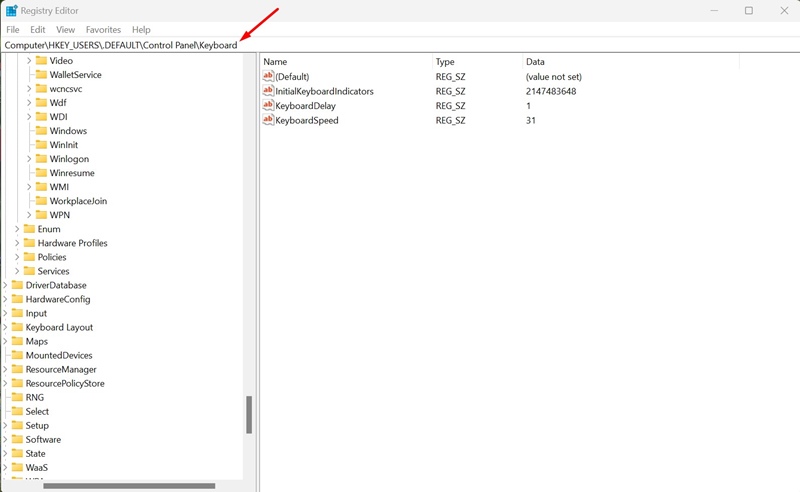
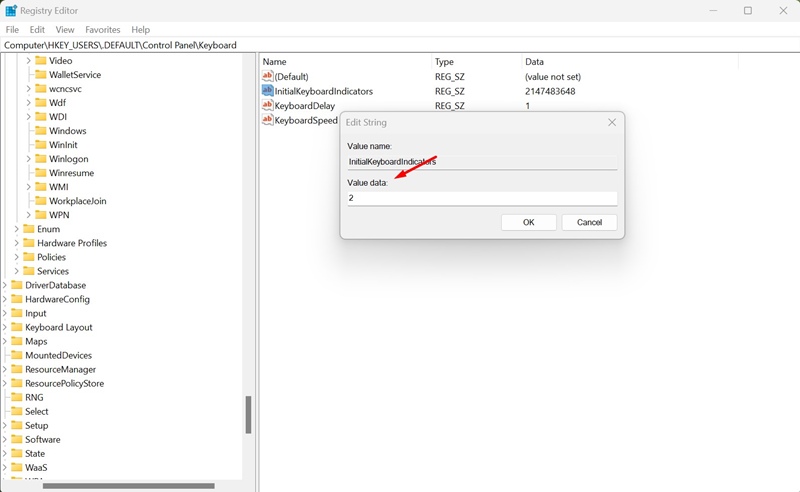
2. When the Registry Editor opens, navigate to this path:
Computer\HKEY_USERS\.DEFAULT\Control Panel\Keyboard
3. On the right side, find and double click on InitialKeyboardIndicators.
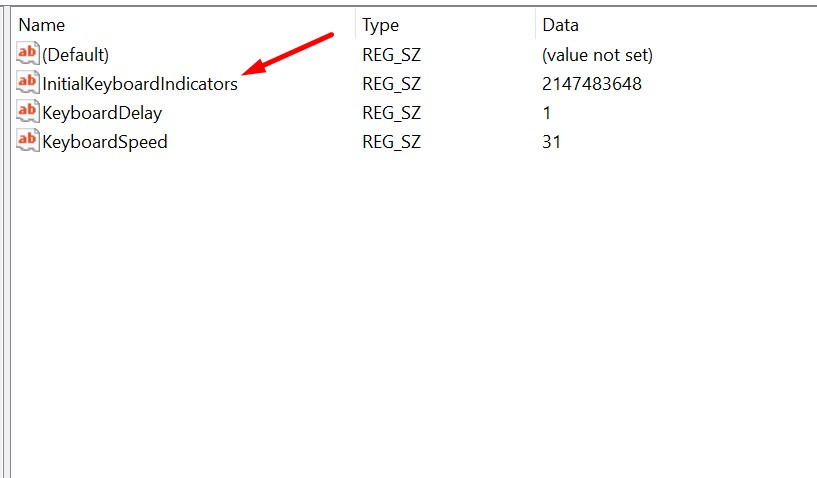
4. On the Value Data field, type 2 and click OK.
After modifying the Registry file, restart your Windows 11 PC. Your Num Lock key will be enabled all the time from now.
3. Create a Script to Keep Num Lock Permanently Enabled
Not everyone is comfortable handling the Registry. If you’re one of those, you can create a script and set it to run automatically at the Startup. This will keep the Num Lock enabled all the time.
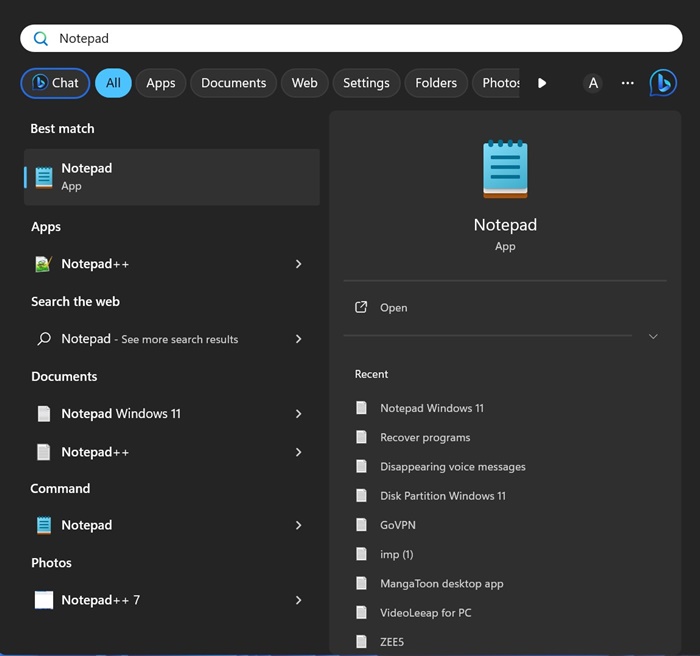
1. Open Notepad on your Windows 11 PC.
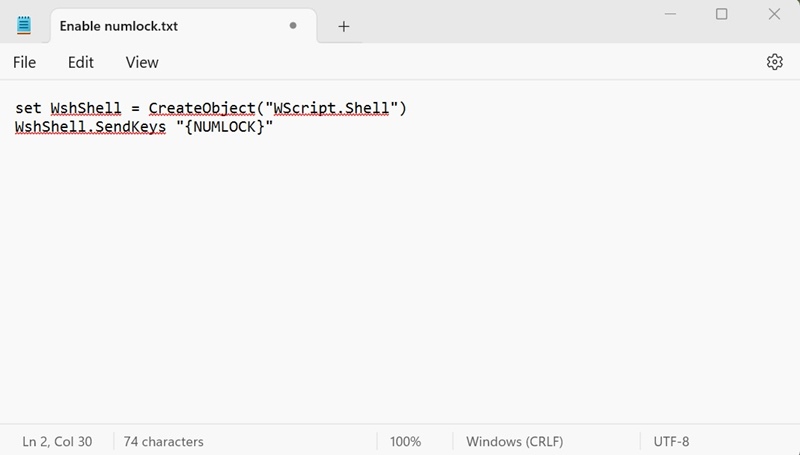
2. When the Notepad opens, paste the given script in it:
set WshShell = CreateObject("WScript.Shell")
WshShell.SendKeys "NUMLOCK"
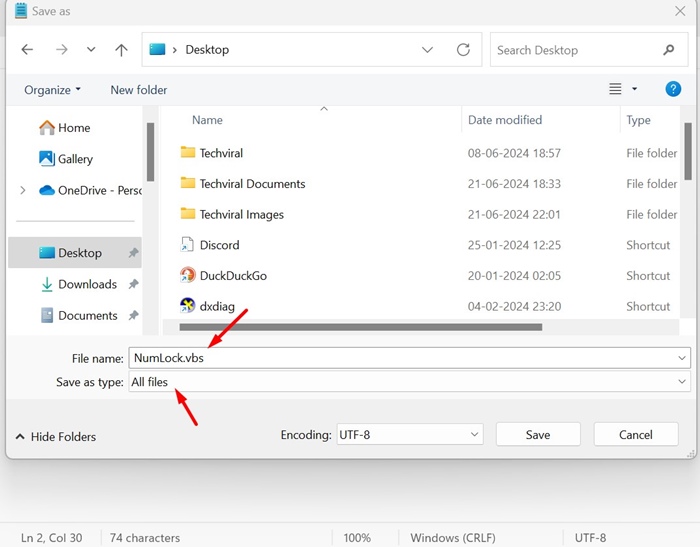
3. Click on the File and select Save As.
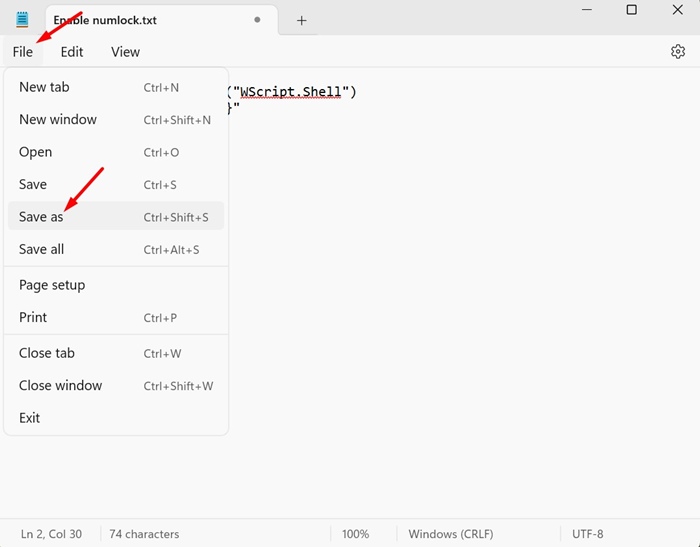
4. On the Save As Prompt, save the file with any name with the .vbs extension. Also, make sure ‘All files’ is selected on the Save as type.
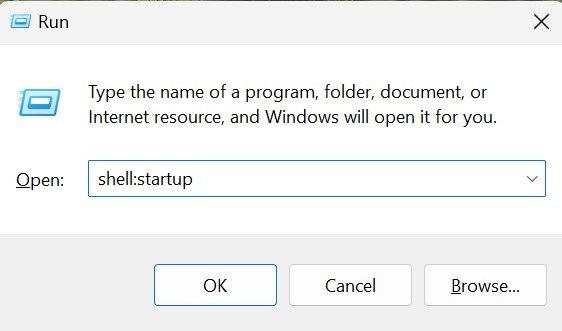
5. Next, copy the .vbs file you’ve created and open the File Explorer. In the File Explorer, paste shell:startup in the Address bar and press Enter. Alternatively, press Windows Key + R and on the RUN dialog box, type the same address and press Enter.
6. On the Startup folder, paste the .vbs file you’ve created.
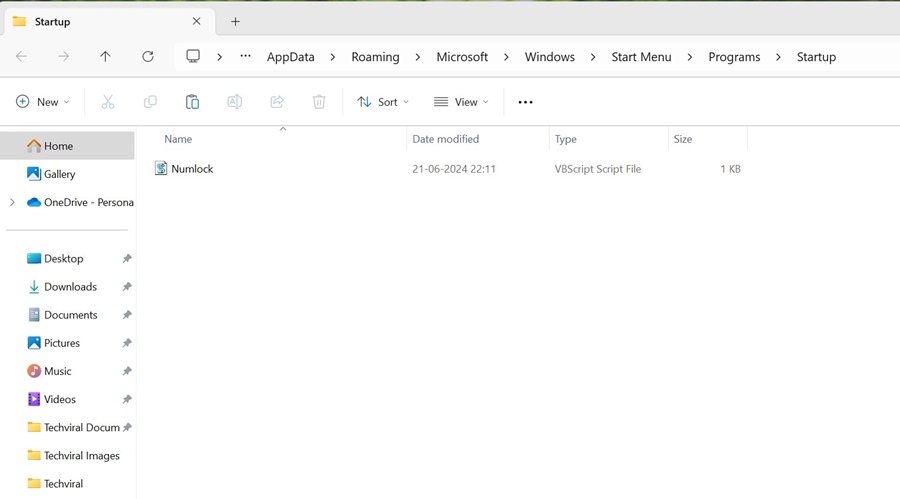
After every restart or shutdown, the .vbs file will run automatically and keep the Num Lock enabled.
These are a few simple methods to keep the Num Lock enabled all the time on a Windows 11 PC. If you need more help with this topic, let us know in the comments. Also, if you find this guide helpful, don’t forget to share it with your friends.

