
If you are using Windows operating system, you may know that the operating system runs almost hundreds of processes in the background. Most processes don’t require your permission to run silently in the background.
Sometimes, your computer suffers due to improper functioning of devices or software related to the process. The tasks running in the background can hog your RAM resources, use disk space, and drain your battery life.
Recently, many Windows users reportedly faced problems due to Killer Network Service (KNS). Sometimes, the Killer Network Service raises the Disk usage; other times, it just runs in the background and consumes your memory.
What is Killer Network Service?
Like every other Microsoft service, Killer Network Service or KNS is a background service that runs silently. It’s an intel series of WIFi cards that focuses on improving the gaming experience.
If you see the Killer Network Service on your Task Manager, your laptop or PC might have an Intel Killer Wireless Series card. Intel Killer series of WiFi cards are perfect for gaming, and it does improve gaming performance.
Killer Network Service is mostly seen on gaming laptops, providing low latency while gaming over the WiFi network.
Is Killer Network Service a virus?
In simple words, NO! Killer Network Service is not a virus or malware. It’s just a background process that’s entirely legitimate and safe to run. If any Antivirus is flagging it as malware or virus, it’s a false positive warning.
However, if you are not using an Intel Killer Gaming Grade Wifi card, the Killer Network Service is still showing up in the task manager; it may be a virus or malware.
Sometimes malware disguises itself in Windows Service and tricks you into believing it’s a legitimate process. However, if you suspect, you should cross-check the process.
If Killer Network Service on Windows is using your PC’s resources for a longer period, there’s a possibility that it’s a virus or malware. Usually, the process resides on the C:\Program Files\KillerNetworking\KillerControlCenter. So, if the program is not on the same path, you should remove it as soon as possible.
How to Fix Killer Network Service High CPU Usage?
Well, there are not one but five or six different ways to fix Killer Network Service High CPU usage. You can either stop the service completely or uninstall it. Here are some of the best ways to fix Killer Network Service High CPU usage.
1) Stop Killer Network Service via Windows Services
This method will use the Windows Services app to stop the Killer Network Service. If you stop the service, the high disk or CPU usage will be fixed immediately. Here’s what you need to do.

- First, press the Windows Key + R button on your keyboard.
- This will open the RUN dialog box. Type in services.msc and hit Enter.
- On the Windows Services, find the Killer Network Service.
- Double Click on the Killer Network Service. On the Service Status, select Stop.
- Once done, click the Apply button and close the Windows Services app.
That’s it! After making the above changes, restart your Windows computer. This will stop the Killer Network Service on your Windows computer.
2) Uninstall Killer Network Service Using Control Panel
If you cannot stop the Killer Network Service, uninstall it directly from the Control Panel. Here’s how you can uninstall Killer Network Service on Windows 10/11.
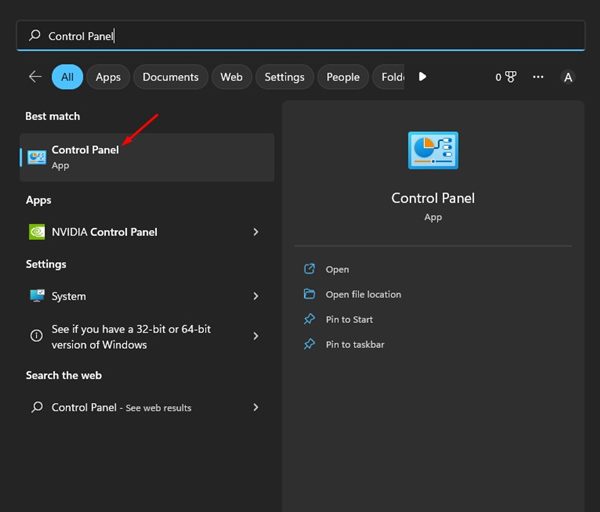
1. First, click on Windows Search and type Control Panel. Next, open the Control Panel app from the list.
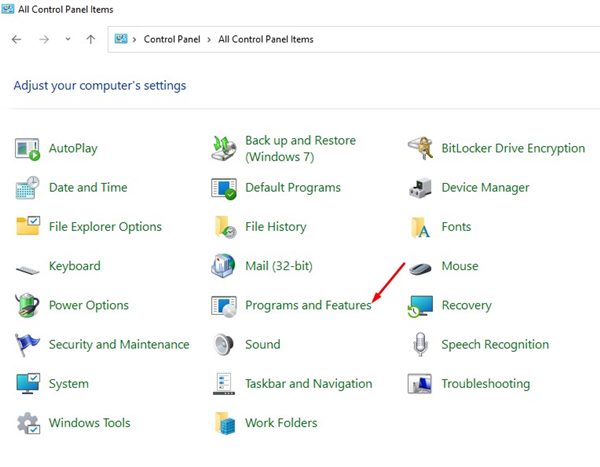
2. When the Control Panel opens, click on Programs and Features.
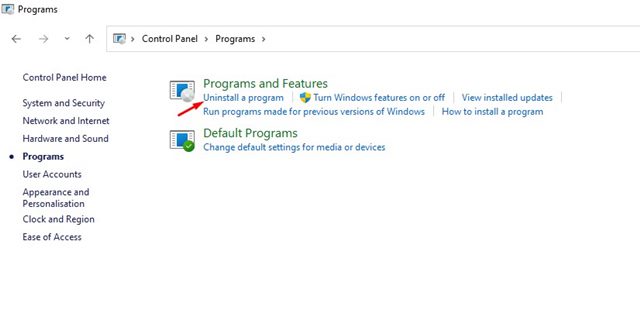
3. Now, on the Programs and Features, click on Uninstall a program.
4. Now, you need to find the Killer Network Manager Suite. Right-click on it and select Uninstall.
5. You also need to uninstall the Killer Wireless Drivers from the Control Panel.
That’s it! After uninstalling both programs, the Killer Network Service won’t appear on your Windows Task Manager. This is how you can uninstall Killer Network Service from your Windows 10/11 computer.
3) Stop Killer Network Service via Resource Monitor
Resource Monitor is an advanced version of Task Manager for your Windows operating system. You can utilize it as well to stop Killer Network Service. Here’s what you need to do.
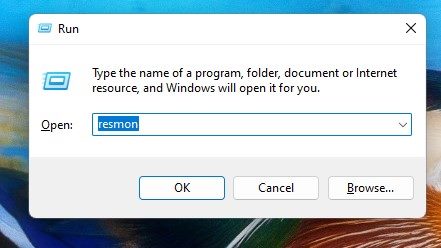
1. First, press the Windows Key + R button to open the RUN dialog Box.
2. When the RUN dialog box opens, type resmon and hit the Enter button.
3. This will open the Resource Monitor. You need to find the Killer Network Service.
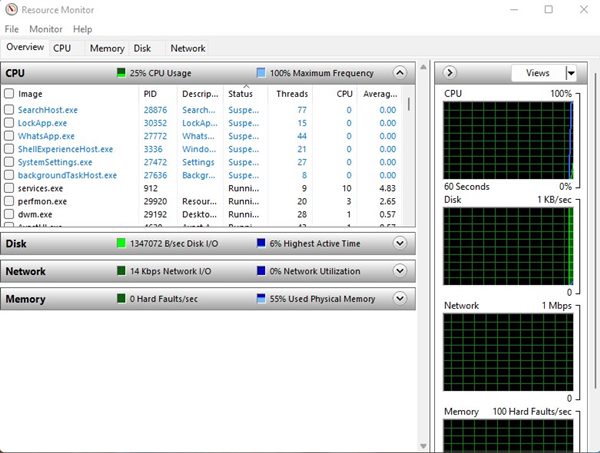
4. Right-click on the Killer Network Service and select ‘End Process’
That’s it! After making the changes, close the Resource Monitor on your computer. This is how you can stop Killer Network Service on Windows using Resource Monitor.
4) Run the DISM Command
Well, the DISM command will restore the health of your operating system. This won’t stop or uninstall the Killer Network Service. If you believe that the service has already corrupted the files of your Windows, you need to follow this method.
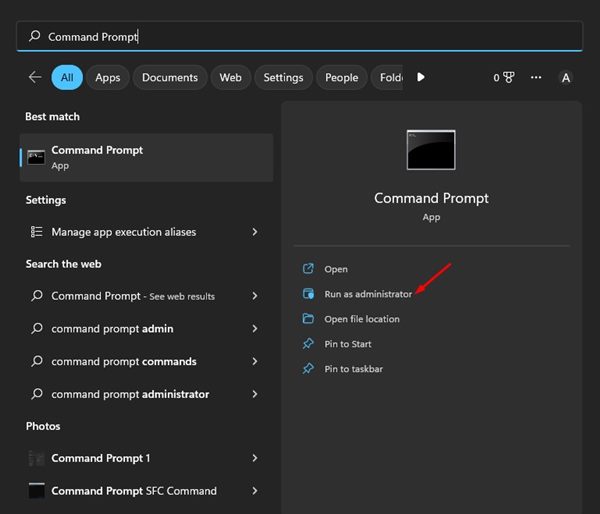
1. Click on the Windows search and type in Command Prompt. Right-click on the Command Prompt and select ‘Run as administrator’
2. When the Command Prompt opens, execute the command we have shared below:
DISM.exe/online/clean-image/Restorehealth
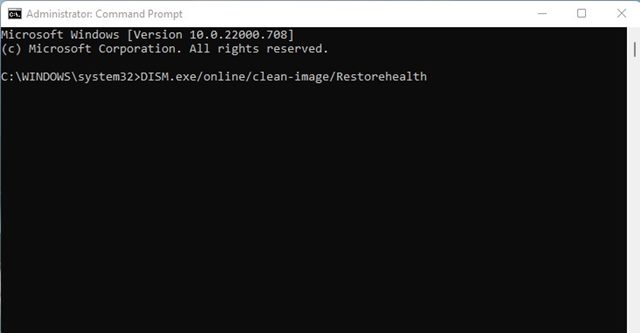
3. This will restore the health of your operating system. You need to wait until the process completes.
That’s it! This is how you can restore the health of the Windows operating system by running the DISM command. If DISM didn’t help, you could try running the system file checker SFC command.
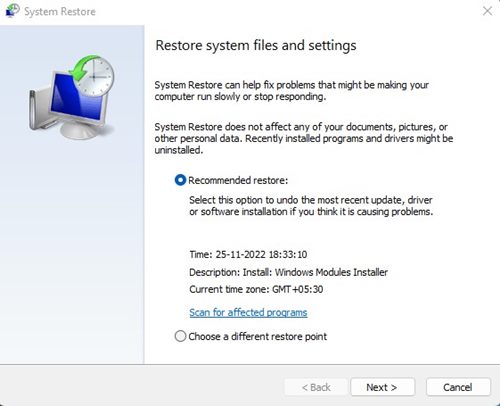
5) Roll back to the previous restore point
Both Windows 10 and Windows 11 provide you with an option to create a restore point. Restore points can roll back your operating system to a previous working state.
This is a part of the System Protection feature and does its job well. We have already shared a detailed guide on how to create a restore point.
In addition, you can set up an automatic restore point in your Windows 10/11 computer/laptop.
If you already have a restore point, type Recovery on the Start Menu and follow the on-screen instructions to roll back to a previous restore point.
6) Update the Operating System
Having an up-to-date operating system becomes the key to maximizing performance. If you feel Killer Network Service is slowing down your PC, you can easily disable it.
However, if you suspect that the slowdown of your system is due to a bug, then updating the operating system would help. To update Windows, head to Settings > Windows Update > Check for Update.
So, this guide is all about Killer Network Service and should you disable it. We have tried to answer all your questions related to Killer Network Service. If you need more help disabling killer Network Service on Windows, let us know in the comments below.
")

