

On Home windows 11, you’ve a light-weight file compression function that may assist you release some disk area. The file compression function of Home windows 11 can shrink the scale of the recordsdata and folders with out counting on third-party file compression tools.
The function solely works with drives utilizing the NTFS File system, and it has a number of drawbacks. In low-end computer systems, the file compression function of Home windows 11 may have an effect on the efficiency.
Once you copy/transfer a compressed NTFS file to a special folder or drive, NTFS will first decompress the recordsdata, copy/transfer the file to the brand new location, after which it should once more recompress the file. This additional course of will use your CPU and RAM sources, affecting the system’s efficiency.
Steps to Allow File Compression on Home windows 11
Nonetheless, in case you have a high-end PC, you received’t discover any efficiency points whereas transferring the compressed recordsdata between folders or drives. Listed below are some easy steps to allow file compression on Home windows 11 working system.
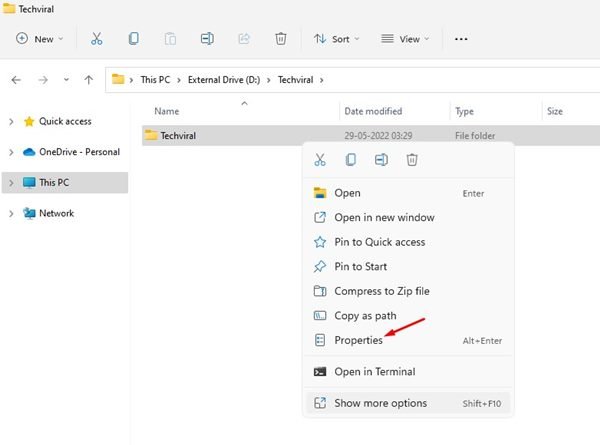
1. First, open the File Explorer in your PC and navigate to the folder you need to compress.
2. Proper-click on the folder and choose Properties.
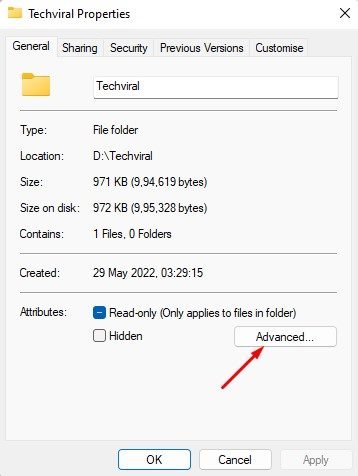
3. On the Folder Properties, change to the Common tab and click on on the Superior possibility.
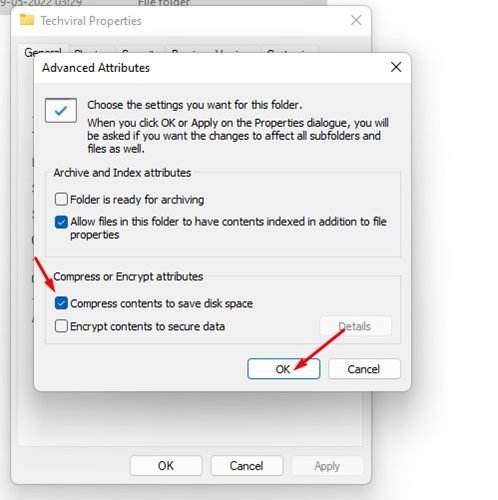
4. On the Superior Attributes, verify the choice Compress contents to avoid wasting disk area. As soon as accomplished, click on on the Okay button.
5. Choose Apply adjustments to this folder solely possibility on the subsequent immediate and click on on the Okay button.
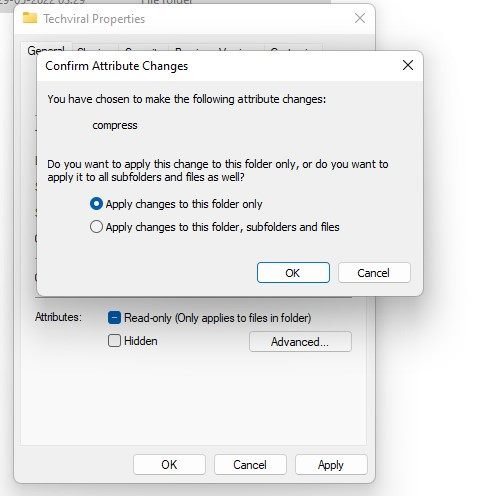
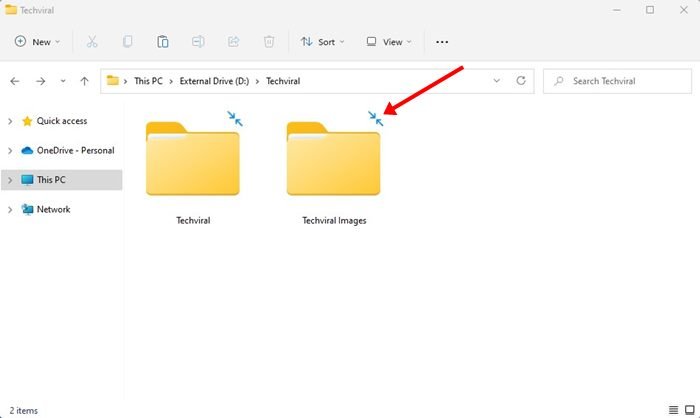
That’s it! It will activate the NTFS file compression in your chosen folder. You’d discover two blue arrows above the folder. These arrows point out the folder had been compressed.
Compress Drive with NTFS on Home windows 11
If you need, you possibly can compress a complete drive with NTFS file compression on Home windows 11. For that, comply with a few of the easy steps we’ve shared.
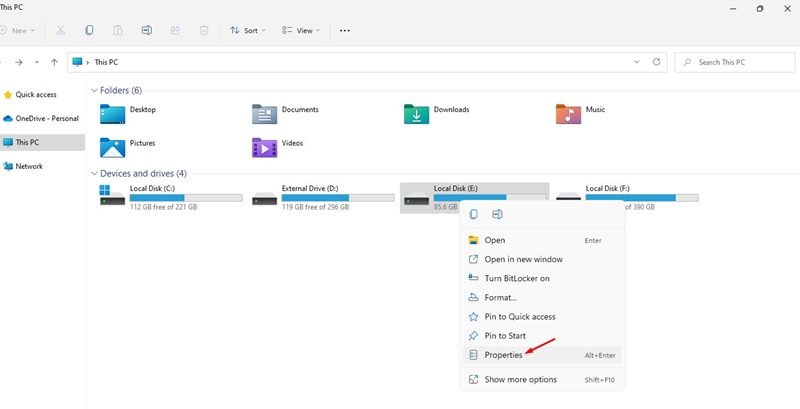
1. To begin with, open the File Explorer in your PC. Subsequent, right-click on the drive the place you need to allow the NTFS compression and choose Properties.
2. On the Drive Properties, verify the choice ‘Compress this drive to avoid wasting disk area’.
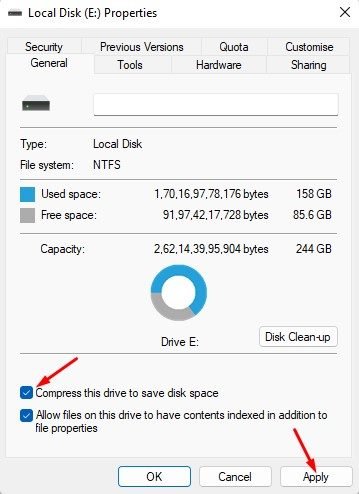
3. As soon as accomplished, click on on the Apply button.
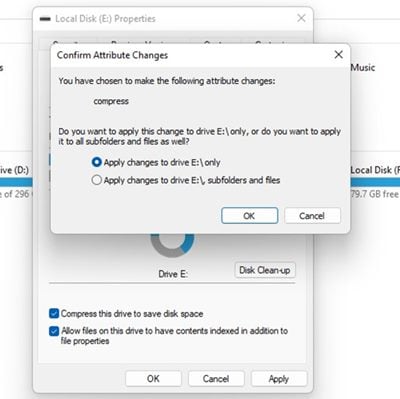
4. On the subsequent pop-up, choose Apply adjustments to this drive solely and click on on the Okay button.
That’s it! It will allow the NTFS compression in your chosen drive.
Additionally Learn: How to Change Wallpaper in Windows 11 Without Activation
So, that’s how one can allow file compression in Home windows 11. In case you have a low-end PC, you possibly can permit the NTFS compression to compress folders or drive that you just don’t use typically. On this means, it is possible for you to to avoid wasting disk area. In the event you face a efficiency concern, it’s essential to revert your adjustments to disable the File compression.
")

