

The power to reroute our calls to a secondary quantity is one thing we at all times need. Virtually each Android smartphone out there at the moment has this characteristic, however most customers have no idea find out how to allow and use it.
The decision forwarding characteristic of Android can grow to be useful in varied conditions. For instance, if you’re a frequent traveler, you may arrange name forwarding in your secondary quantity to keep away from roaming expenses; you may ahead calls to a different quantity for those who don’t wish to be bothered throughout holidays.
No matter is perhaps the explanation, it’s fairly simple to arrange and allow name forwarding on an Android smartphone. You need to use the Name Forwarding characteristic of your Android to reroute all calls to your house cellphone, Google Voice quantity, or an area quantity.
Steps to Allow Name Forwarding on Android System
Therefore, if you’re all in favour of enabling name forwarding in your Android machine, you might be studying the suitable information. On this article, we are going to share a step-by-step information on find out how to allow name forwarding on an Android smartphone. Let’s try.
Vital: Please observe that not all Android units have the identical settings & menus. The Android UI could range from smartphone to smartphone. Nevertheless, for those who use the Google Telephone app, these are the settings.
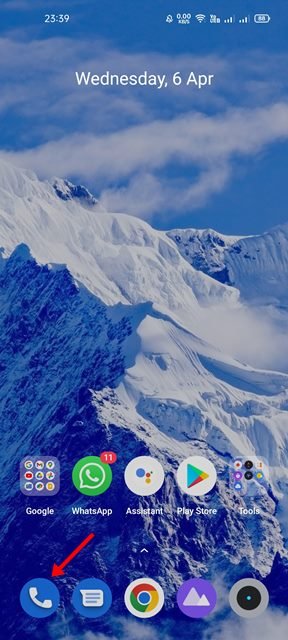
1. Initially, open the Telephone app in your Android machine.
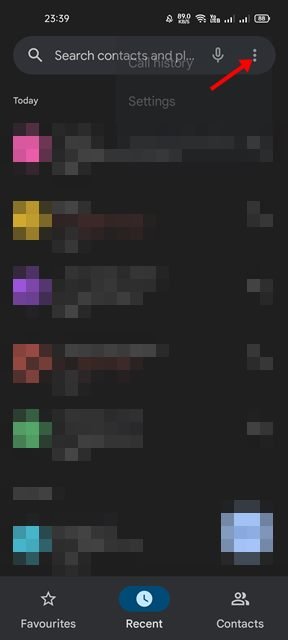
2. On the Google Telephone app, faucet on the three dots as proven within the screenshot under.
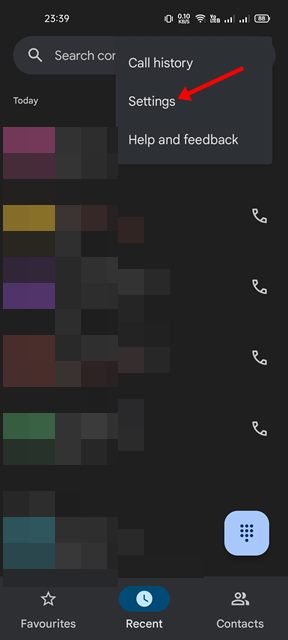
3. From the record of choices, faucet on the Settings as proven under.
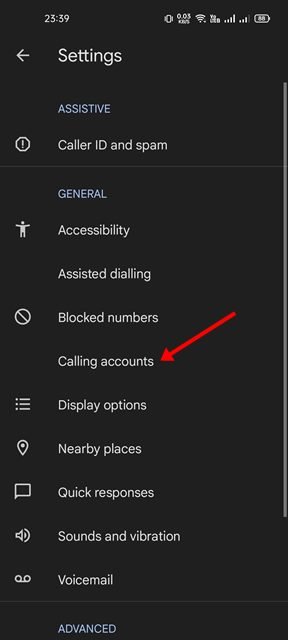
4. On the Google Telephone’s Settings, faucet on the Calling Accounts possibility as proven under.
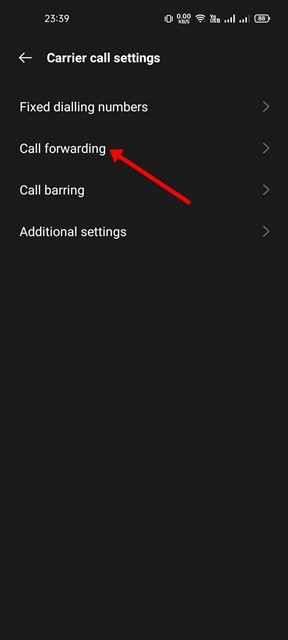
5. On the Calling Accounts web page, scroll down and faucet on the Name Settings possibility. Subsequent, On the Name settings web page, scroll down and faucet on the Name forwarding possibility as proven under.
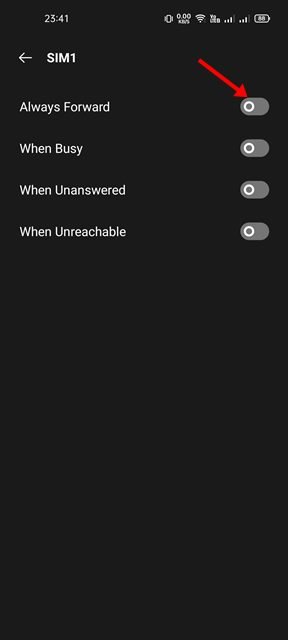
7. On the subsequent display screen, click on on the kind of forwarding. You can find a number of choices right here like All the time Ahead, When Busy, When Unanswered, and When unreachable. Merely decide the one as per your desire.
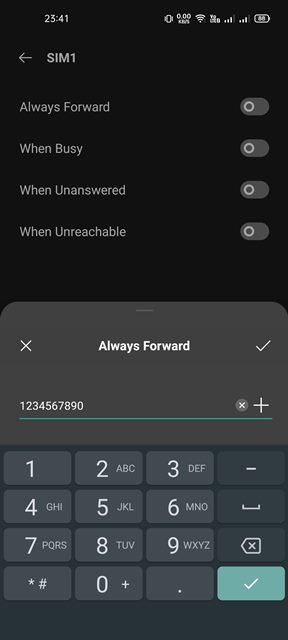
8. Now, it’s essential to enter the quantity the place you need your calls to be forwarded. The method would possibly take a couple of minutes to finish.
That’s it! You might be finished. That is how one can allow the decision forwarding possibility in your Android smartphone.
It’s fairly simple to allow name forwarding in your Android machine. I hope this text helped you! Please share it with your pals additionally. If in case you have any doubts associated to this, tell us within the remark field under.

")
