

Whereas BlueStacks is one of the best Android emulator for PC, it nonetheless wants handbook configuration. You might want to arrange the emulator manually to get higher body charges whereas taking part in Android video games on a PC.
BlueStacks is extremely customizable, permitting customers to customise each emulator half. There are settings obtainable on BlueStacks to spice up the FPS, enhance the efficiency, or save the battery life.
Relying in your wants, you possibly can customise the settings of BlueStacks to suit your wants. This text will focus on learn how to set the popular GPU on BlueStacks 5.
Setting Most popular GPU on BlueStacks 5 will enhance the general efficiency of the emulator. You’re going to get higher body charges, discover a rise in efficiency, run video games at their highest settings, and extra.
Configure BlueStacks GPU Settings to Increase Efficiency
So, in case you are in search of methods to enhance the efficiency of BlueStacks, you would possibly discover this information very helpful. Right here we’ve shared an in depth information on configuring GPU settings in BlueStacks 5 to extend gaming efficiency. Let’s take a look at.
1) Set Devoted GPU in Use
This methodology will drive BlueStacks 5 to make use of your devoted GPU as an alternative of the built-in graphics. Right here’s learn how to set devoted GPU in BlueStacks 5.
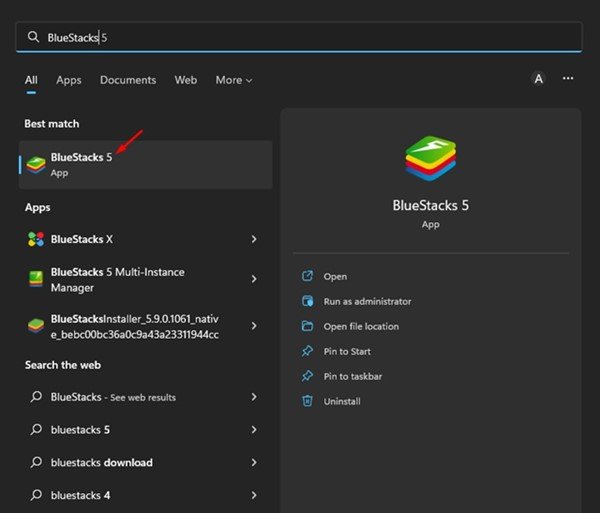
1. First, click on on the Home windows 11 search and sort in BlueStacks. Subsequent, open BlueStacks 5 from the listing of matching outcomes.
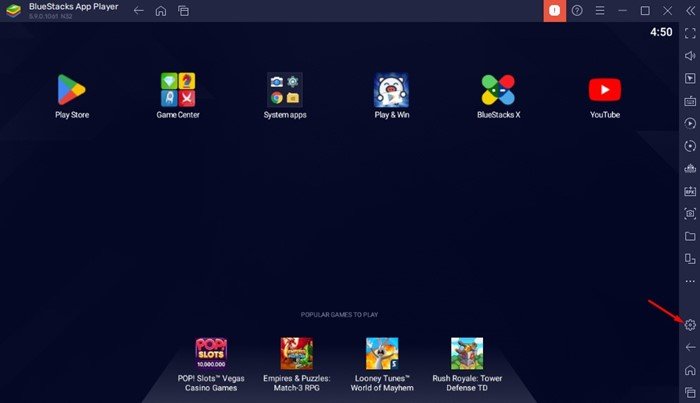
2. When the BlueStacks 5 opens, click on on the Settings gear icon on the precise aspect.
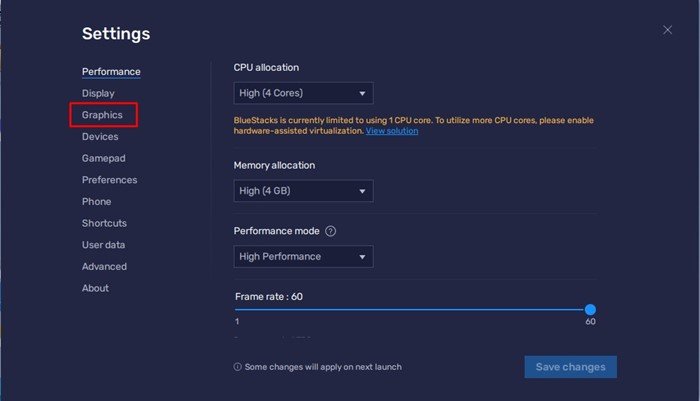
3. On the Settings web page, swap to the Graphics tab, as proven within the screenshot under.
4. On the precise aspect, scroll down and click on on the Drop-down beneath GPU in use.
5. From the drop-down, choose ‘Favor Devoted GPU‘. If there’s no swap, toggle on the ‘Favor Devoted GPU’ possibility.
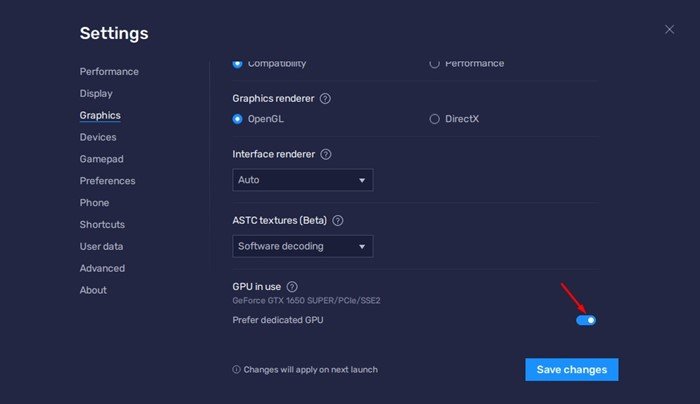
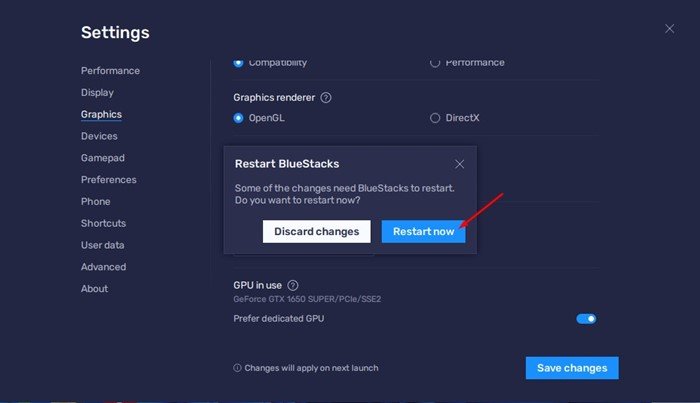
6. As soon as carried out, click on the Save adjustments button on the backside proper nook.

7. Now, you can be requested to restart the BlueStacks. Click on on the Restart now button to restart the emulator.
That’s it! That is how one can dedicate your GPU to BlueStacks 5 in Home windows 11.
2) Change Graphics Settings in Home windows
It’s also possible to change the graphics settings of your Home windows PC to enhance the efficiency of BlueStacks. Right here’s learn how to use devoted GPU on BlueStacks to spice up efficiency.
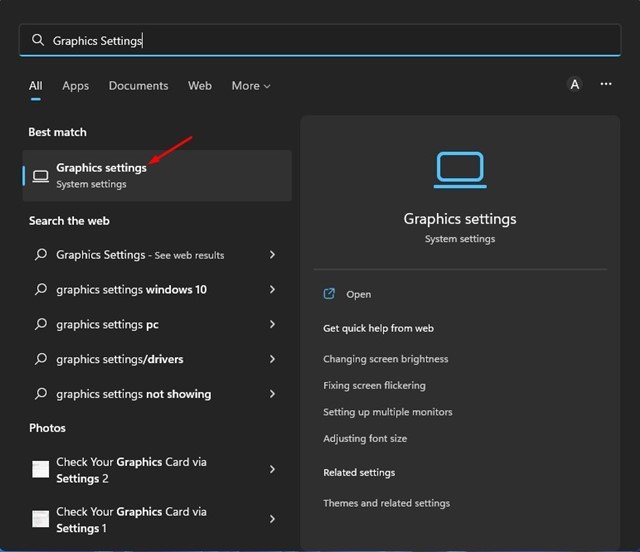
1. Click on on the Home windows search and sort in Graphics Settings. Subsequent, open the Graphics settings possibility from the listing.
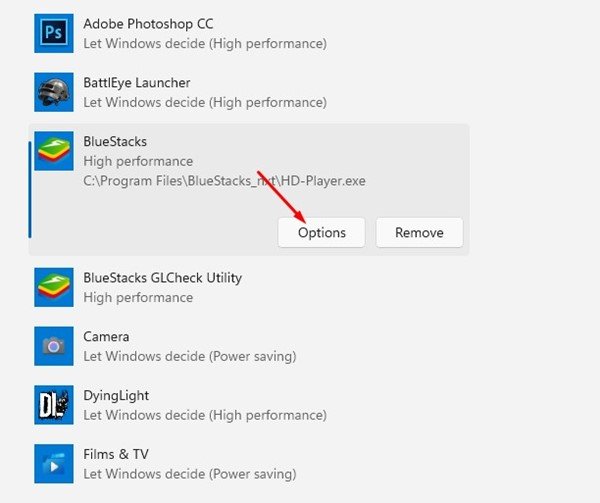
2. On the Graphics Settings, scroll down and choose BlueStacks. Subsequent, click on on the Choices.
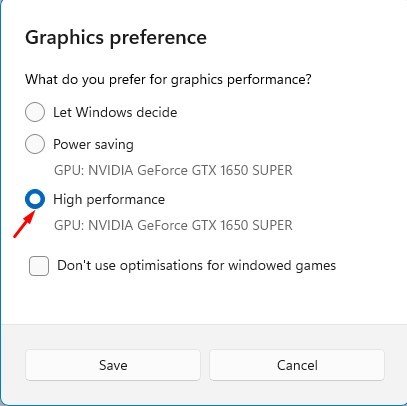
3. Subsequent, choose Excessive Efficiency on the Graphics choice immediate and click on on the Save button.
That’s it! That is how one can drive Home windows to at all times use a devoted GPU for BlueStacks 5.
Additionally learn: How to Install and Use BlueStacks 5 on Windows 11
So, that is the way you configure GPU settings in BlueStacks 5 to extend gaming efficiency. This slight modification can considerably enhance the efficiency of the BlueStacks emulator. Should you want extra assist associated to setting devoted GPU as default for BlueStacks 5, tell us within the feedback under.
")
